Plan: #
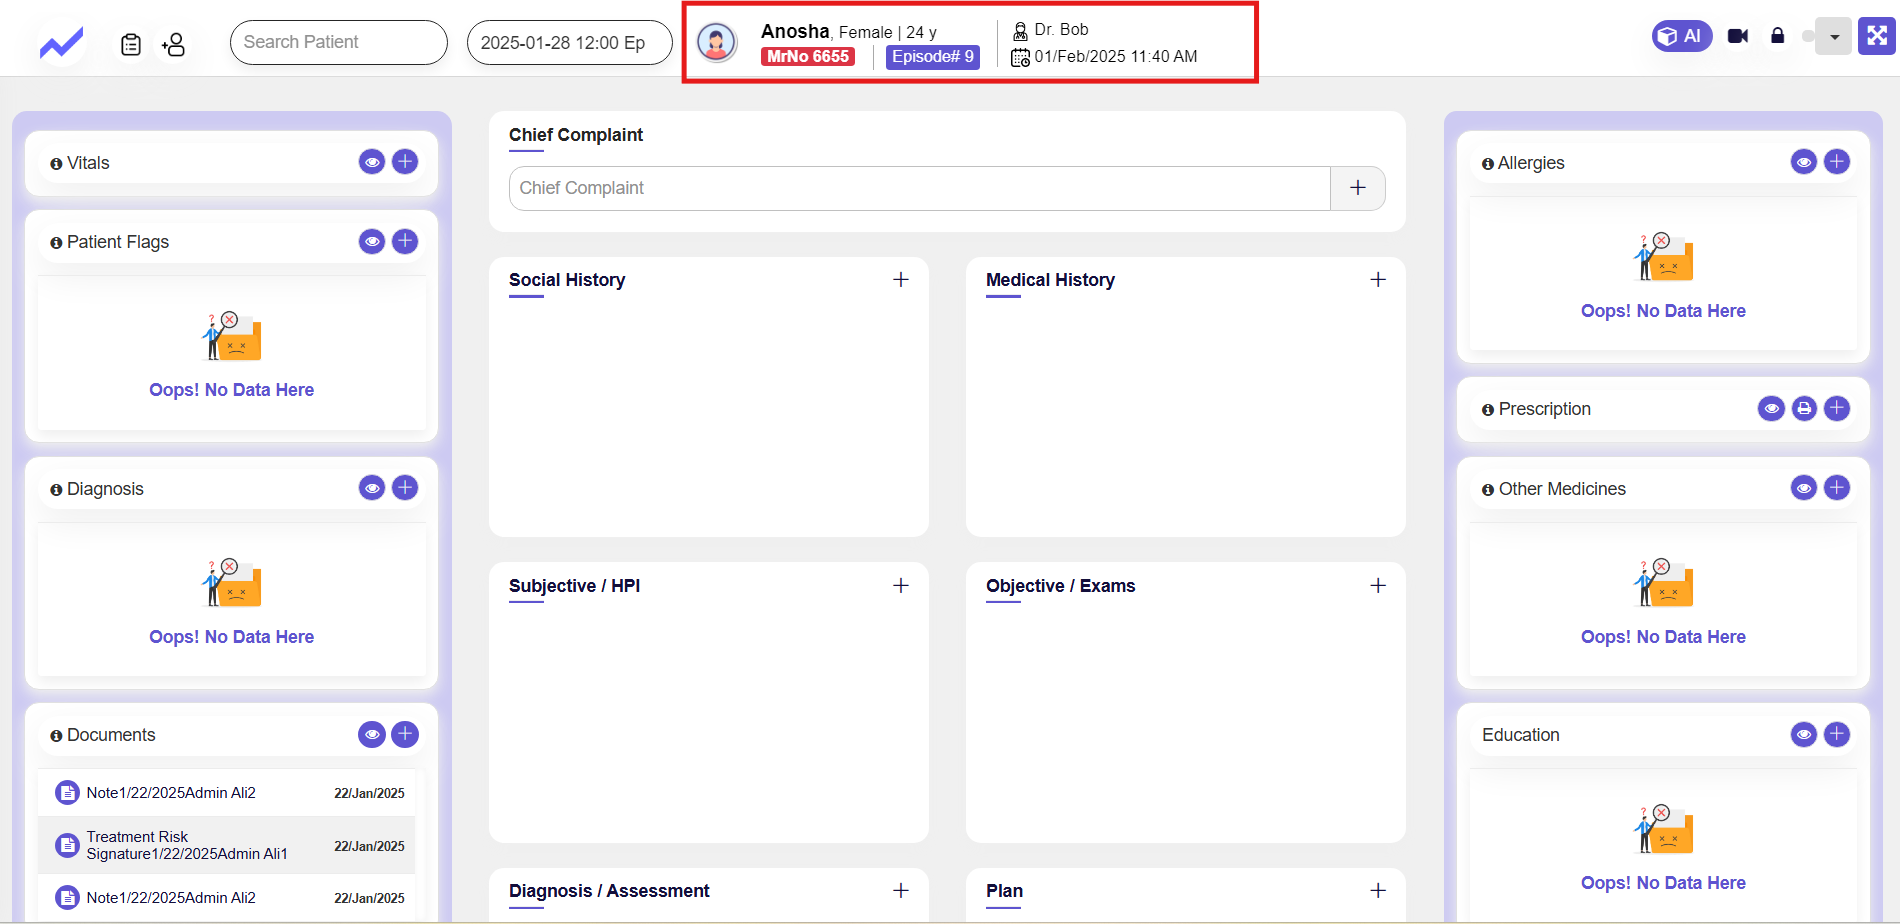
The Plan module in CloudPital’s dental specialty helps dental professionals create a detailed treatment plan based on the patient’s current dental condition noted in the Baseline module. It outlines the procedures, defines the sequence of operations, and ensures a personalized approach to the patient’s care, guiding the next steps in the treatment process.
1.1 Permission Settings for Dental’s Plan Feature: #
From the Schedule screen, click on Others.
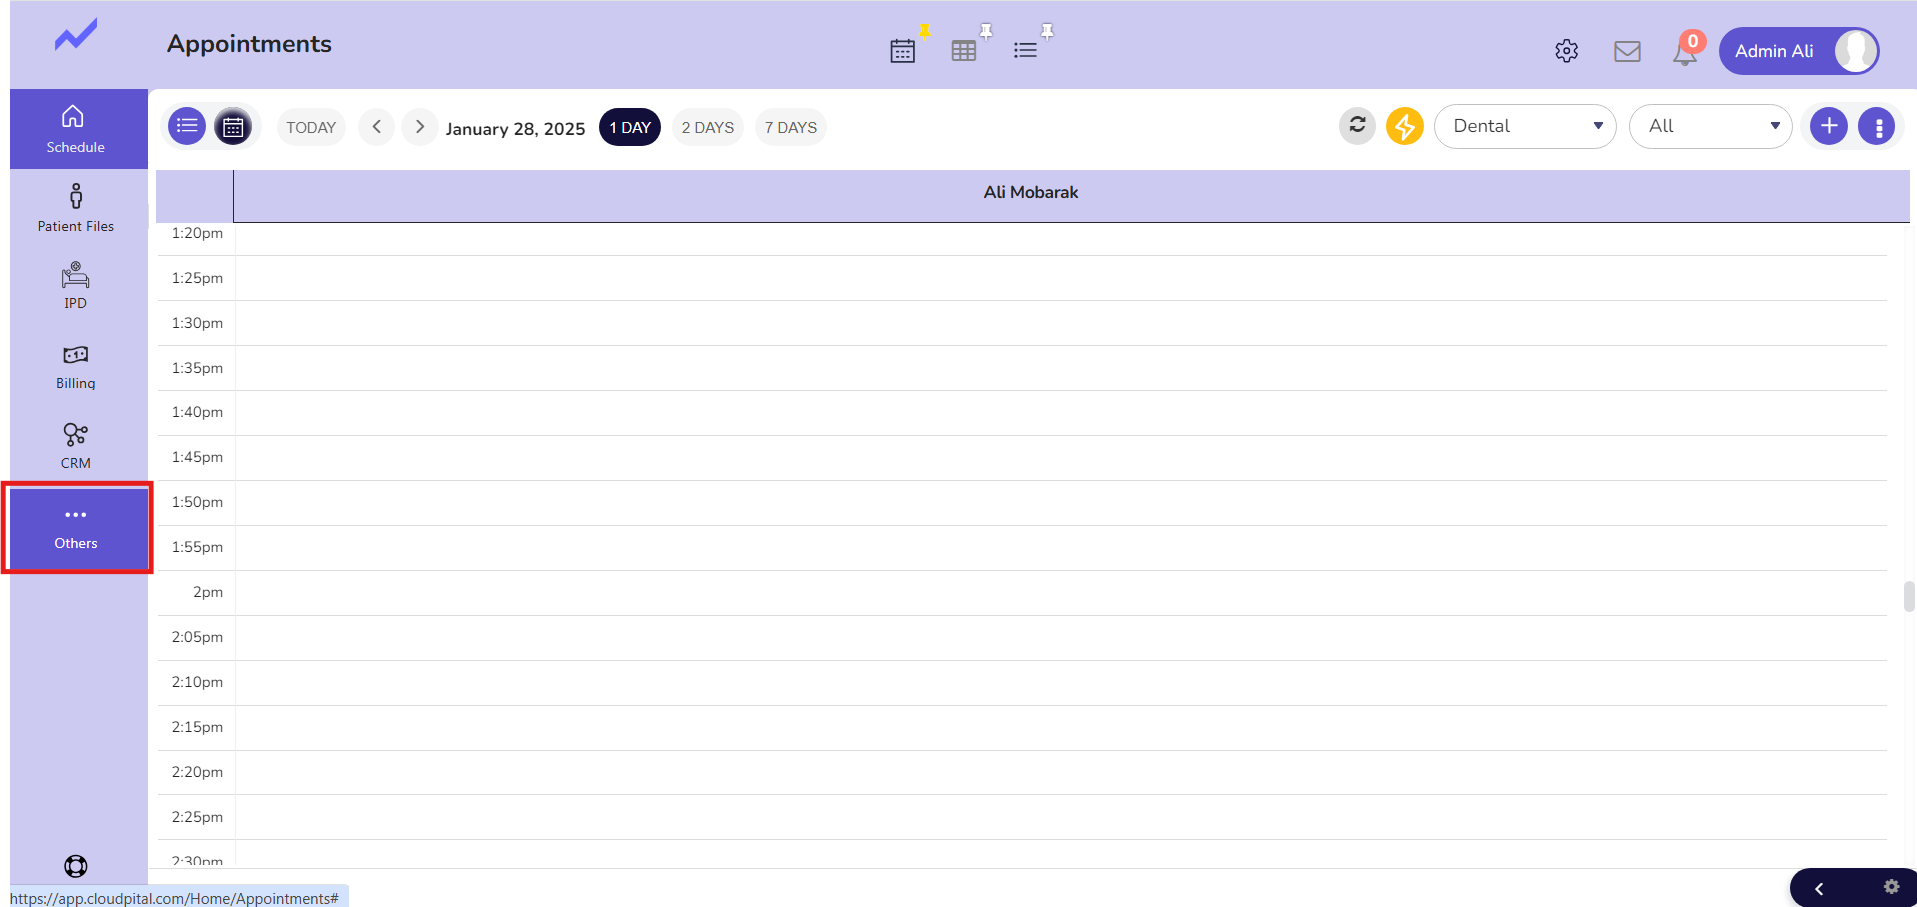
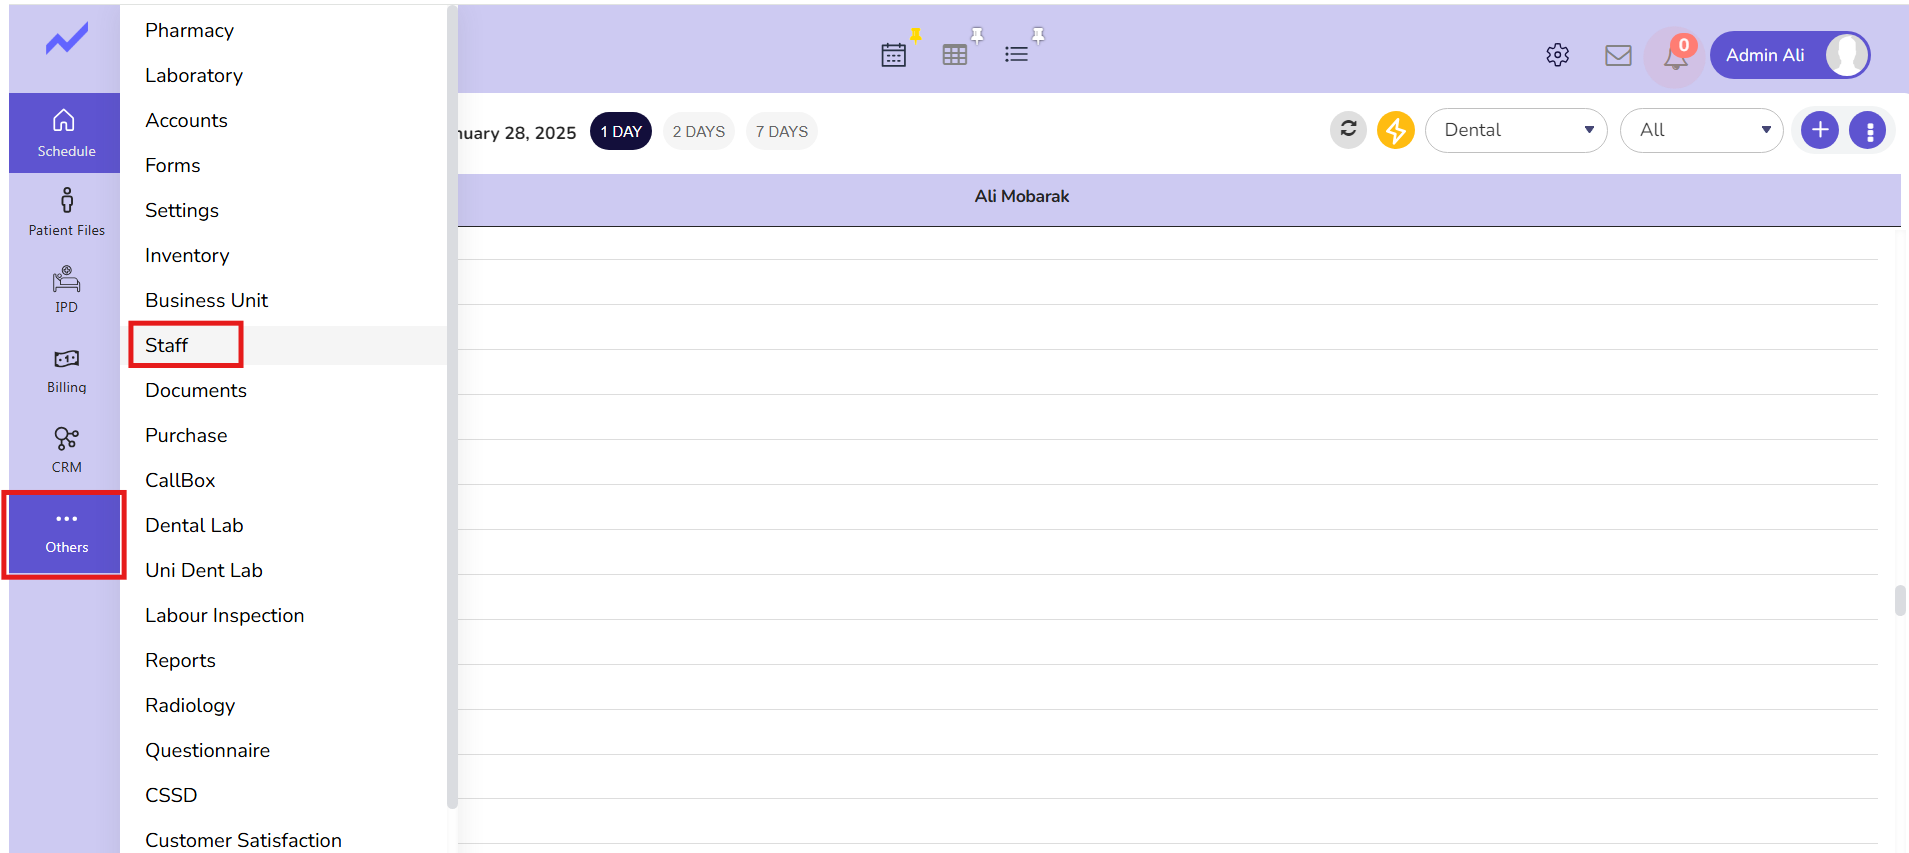
Click on Staff.
The Staff screen appears. Select the user with whom you are currently logged in. In this case, I am granting permissions to Admin Ali, as I am currently logged in as Admin Ali.
You just need to click on the edit icon.

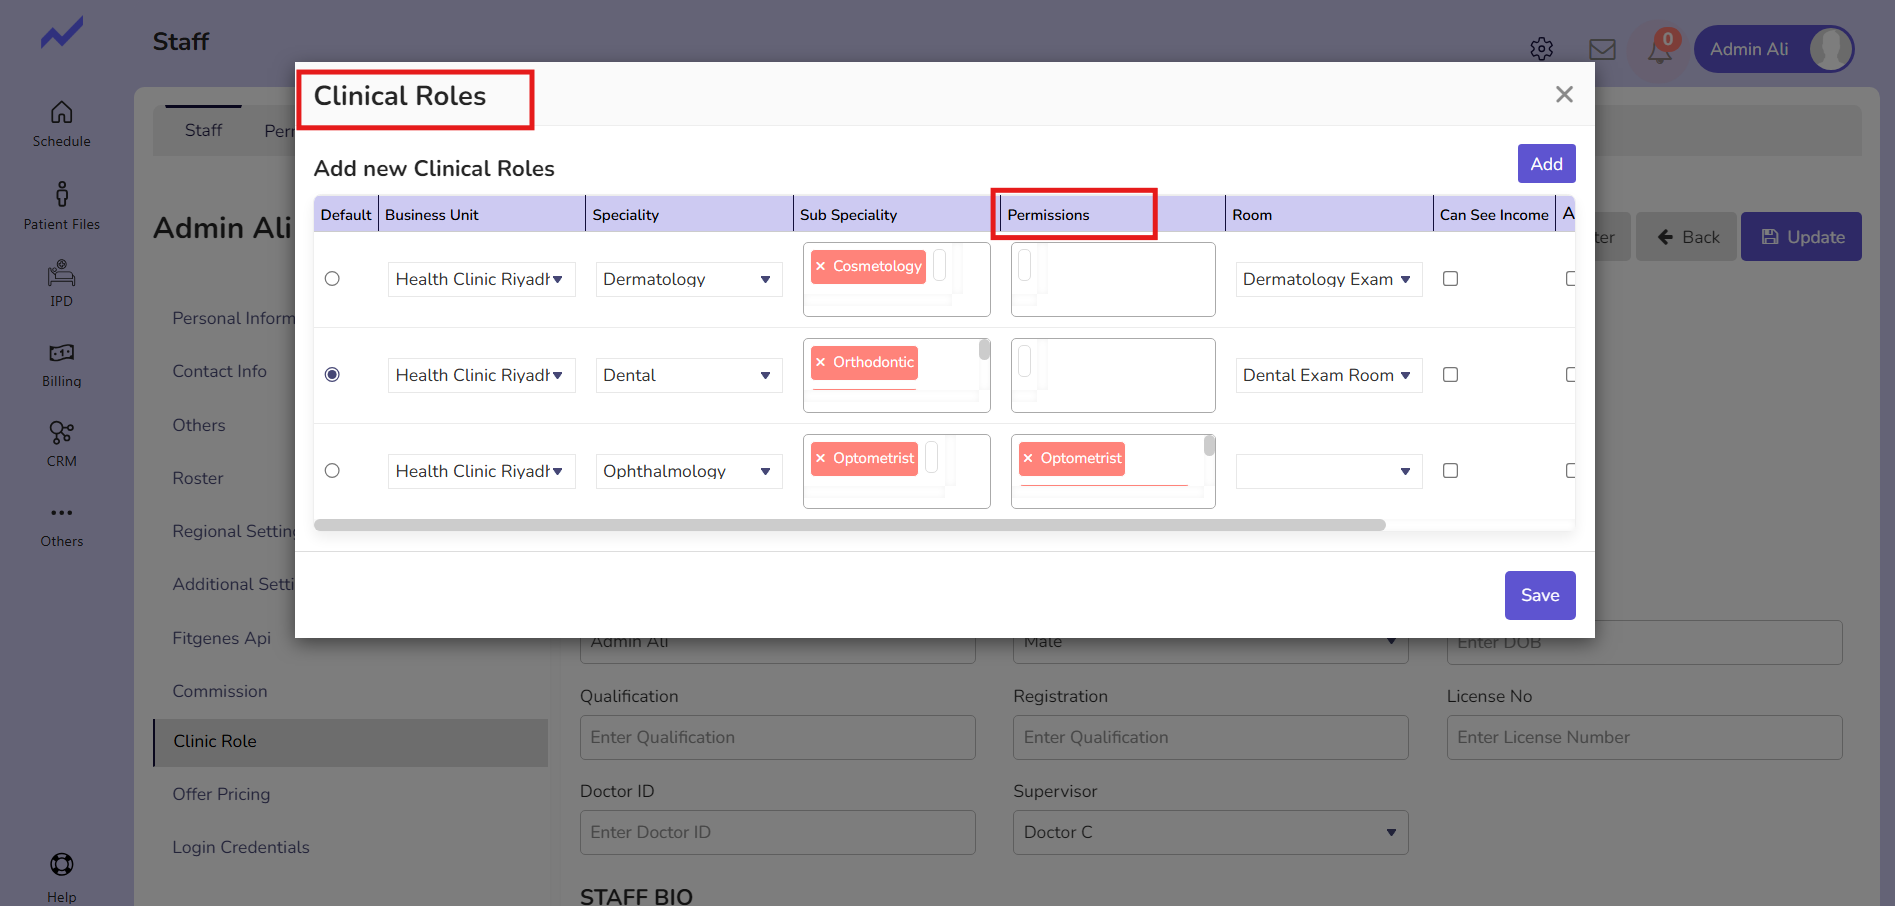
The staff screen will appear. Now, click on ‘Clinic Role’
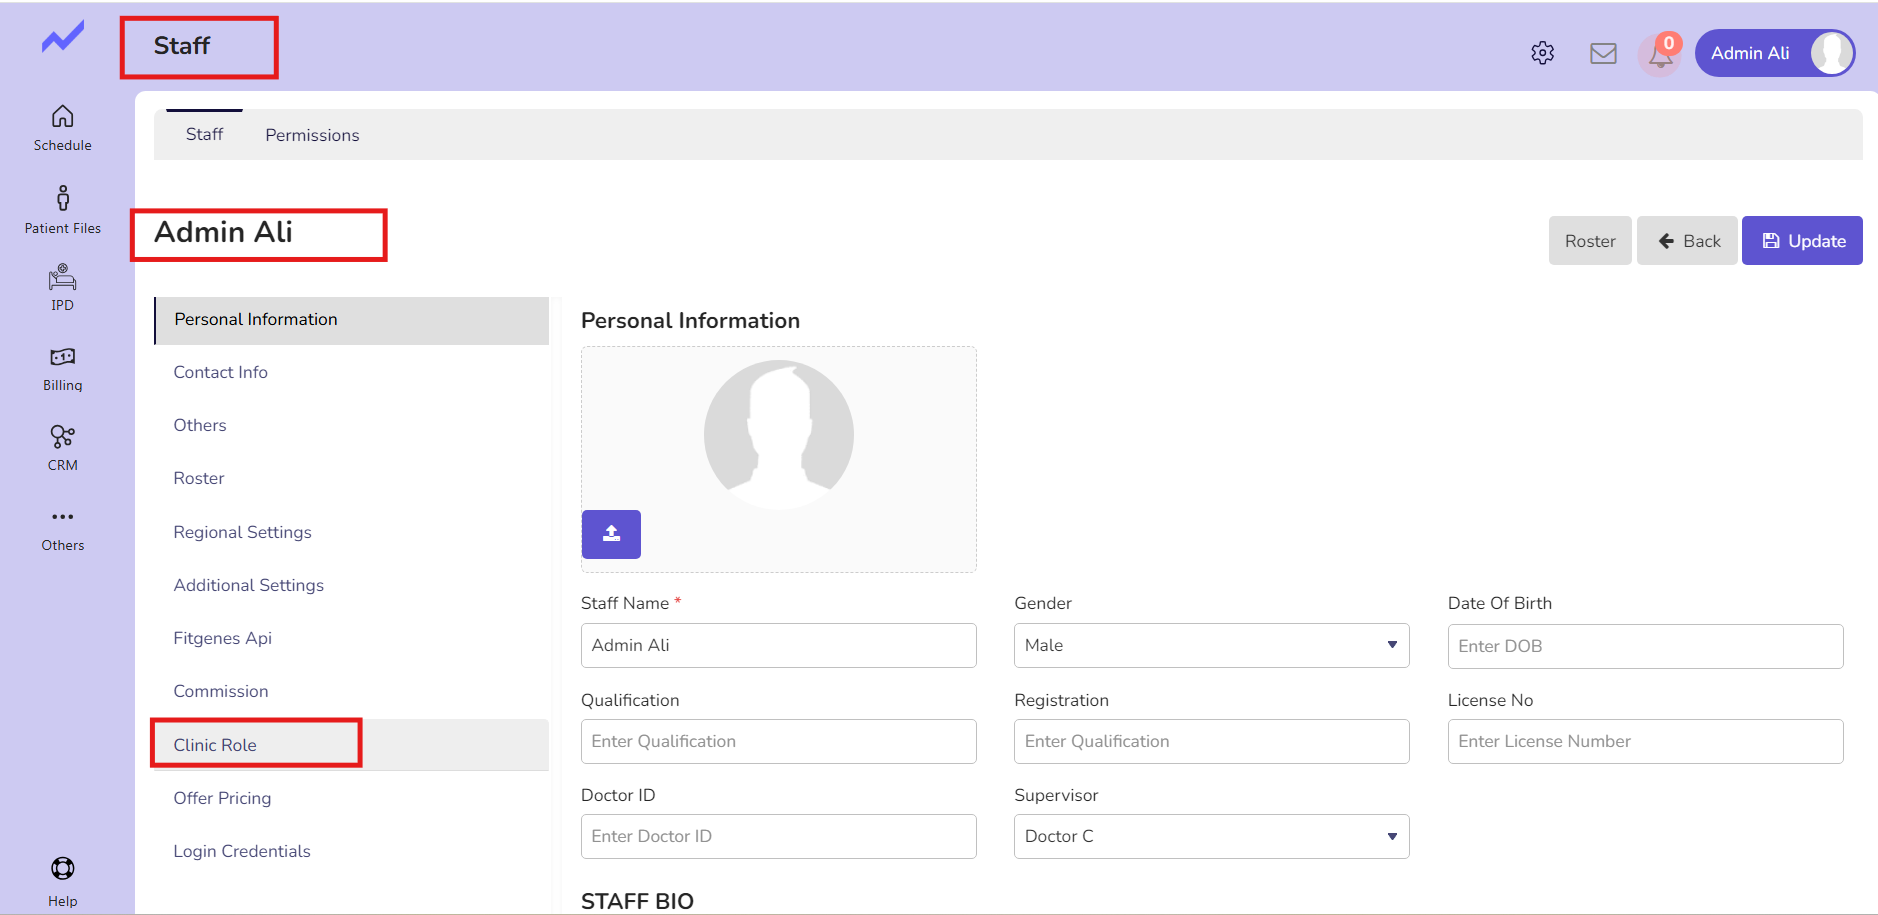
For the Dental specialty, you have to click on Permissions to assign this doctor the permissions for the Plan module.
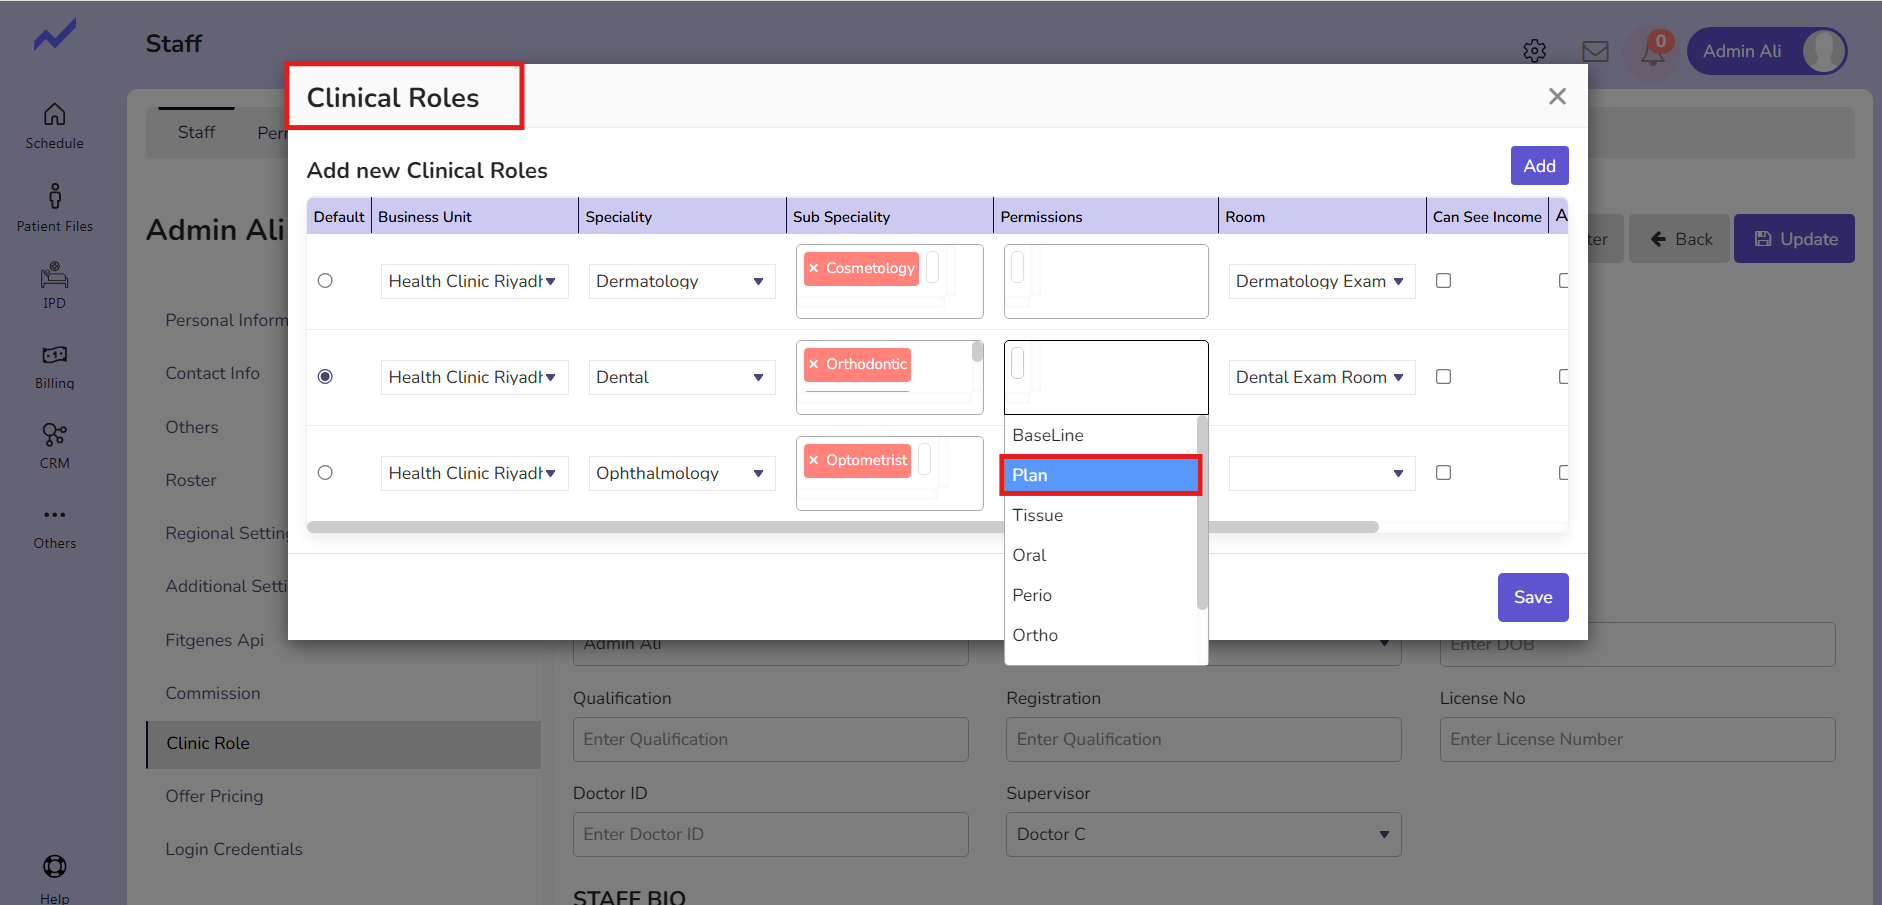
When you click on Permissions, a drop-down will appear with the option of Plan. Select Plan and then click on the Save button. The Plan permission will be granted to Admin QA.
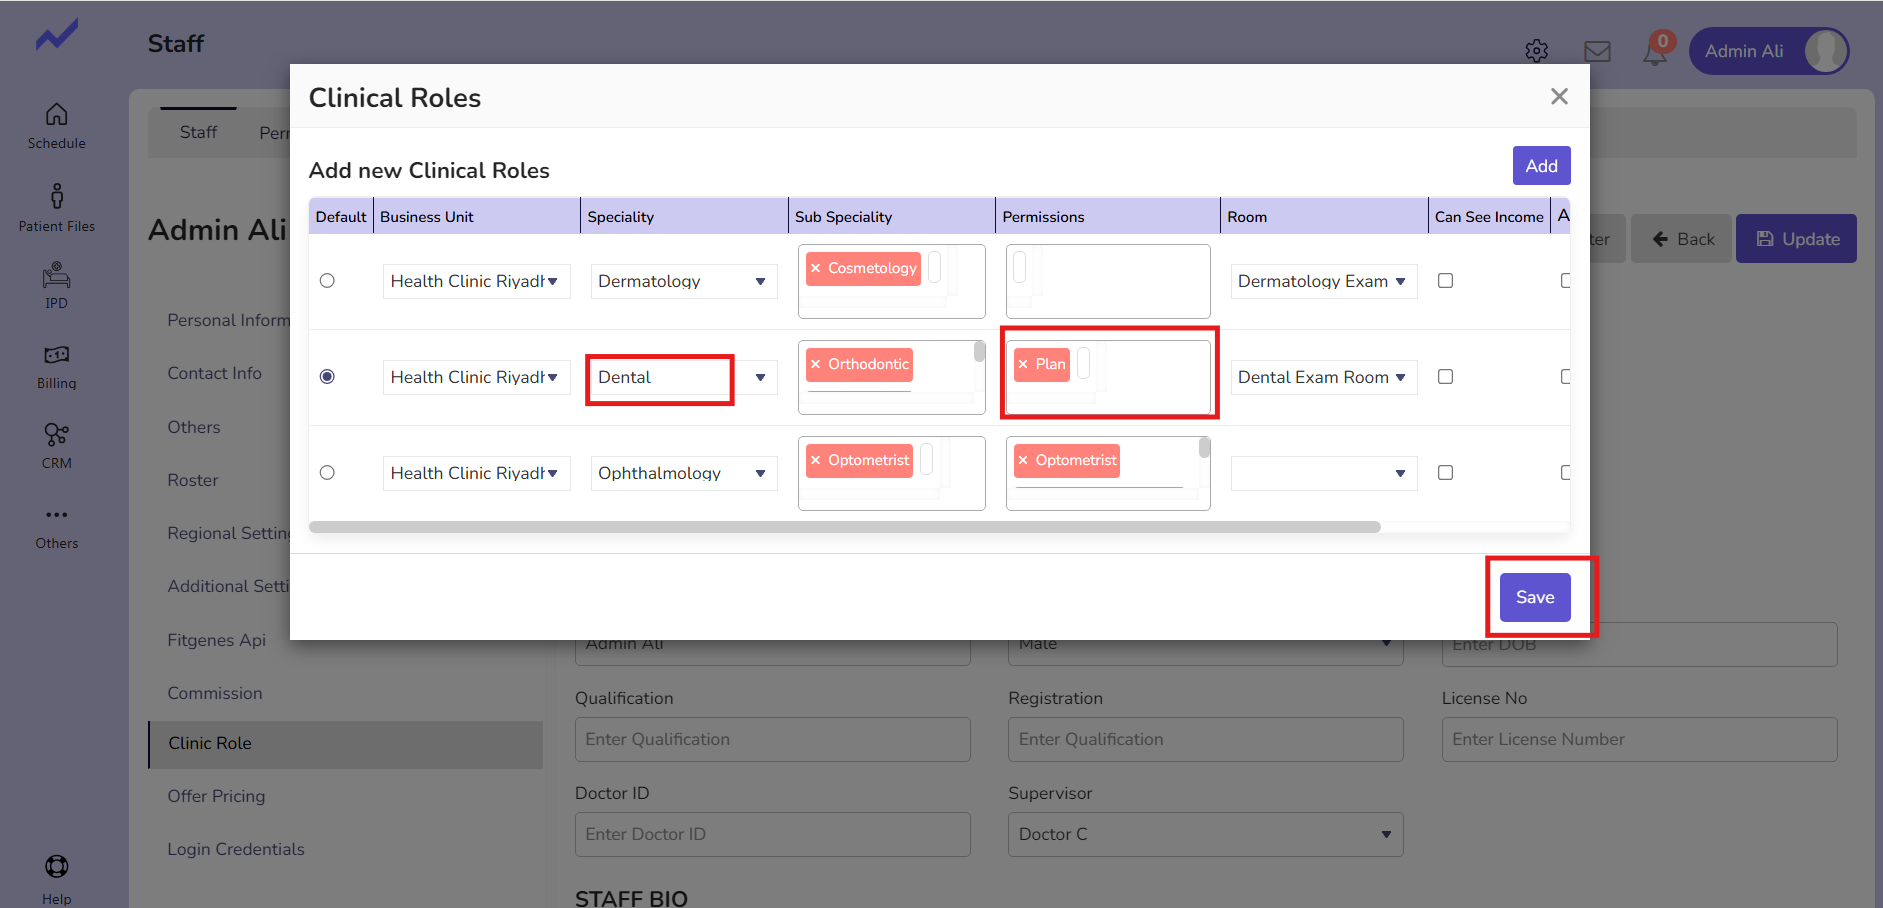
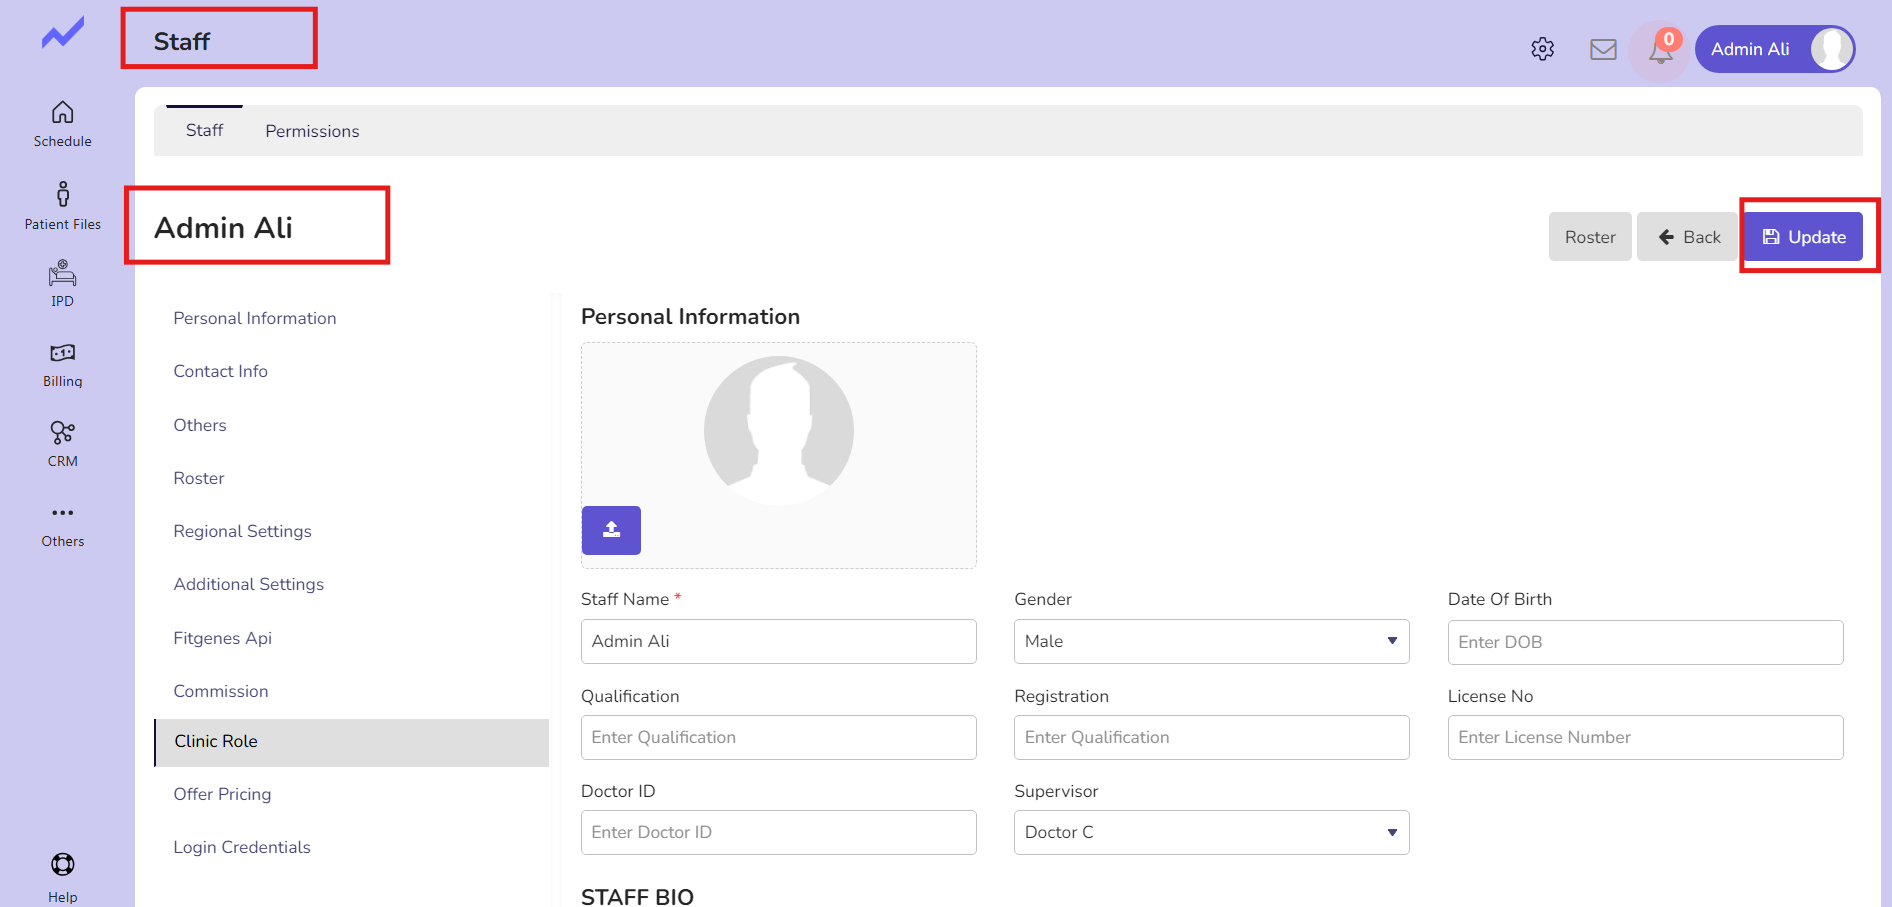
Now click on the update button and the changes will be saved successfully.
1.2 Create a dental Appointment #
Now, go to the Schedule screen and create an appointment for a dental patient with any Doctor.
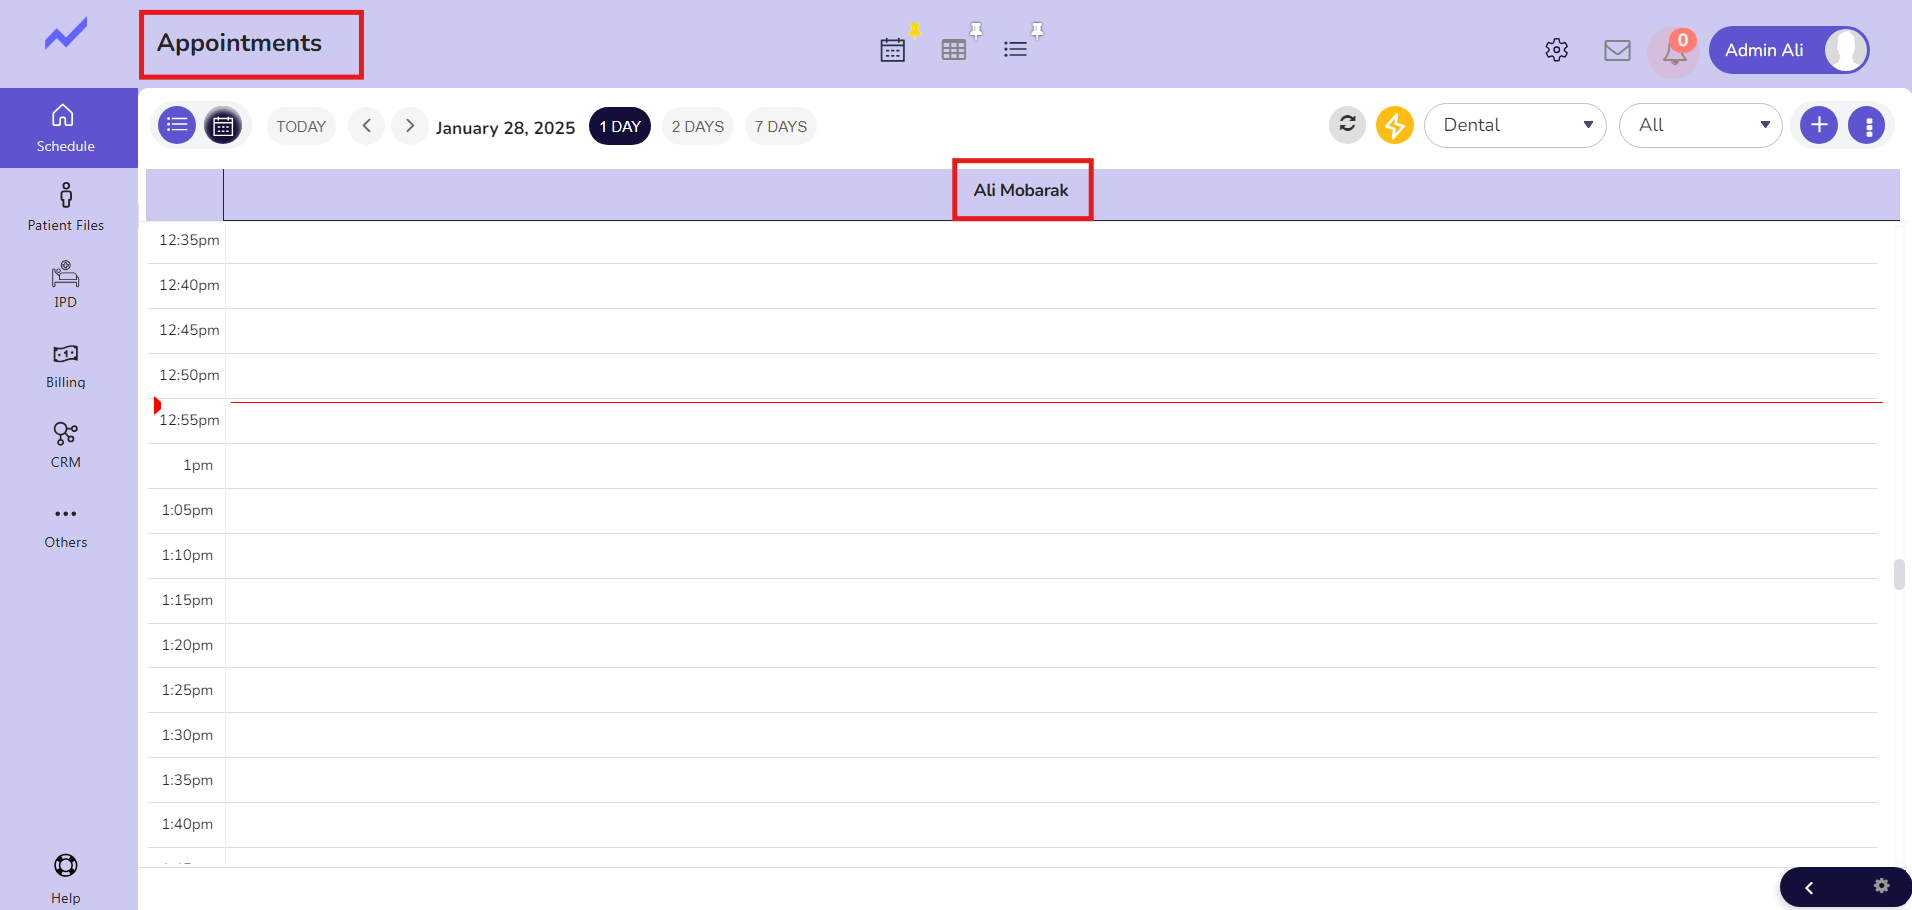
Click on any Slot and make an appointment.
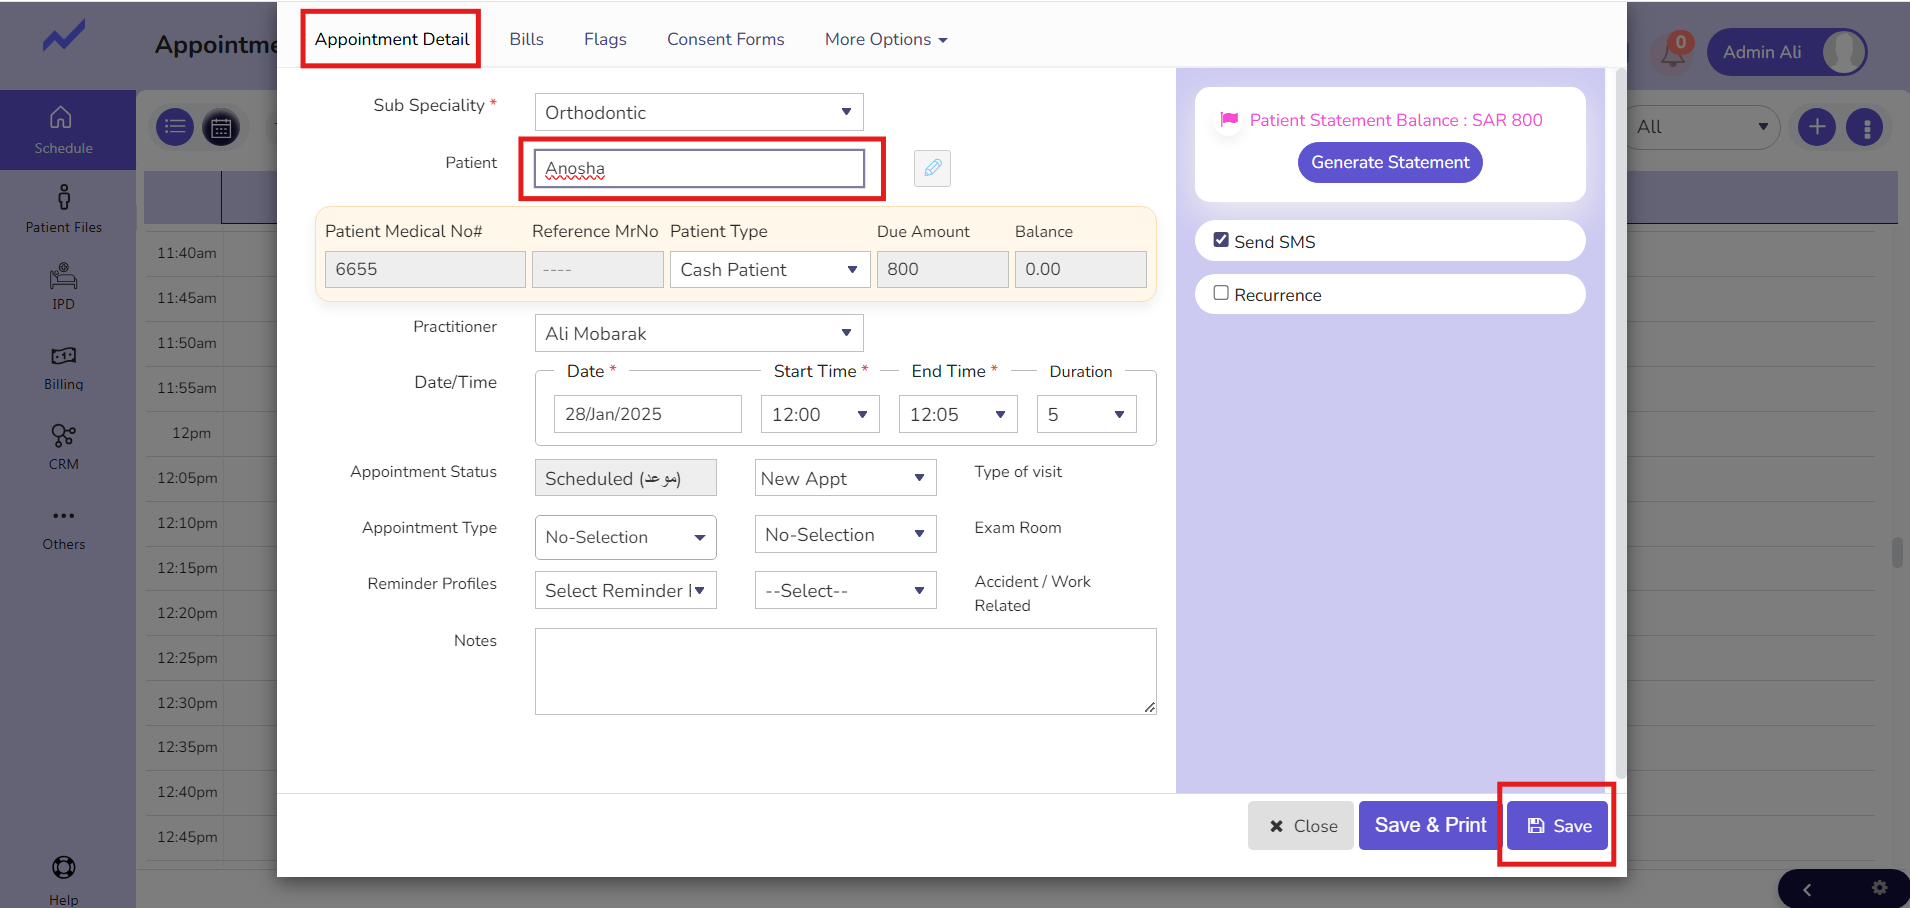
The Appointment Details screen will appear. Select the patient and click on the Save button.
Appointment has been created.

Now, click on the Appointment and then click on the Clinical Note button.
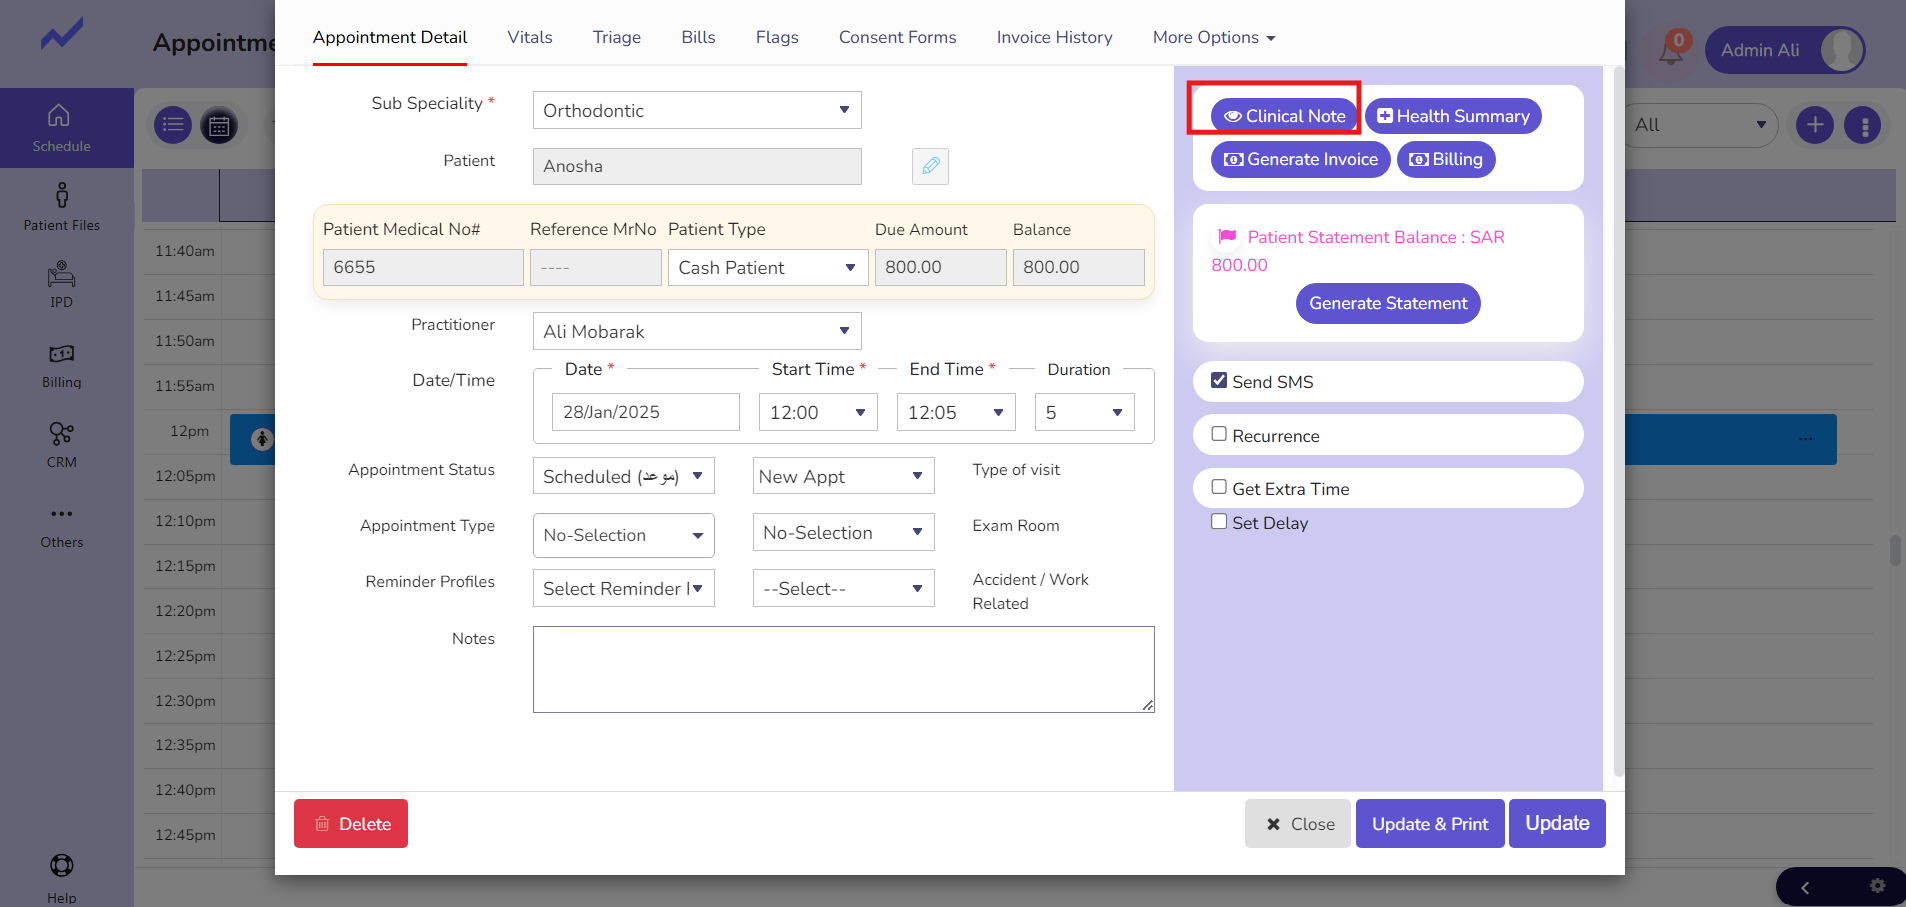
A clinical Note screen will appear.
On the top-right corner, there is a drop-down menu that allows you to access the Plan screen.
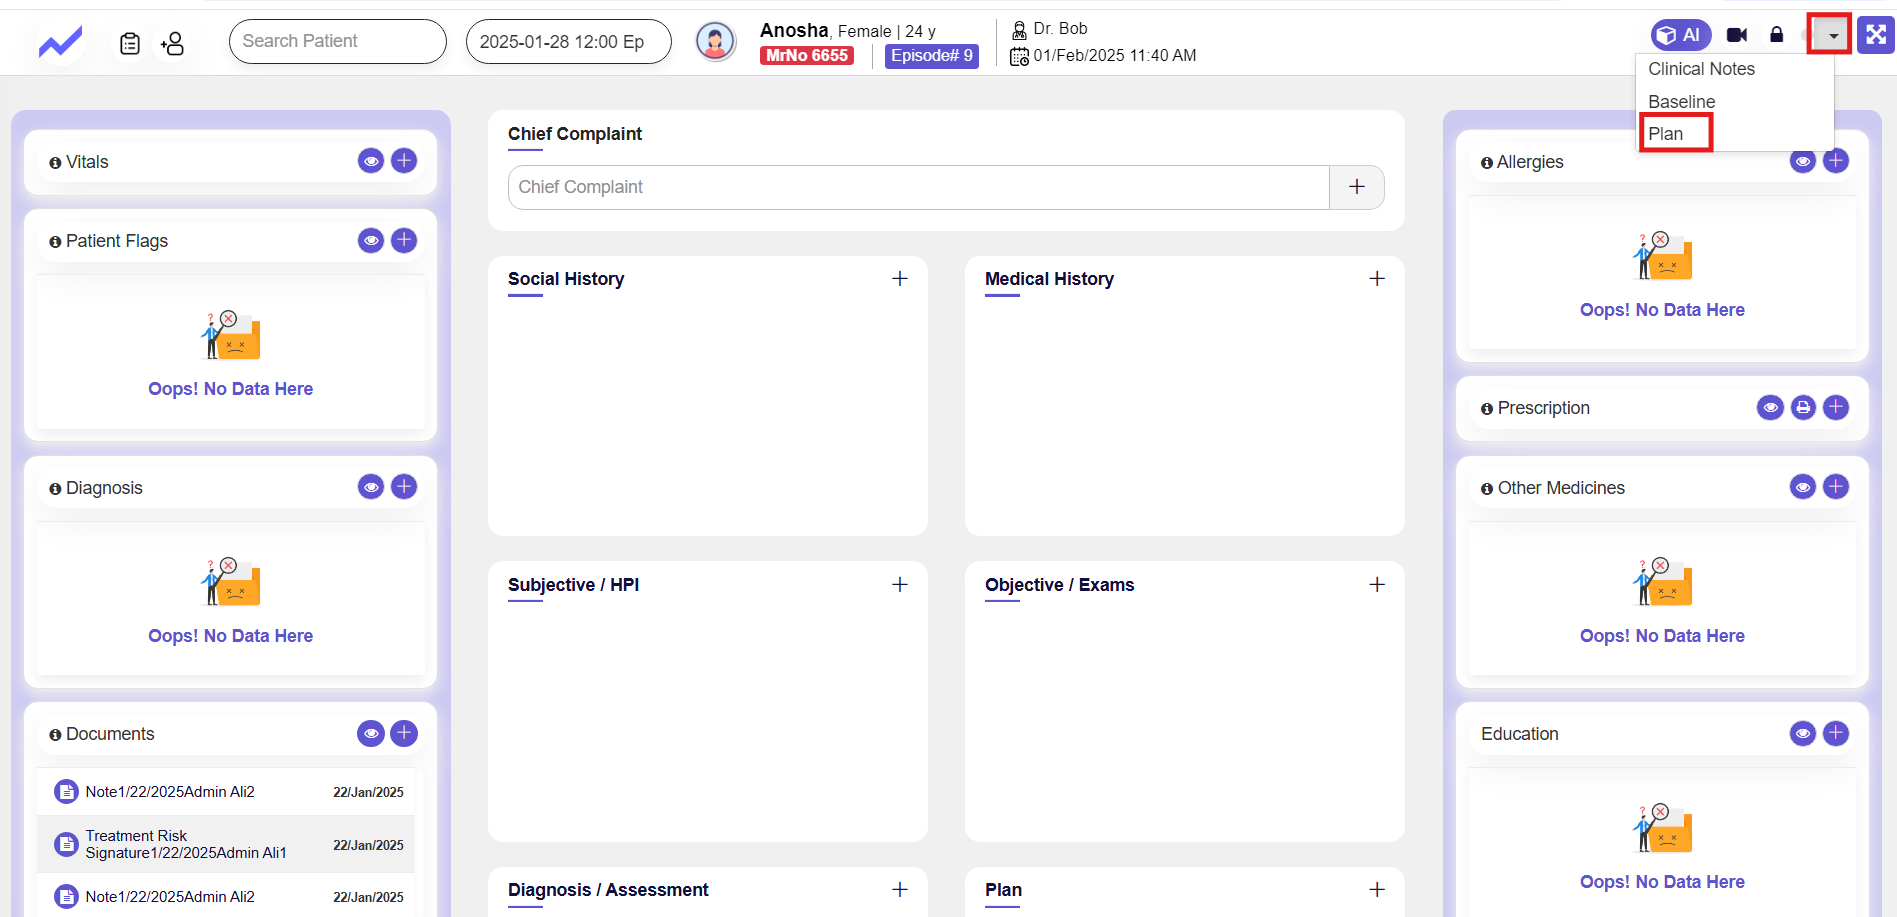
We can add a new plan by just clicking on the add new plan button.
Also from the history drop-down, we can access the history of the baseline screen.
1.3 Service Mapping #
We can map the services using the Service Mapping option available on the Settings screen.
From the schedule screen, Go to others.

Click on Settings.

Settings screen will appear.
Click on Service Mapping, and the Service Mapping screen will appear.
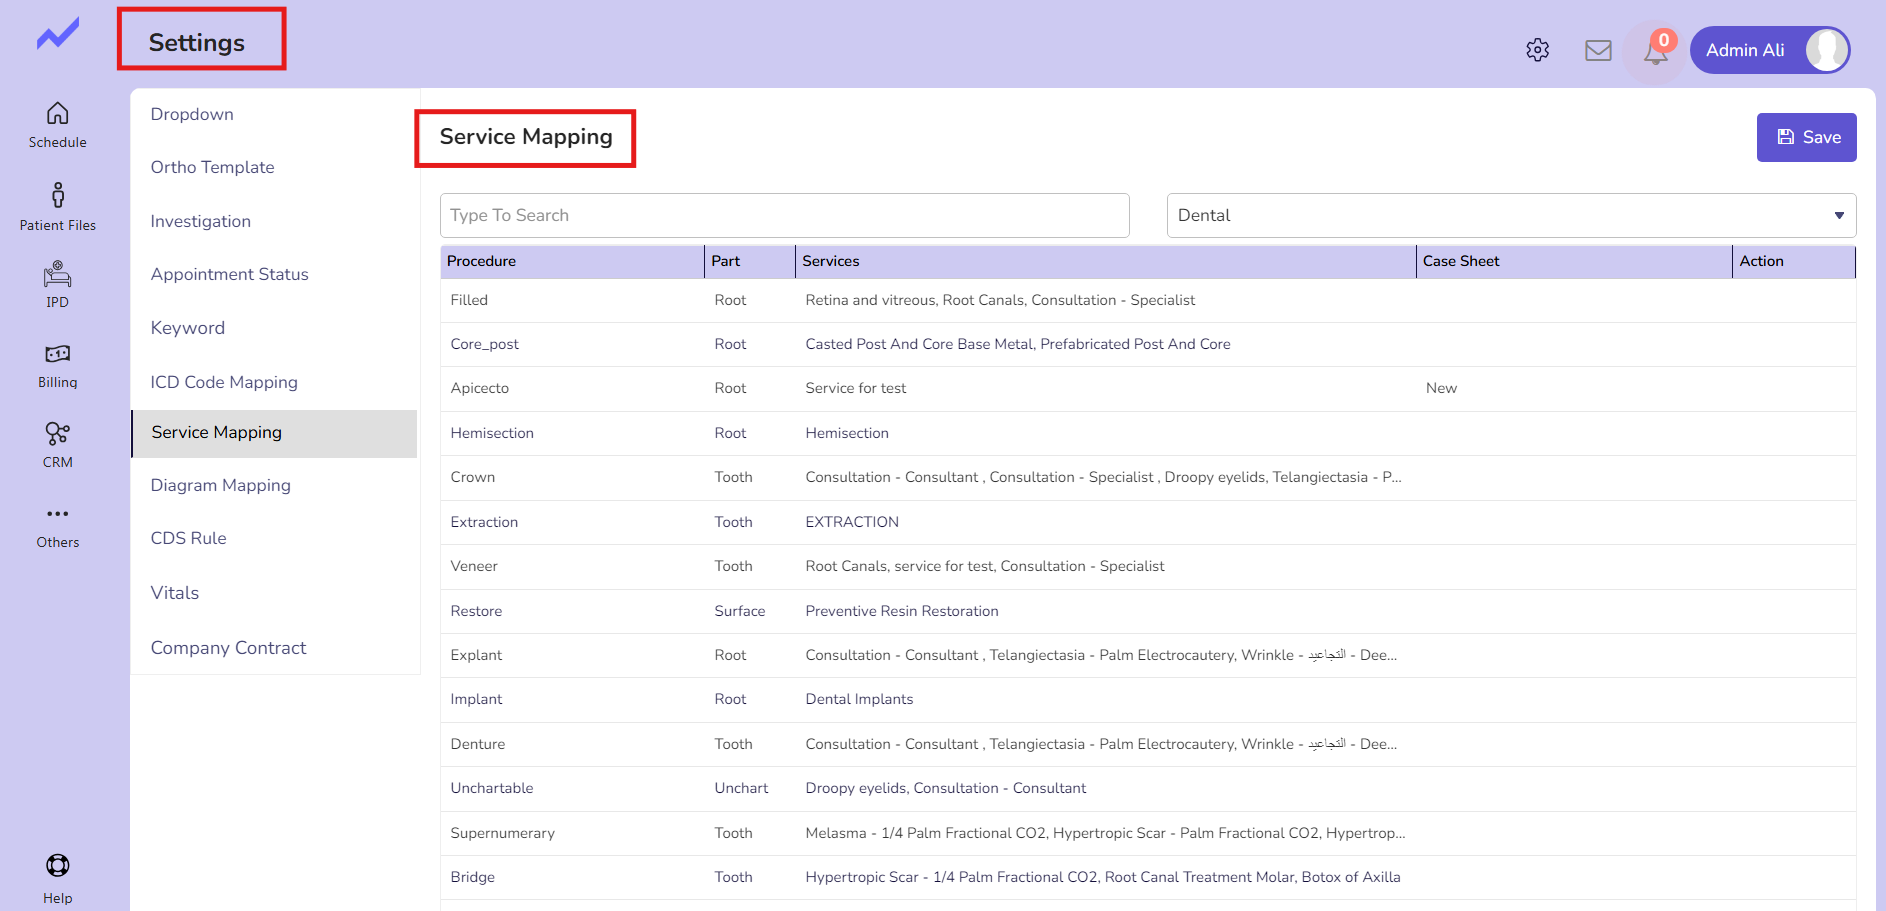
Here all the operations are available and we need to map the related services by just clicking on the add button.
When we click on the add button a new screen will appear.
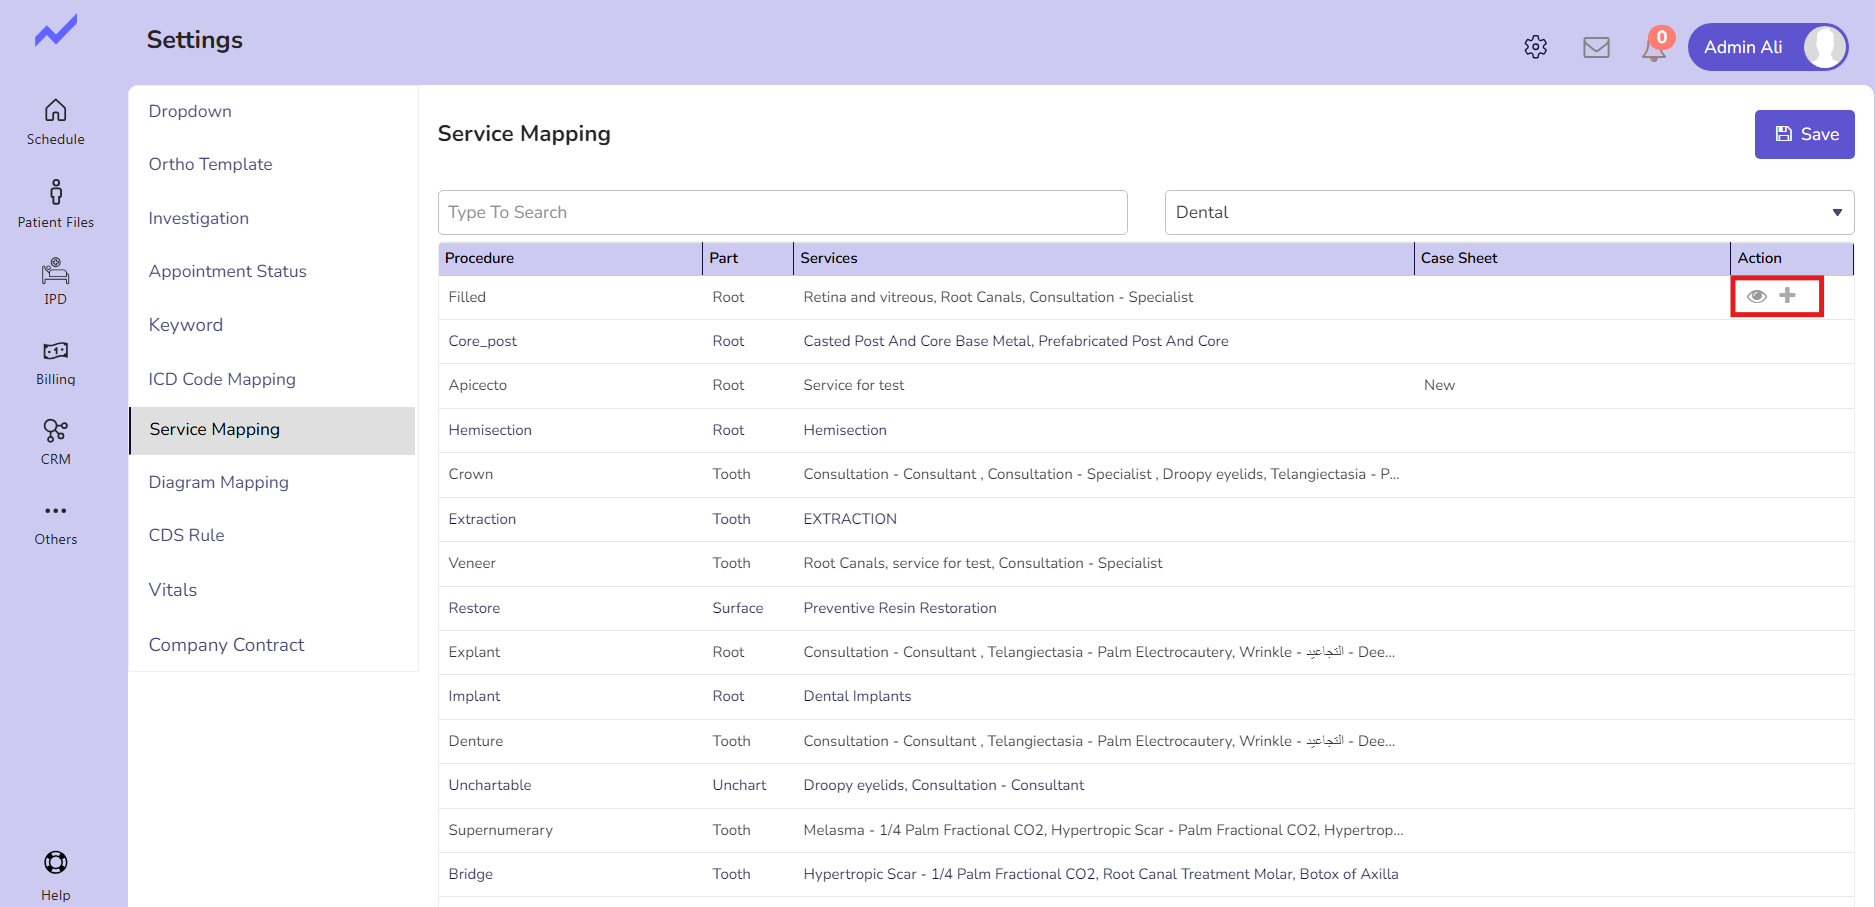
Map the services you want to add by just clicking on the add icon.
Services will be mapped successfully.
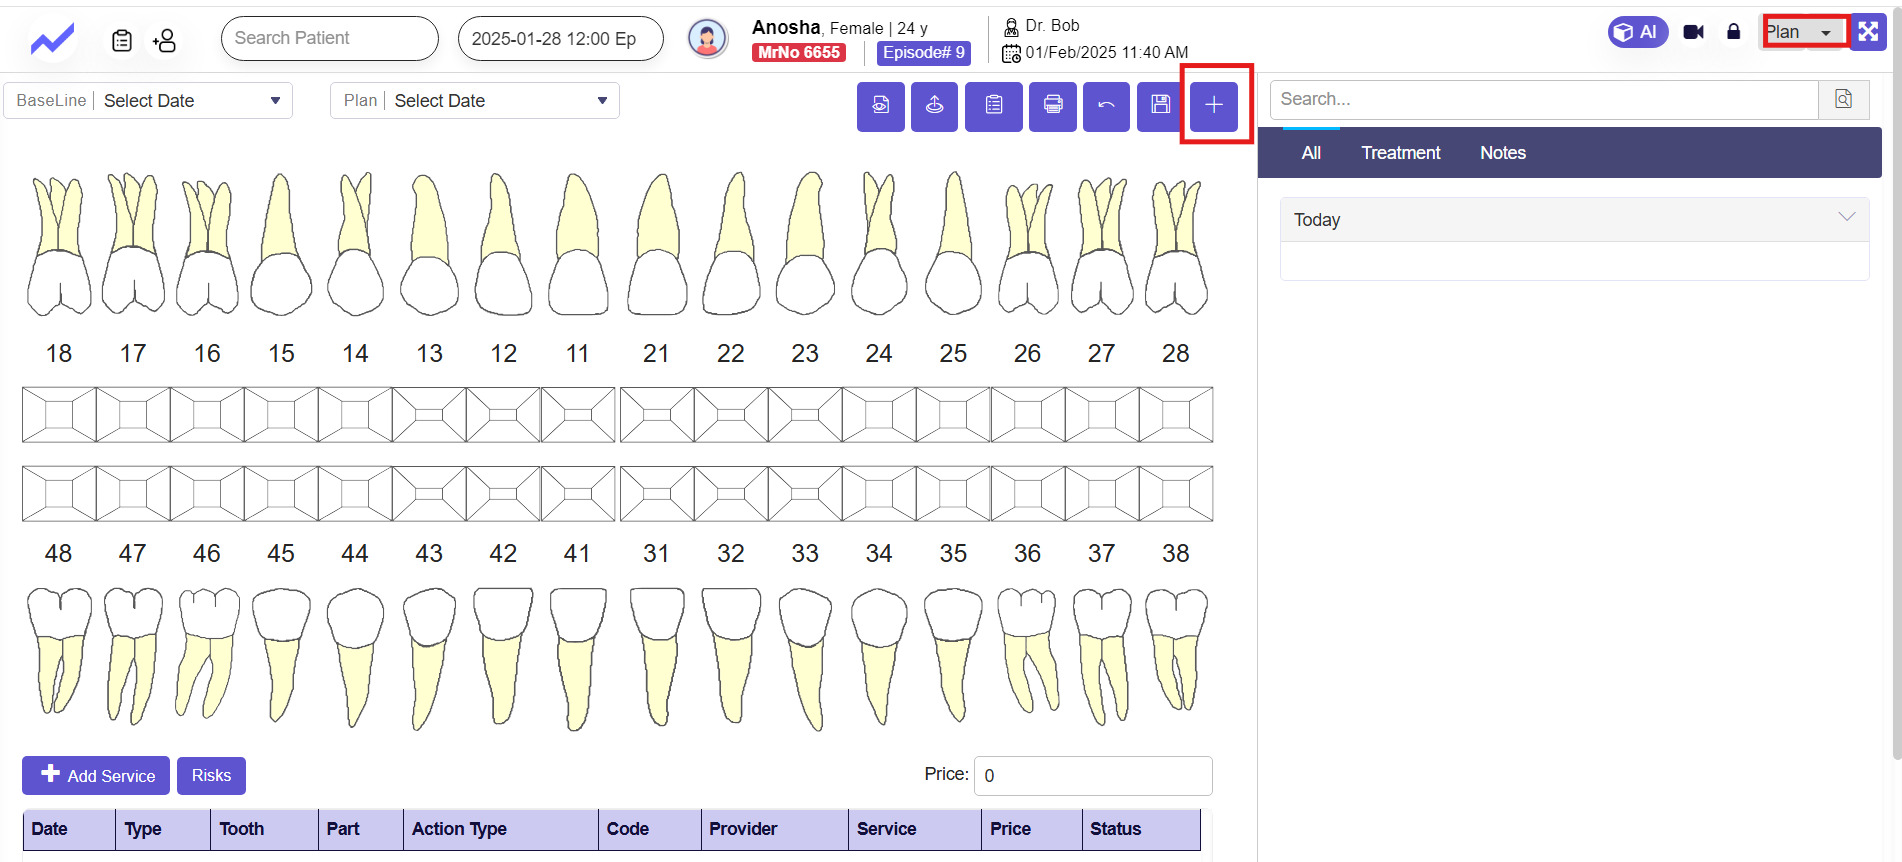
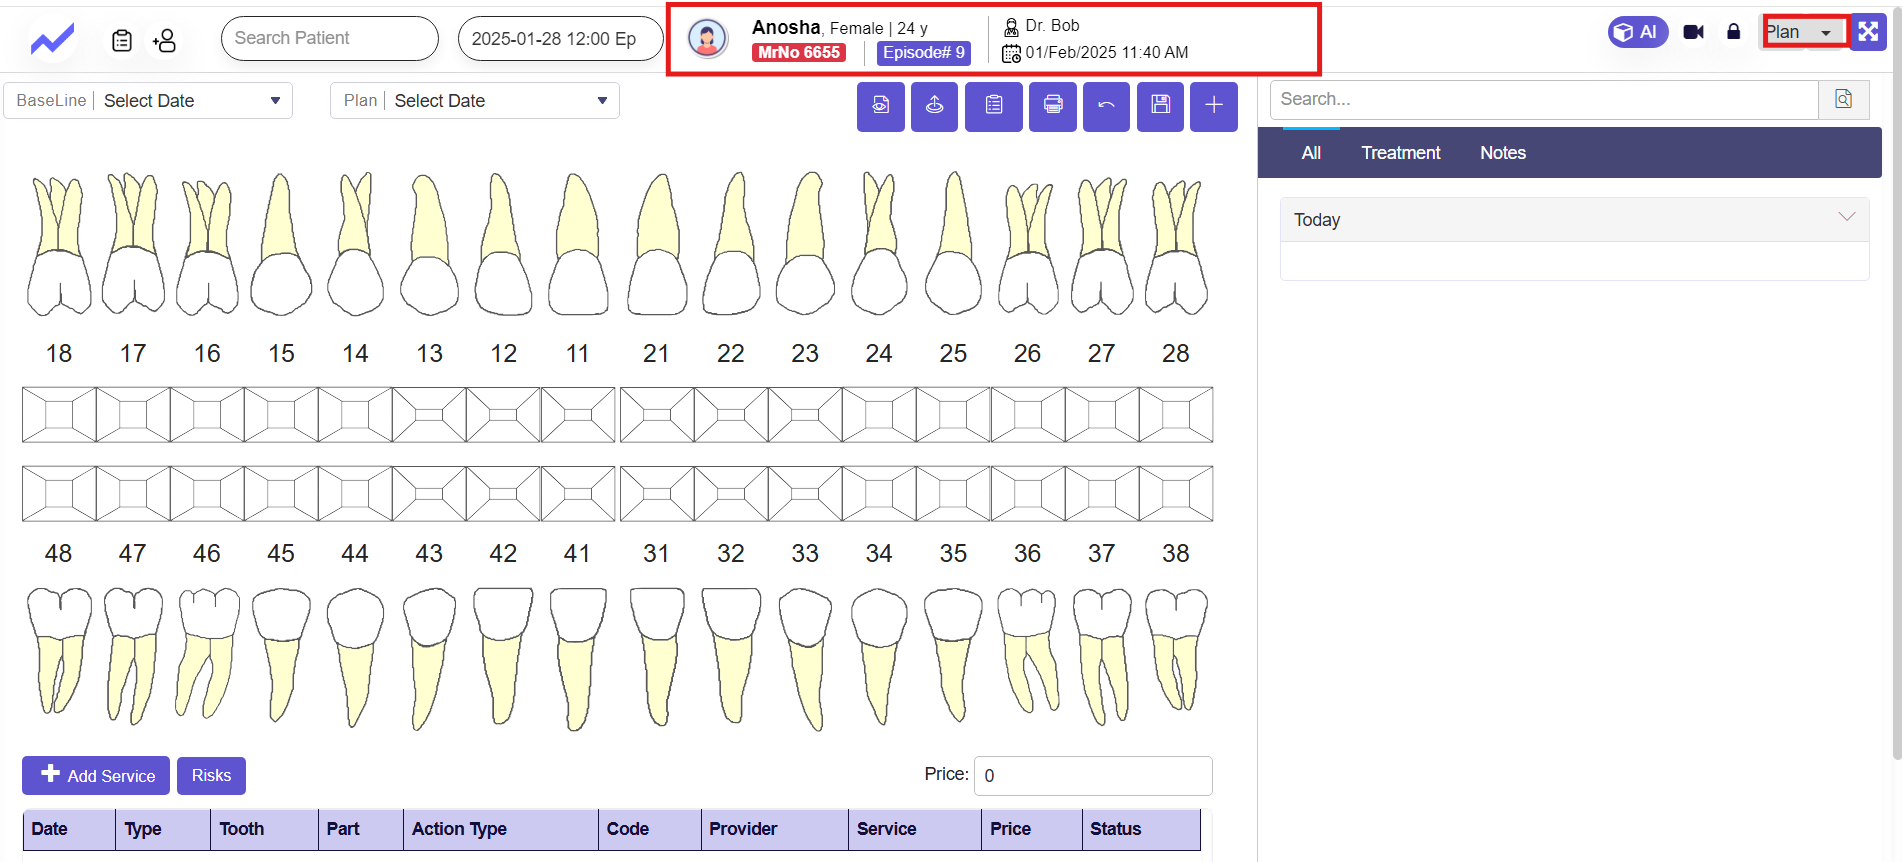
1.3 Plan Operations #
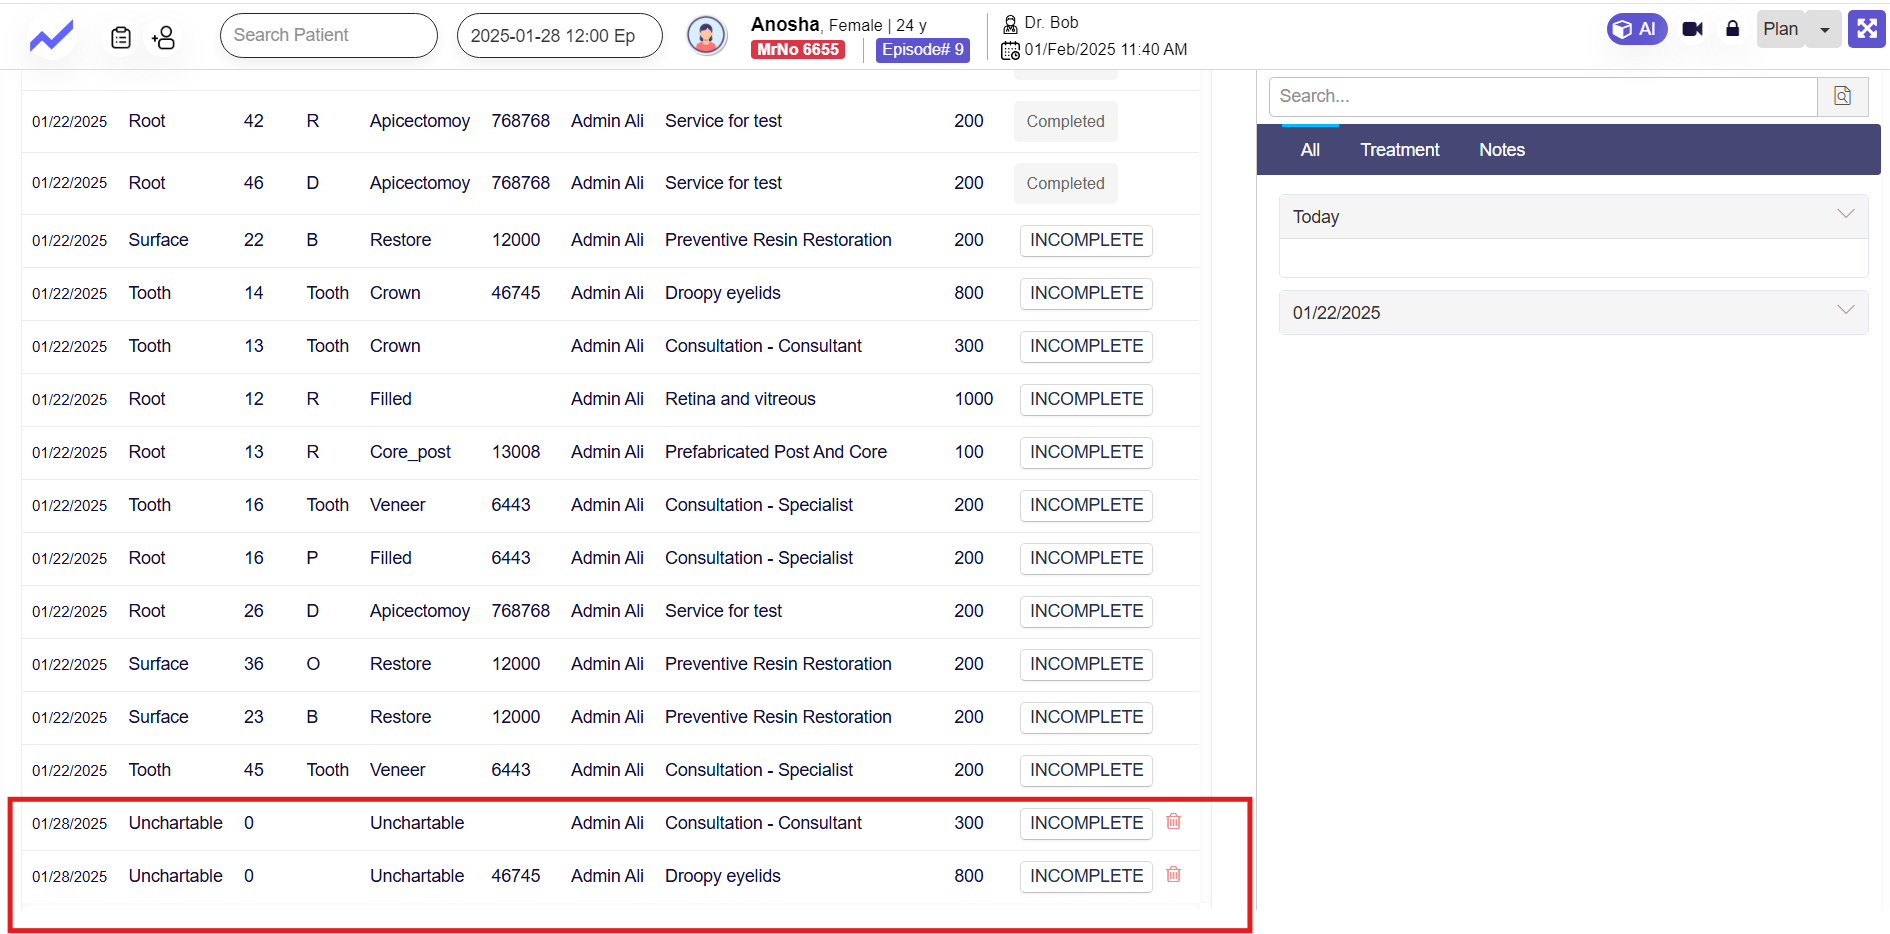
Here, we will select the services the patient requires and the operations that need to be performed on the patient’s teeth.
In Baseline, the doctor assesses and notes the current condition of the patient’s teeth. In Plan, the doctor develops a treatment plan, detailing which operations need to be performed based on the current condition of the teeth. The Plan screen is used to create a detailed treatment plan based on the patient’s current dental condition, as documented in the Baseline module.
Key Operations in the Plan Screen:
- Missing Teeth: Plan the replacement options for missing teeth, such as implants, bridges, or dentures.
- Crown: Plan the application of artificial crowns to restore specific teeth.
- Denture: Develop a treatment plan for applying dentures, either fully (for all missing teeth) or partially (for some missing teeth).
- Veneer: Outline the procedure to apply veneers on specific tooth surfaces, detailing the surfaces to be treated.
1.4 Add Services #
We can also add some services if required by clicking on the add service button.

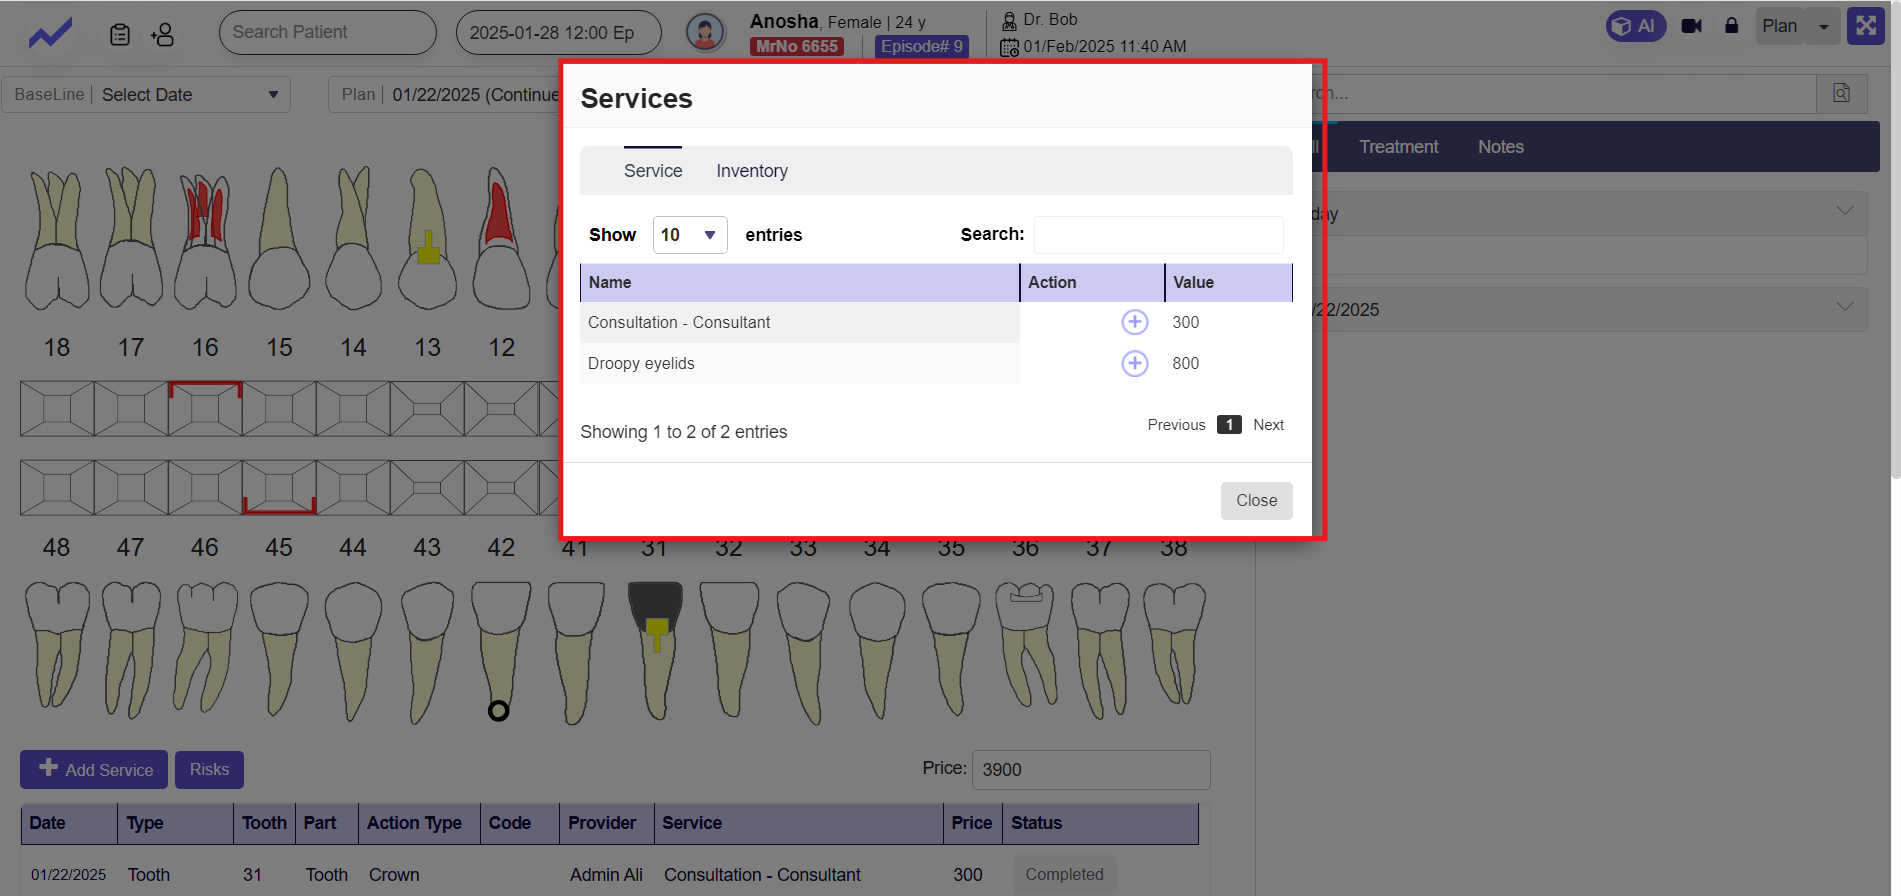
Services will be added when you click on the add icon.
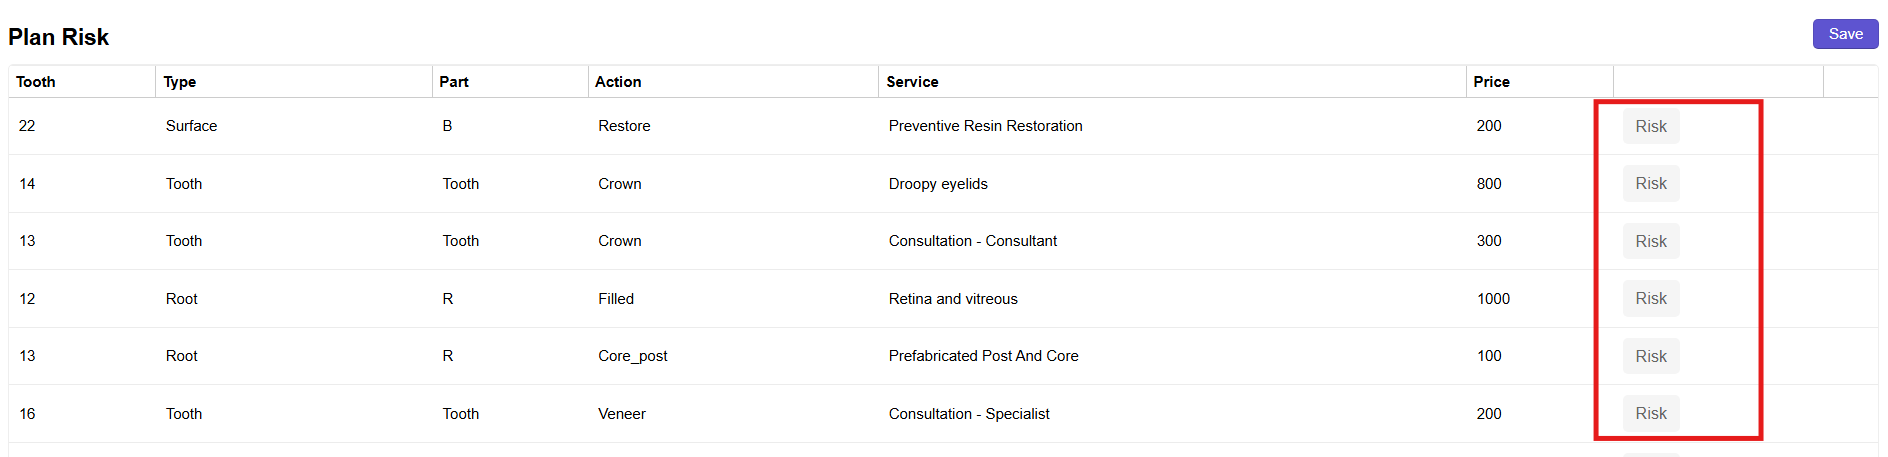
1.5 Adding Risk #
There is also a Risk feature, where any risks associated with applying these additional services will appear in the Risk tab.
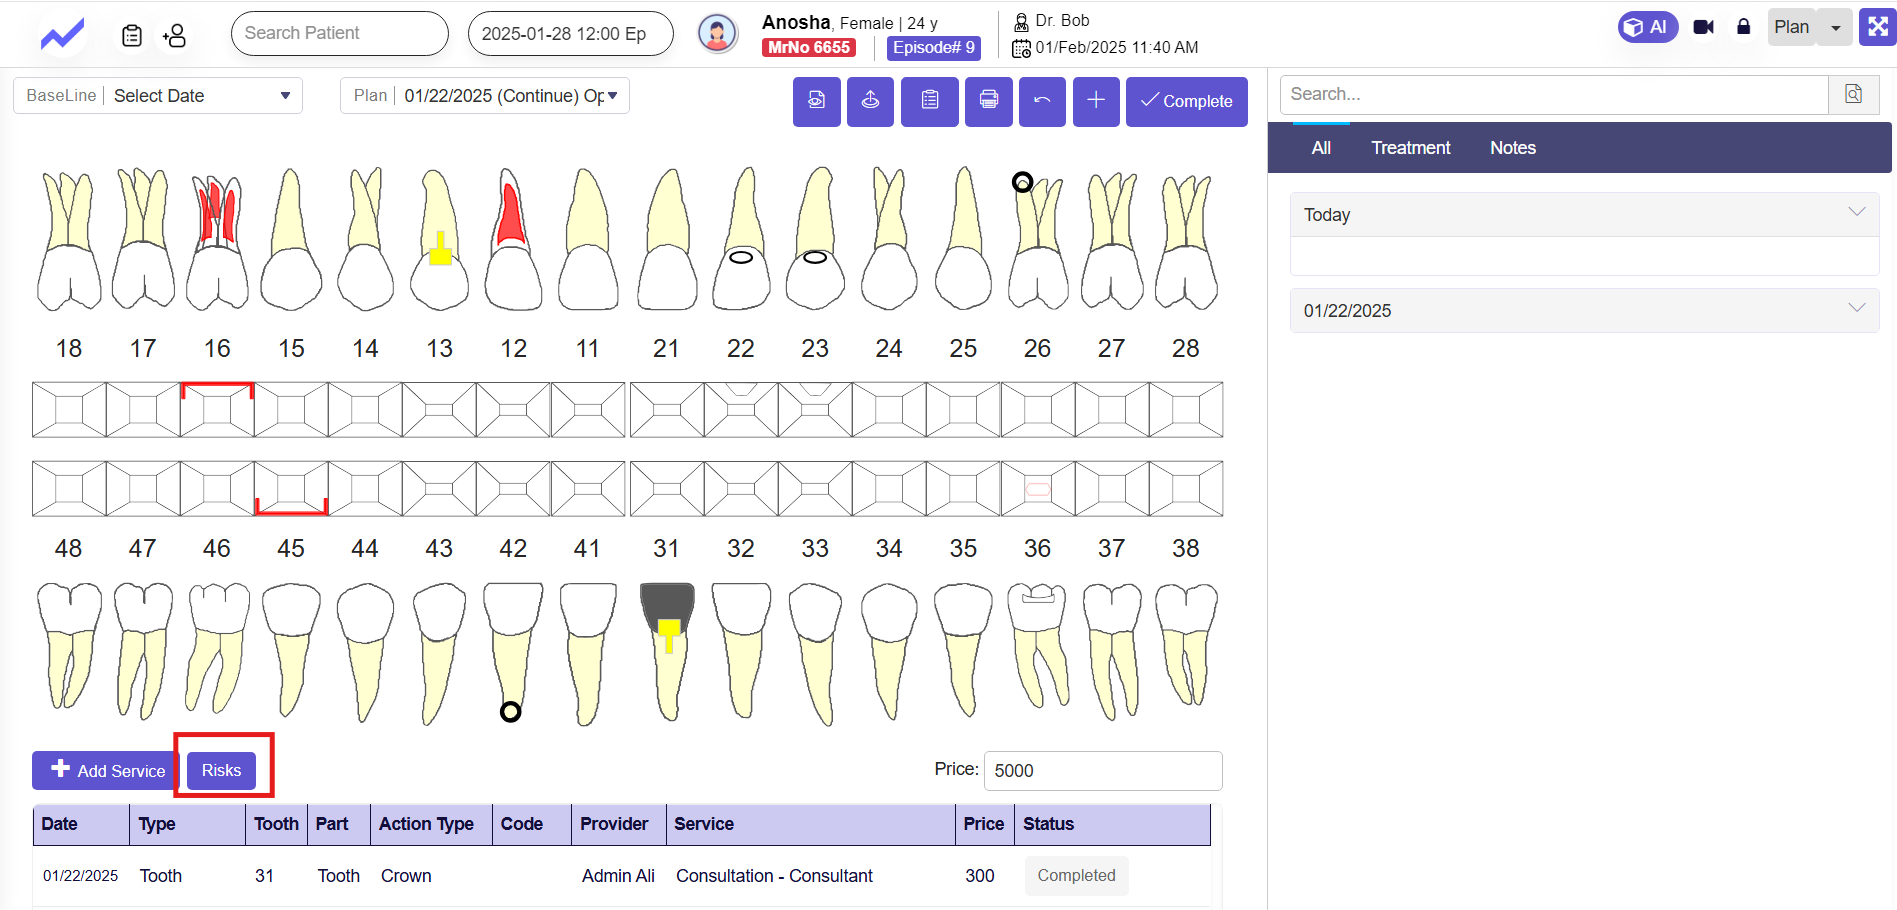
When you click on the Risk button the risk screen will appear.
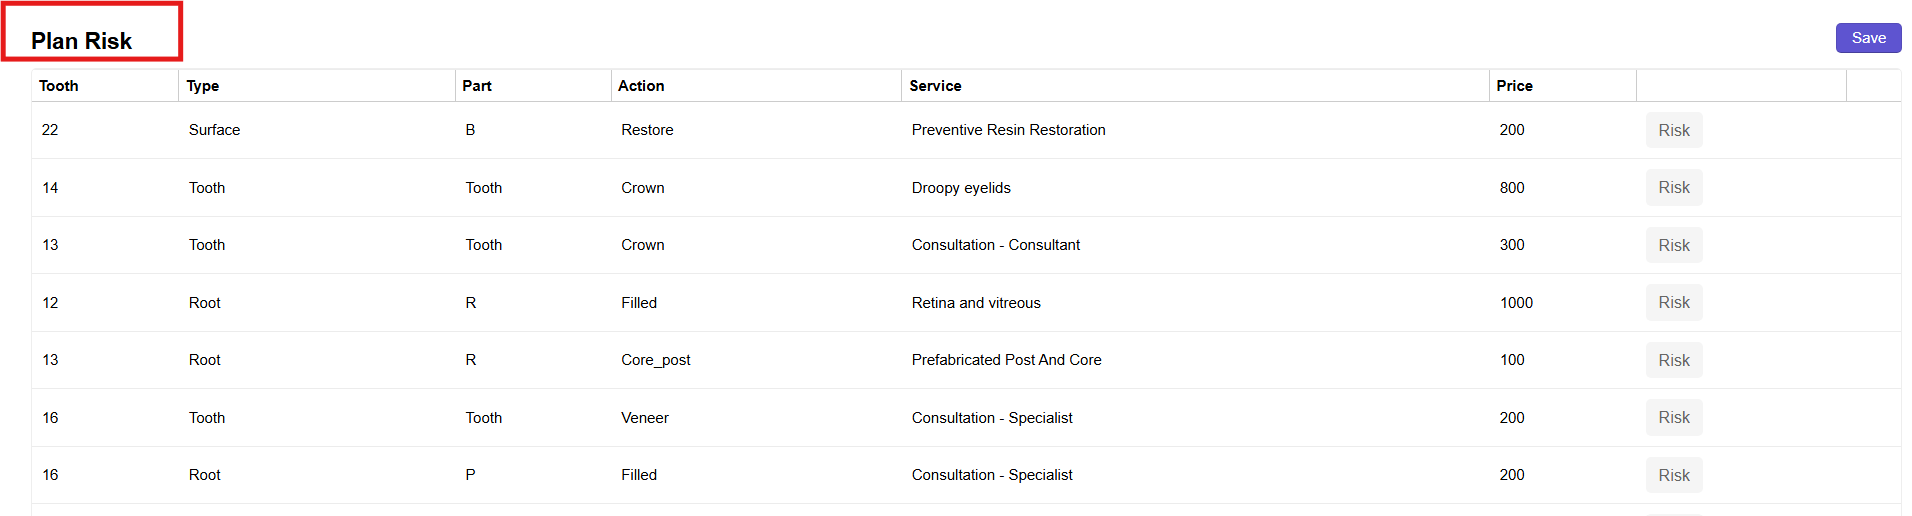
Here the doctor can add risk if there is any risk in applying any service according to the patient’s teeth condition.
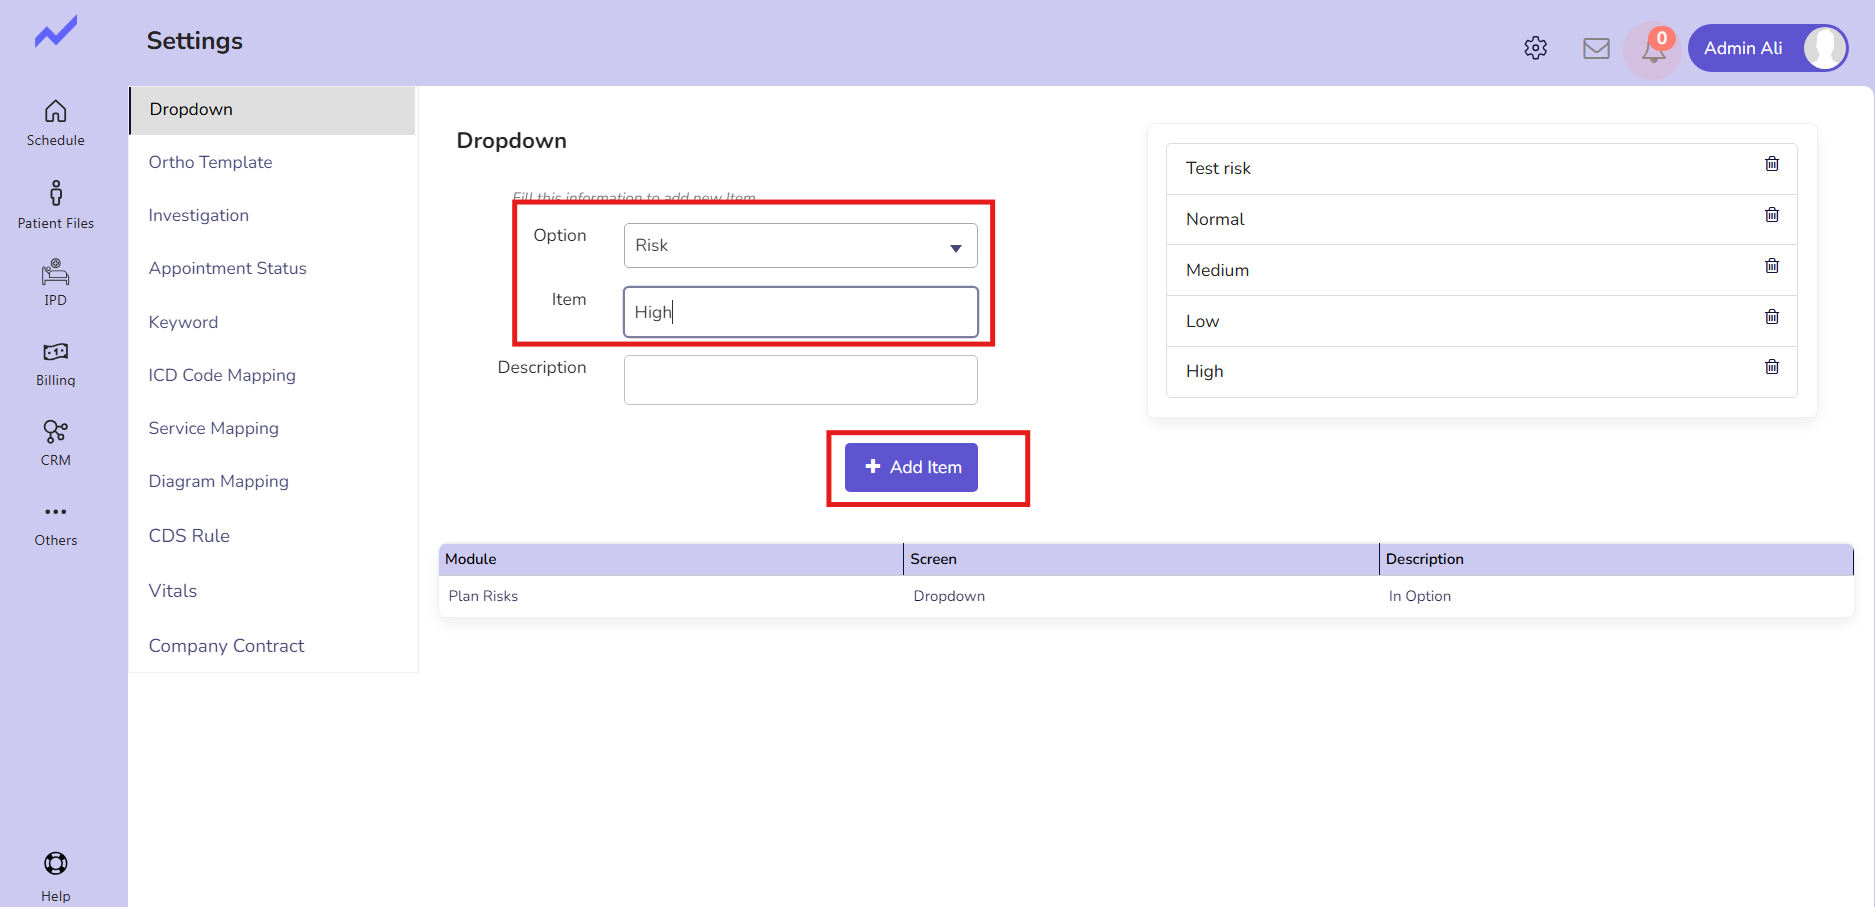
These risks will come from the Settings—>Drop-down.
From the schedule screen click on others.

Go to settings.
From this drop-down select risk and add risk values.
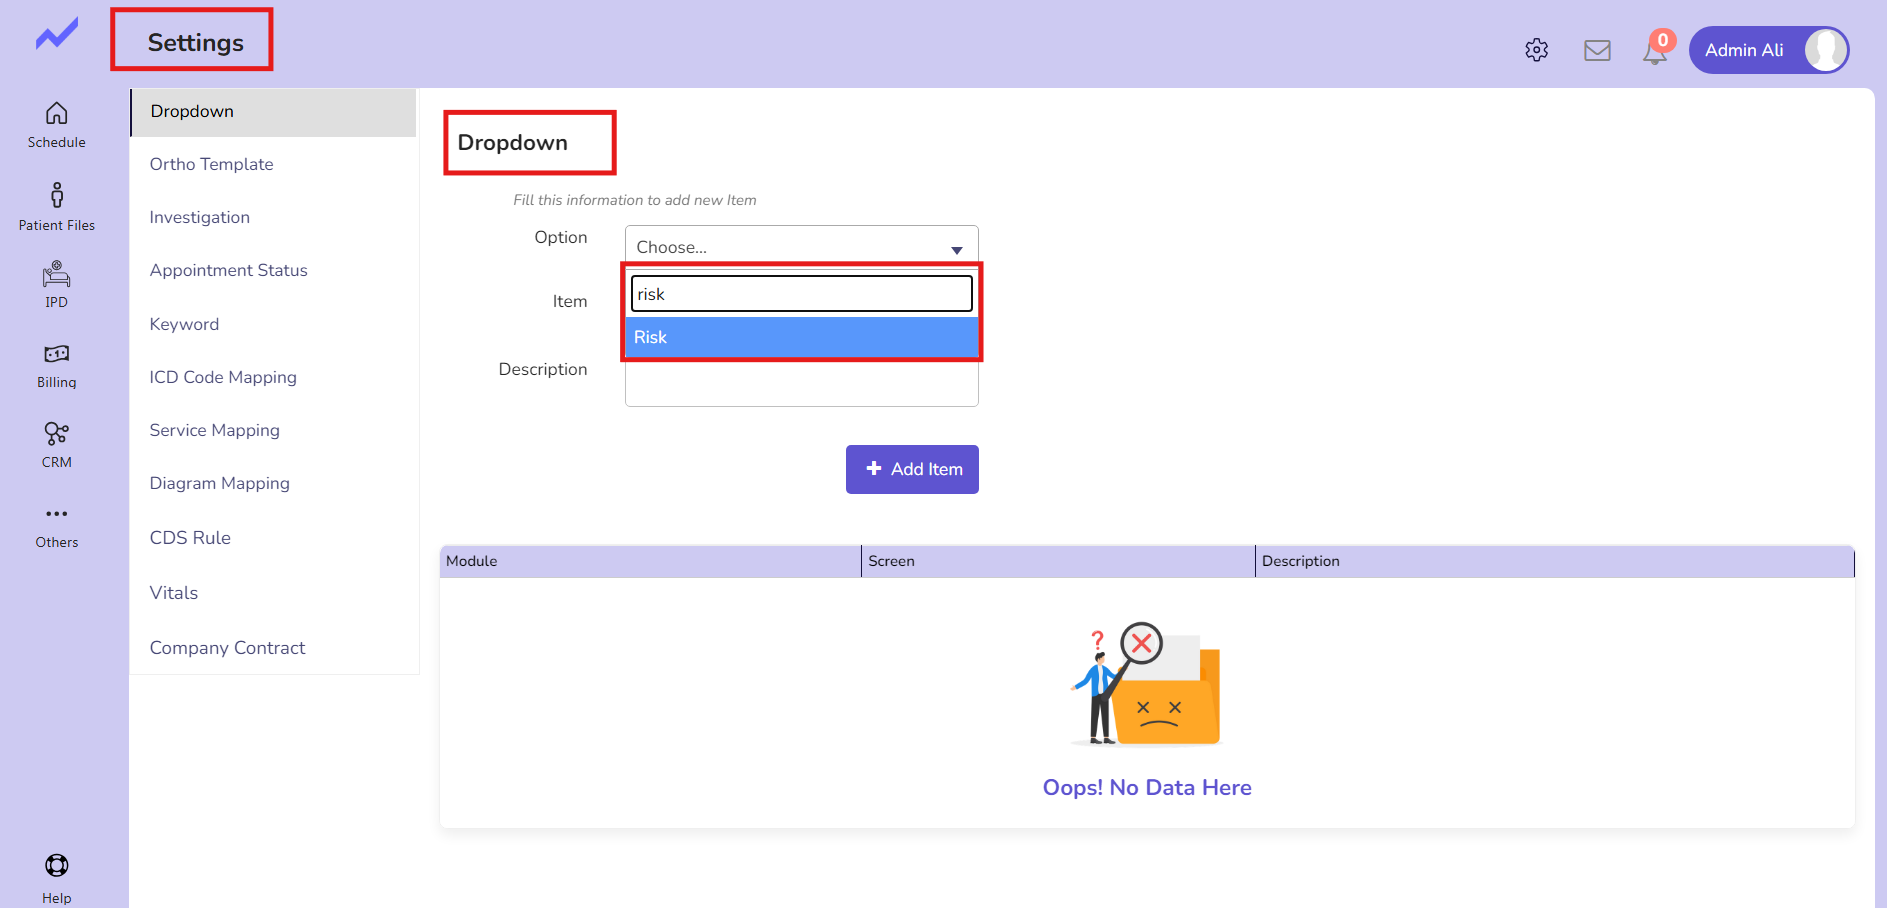
After adding Risk Click on the add item button.
Now from the clinical note screen Click on the Risk tab.
Doctors can add risk here and after adding Risk click on the save button.
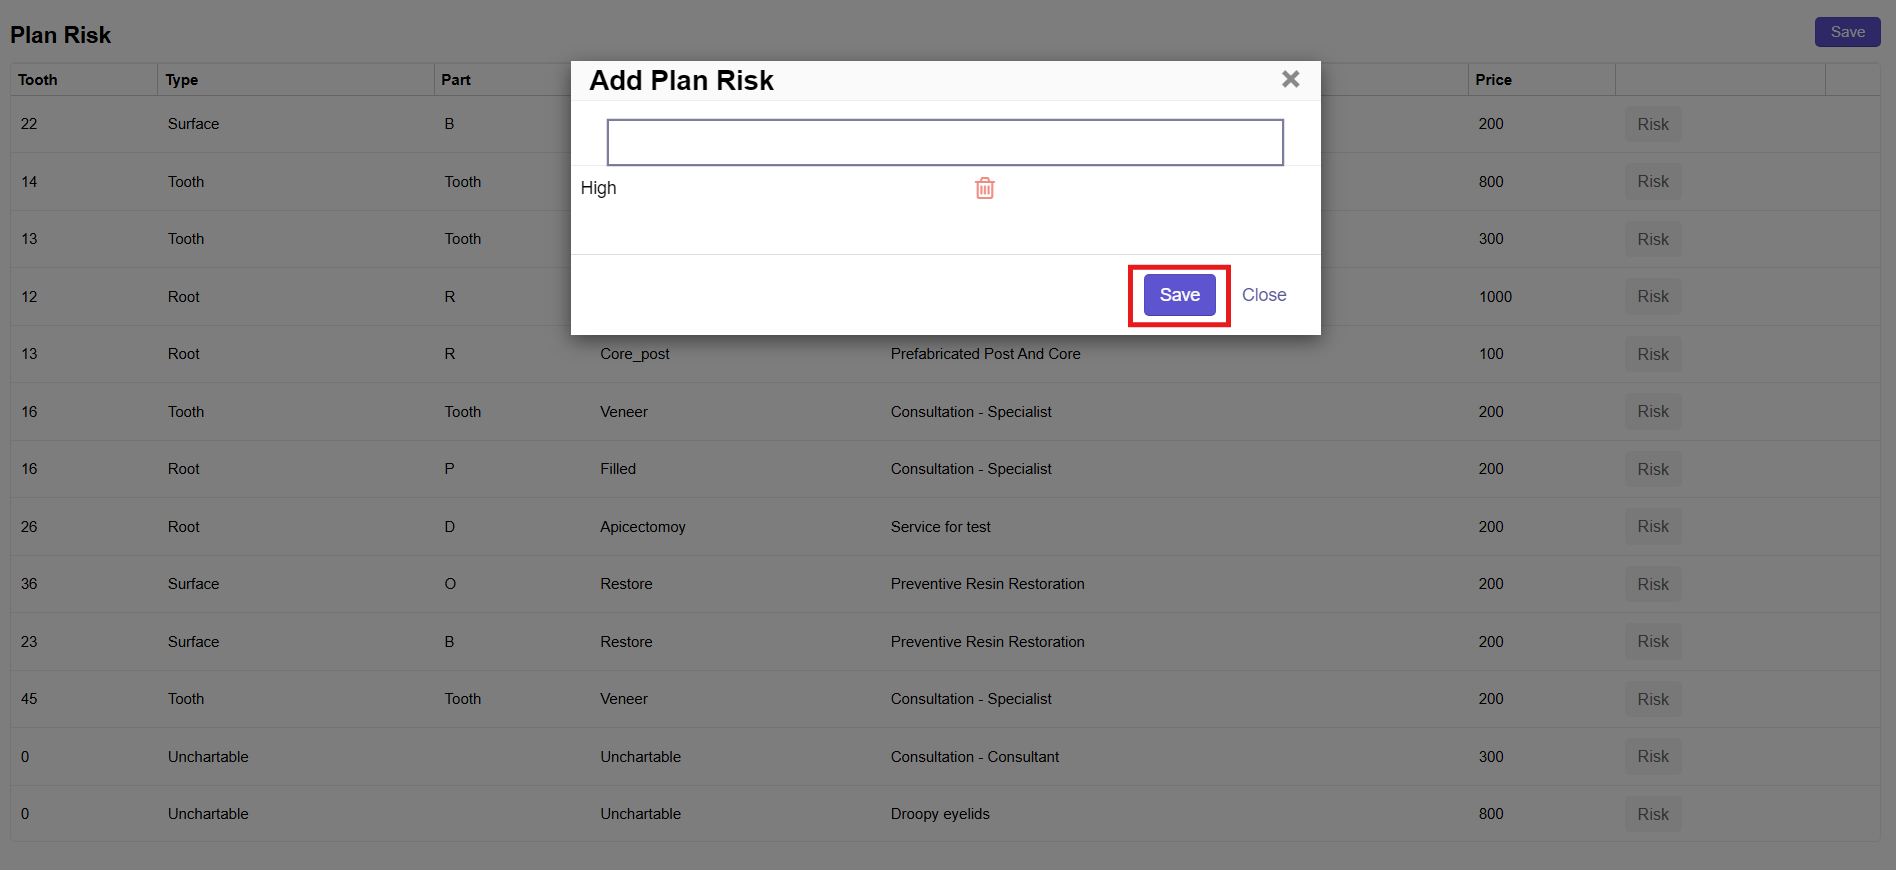
The risk will be saved.
The Risk details will appear in the view documents tab.
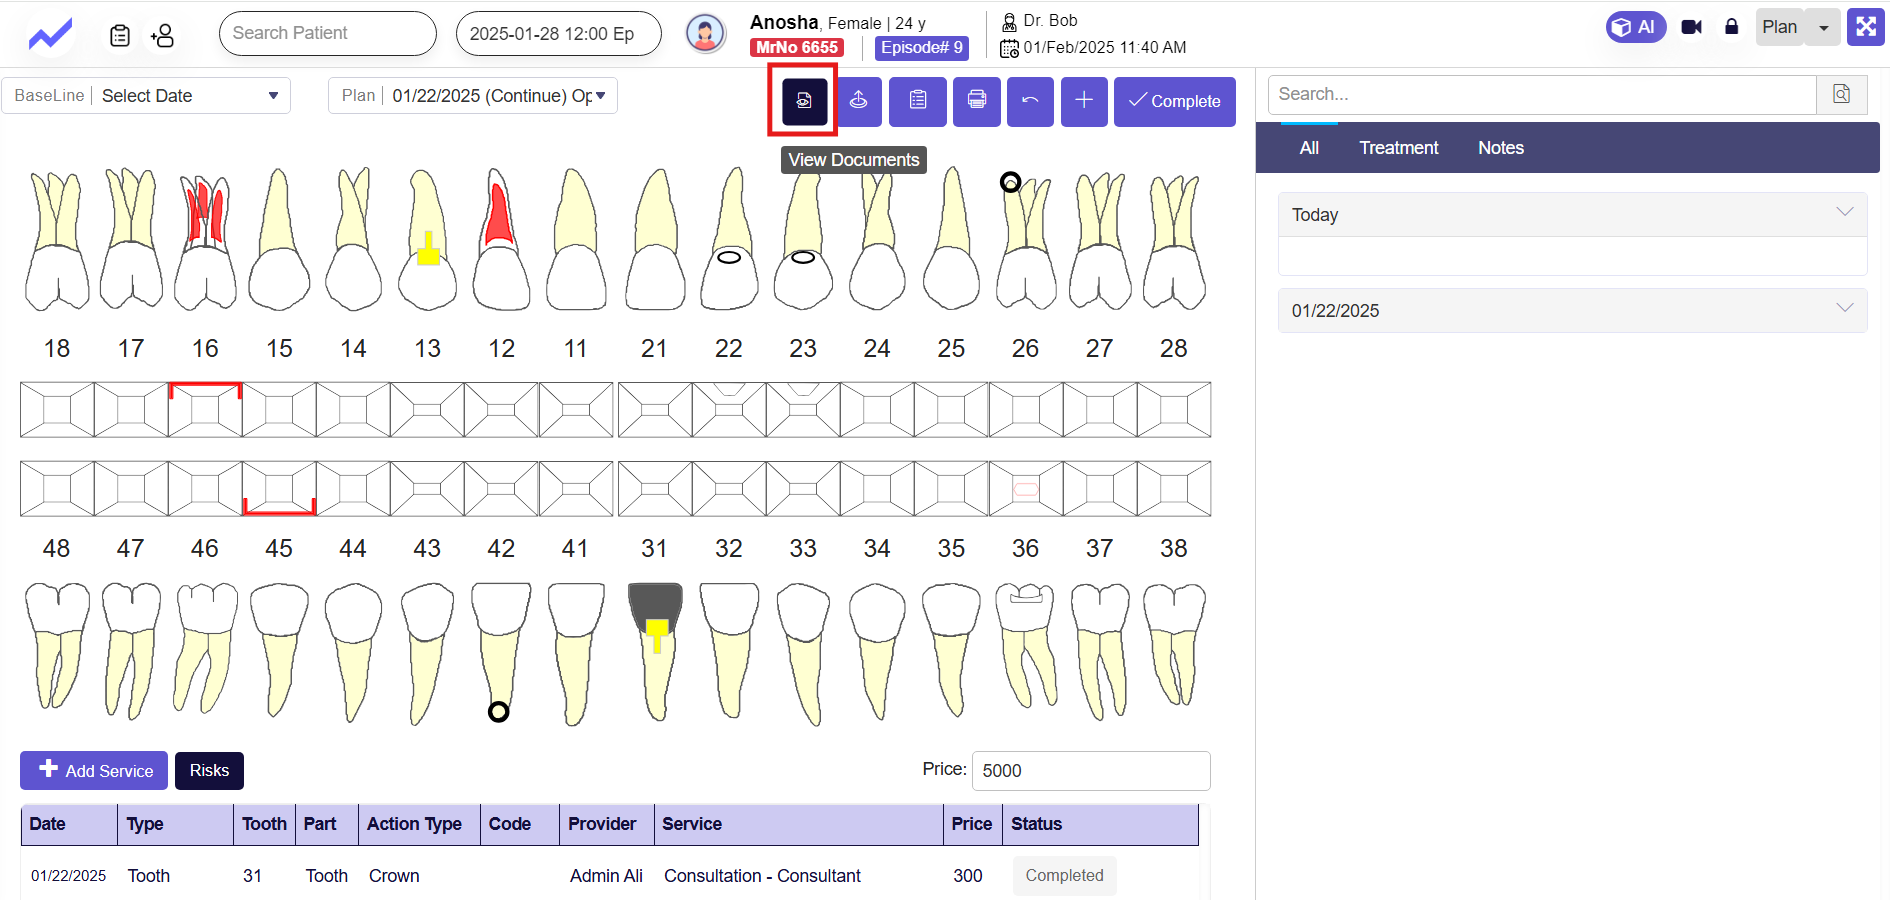
Click on it

Here you can see the risks we have added appearing in the form of documents,
From here you can view as well as download the document.
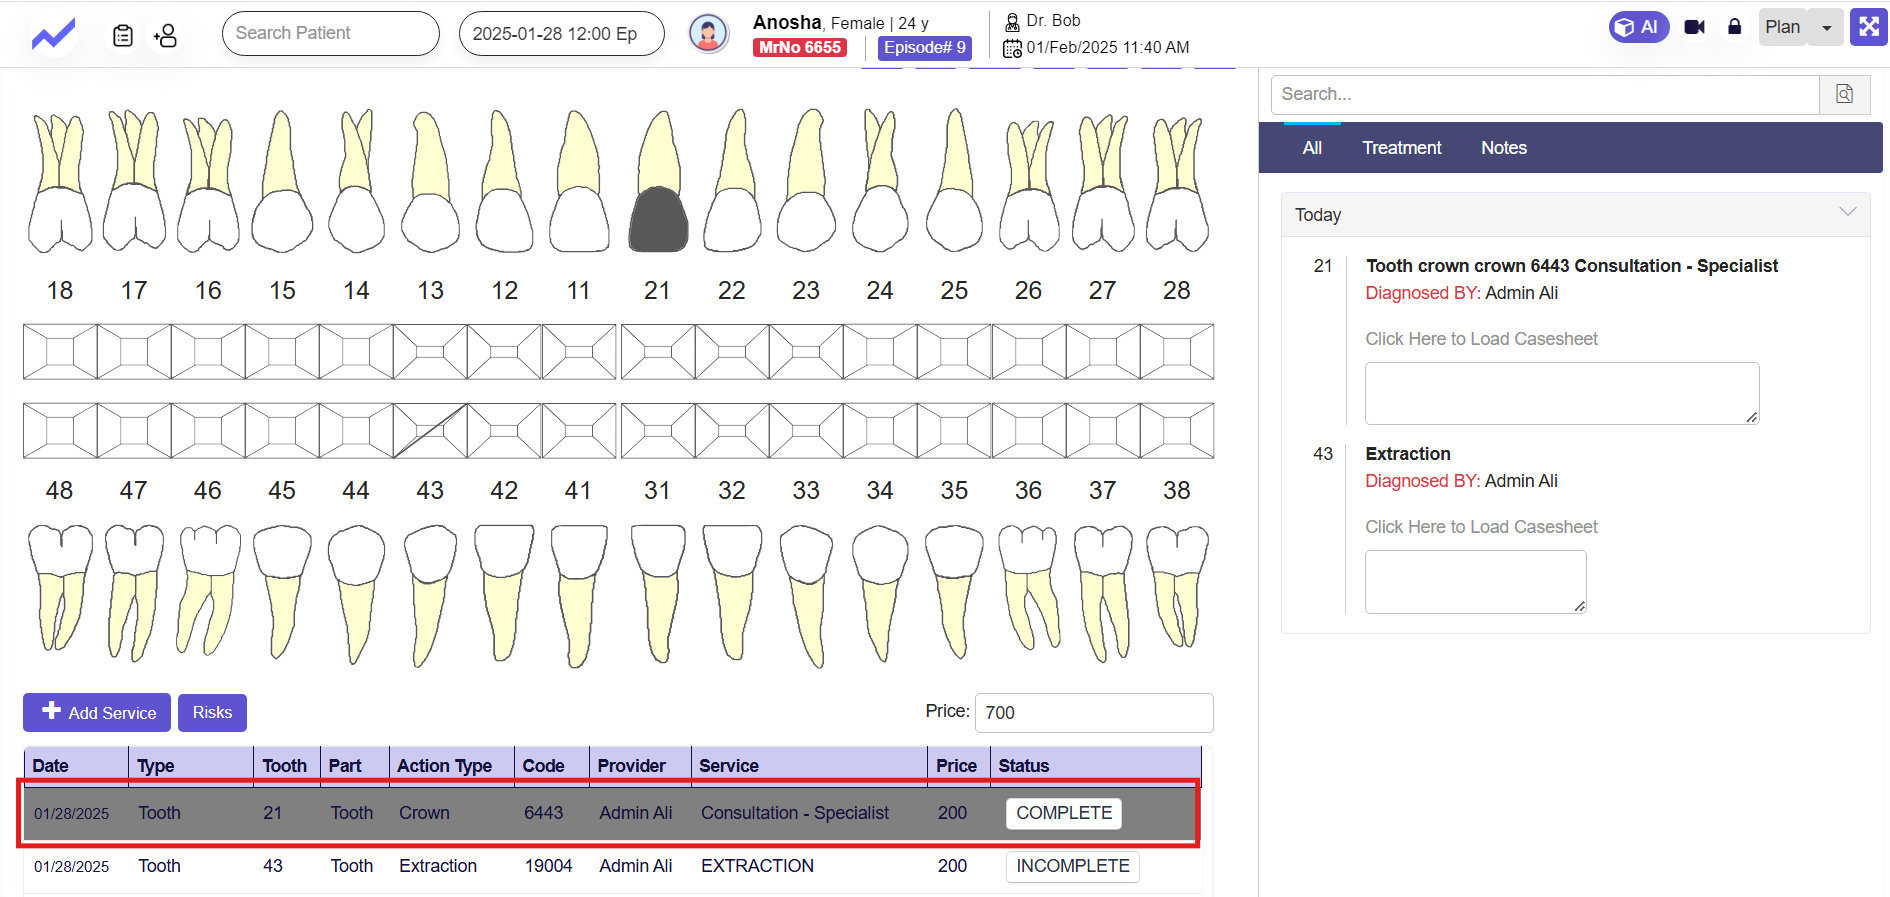
Doctors can also change the status of service from this tab.
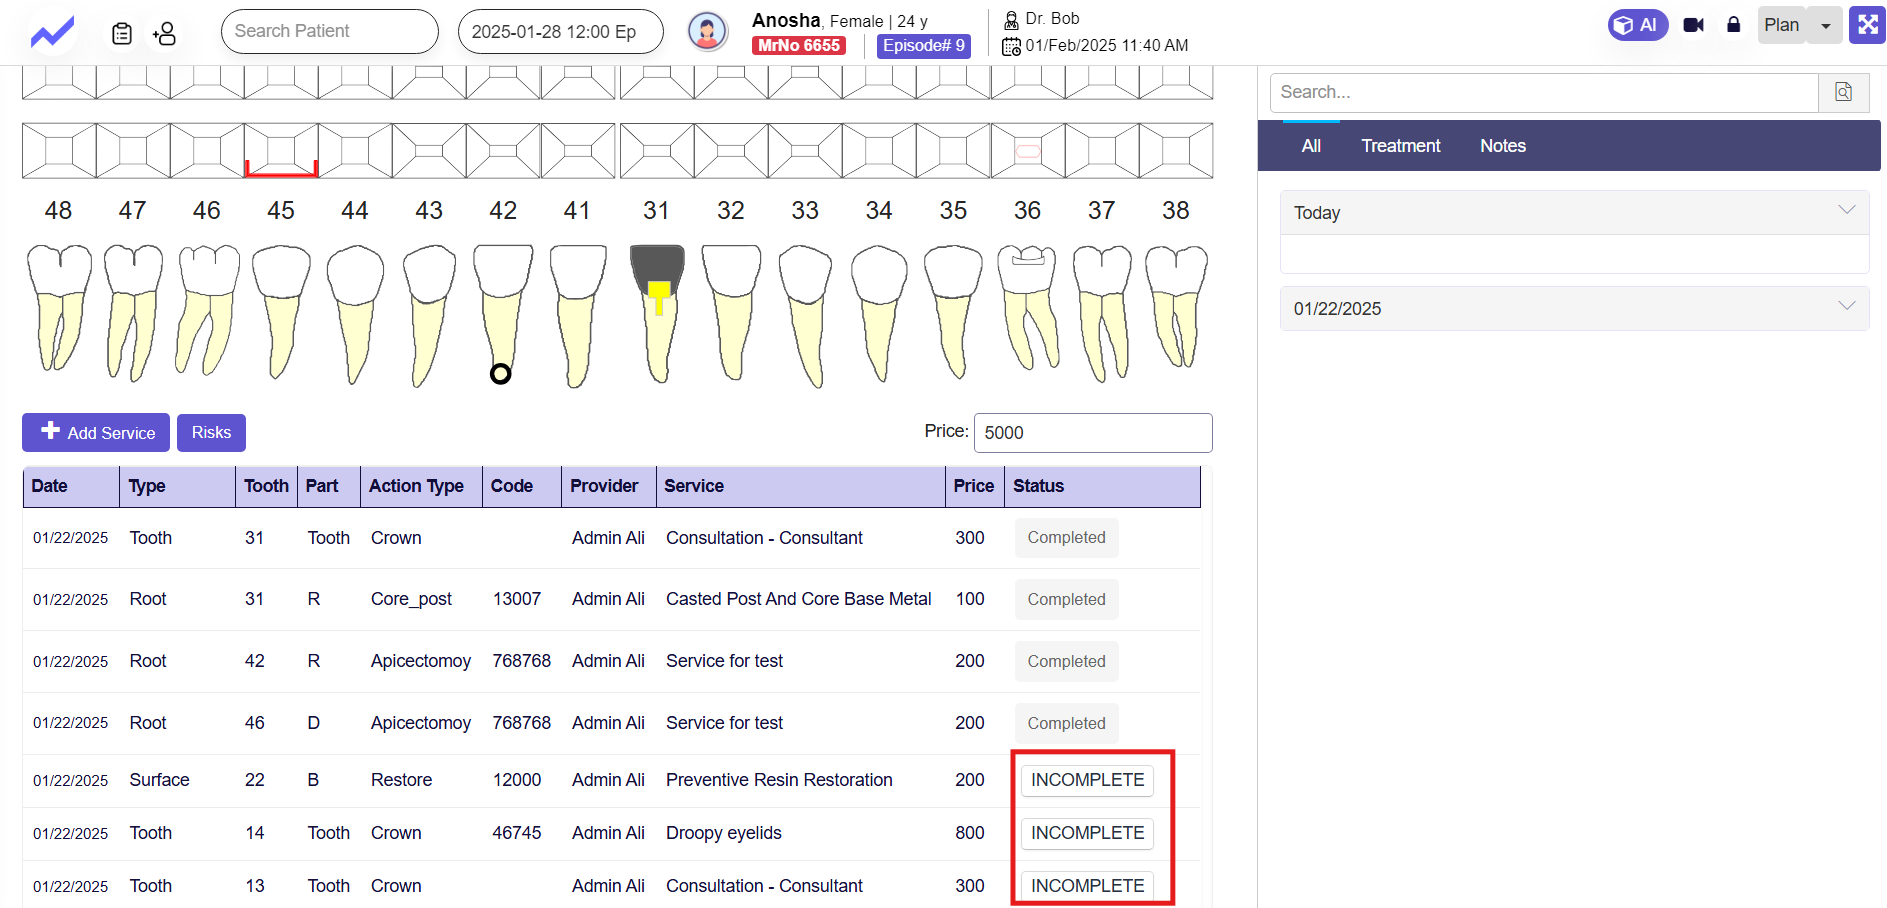
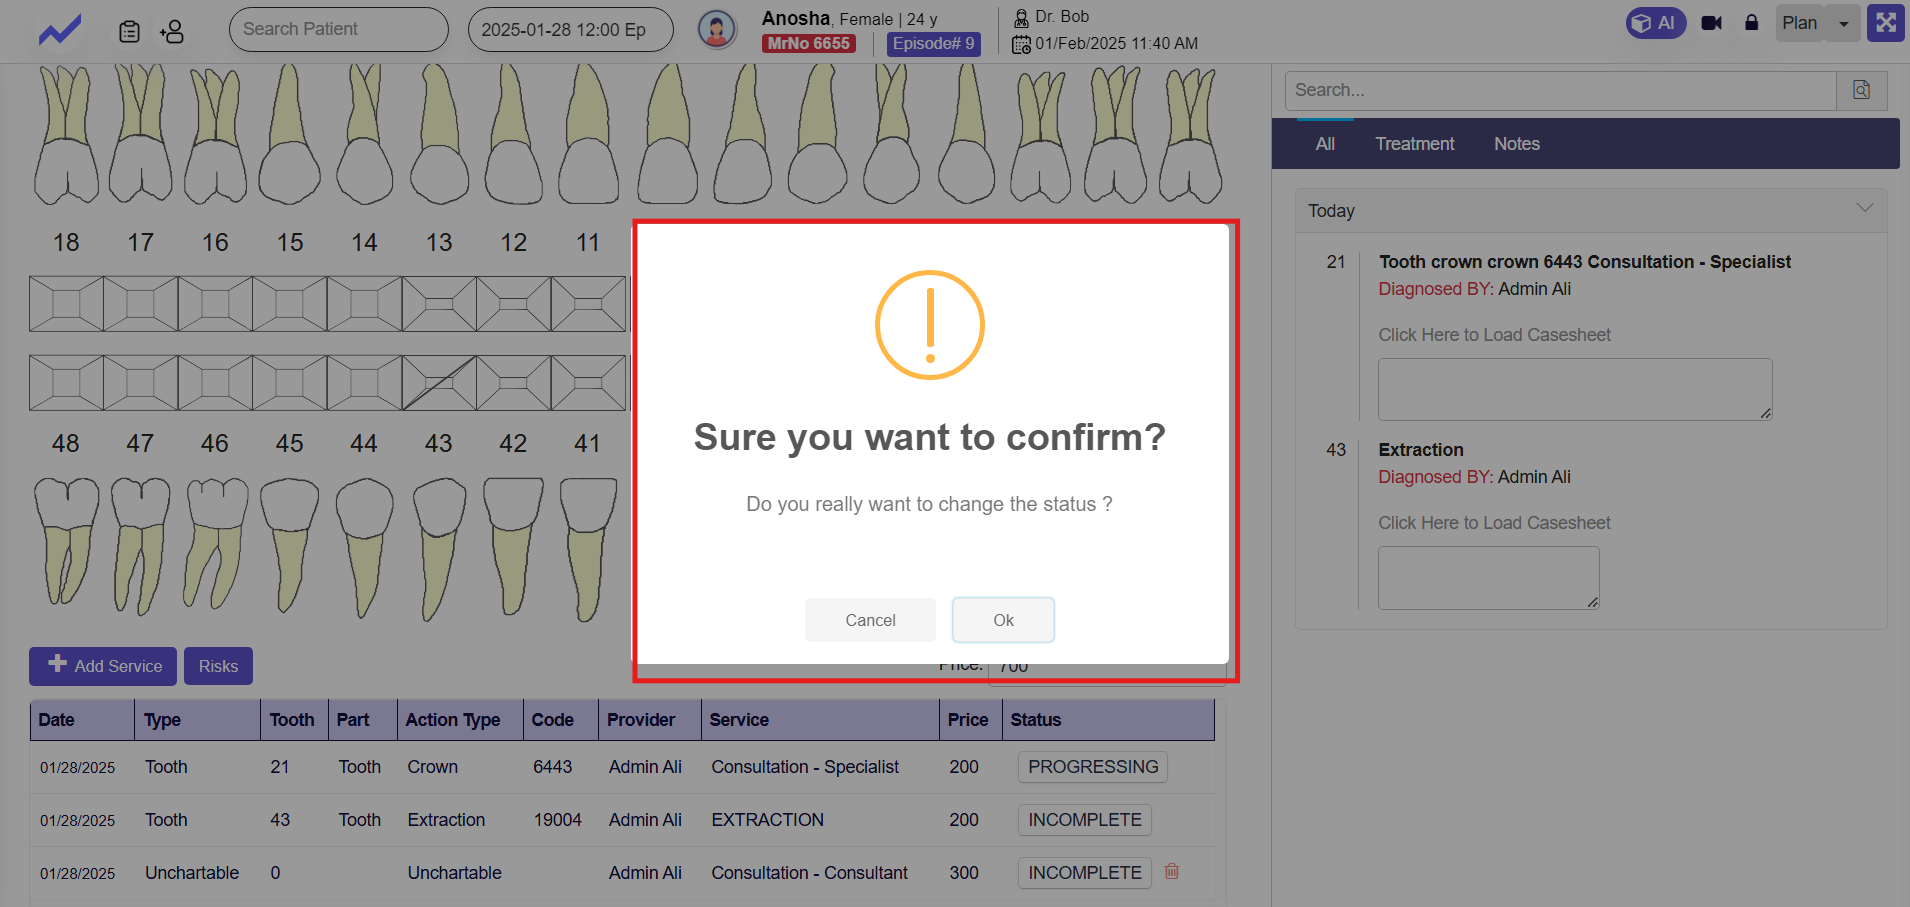
The status has been changed from incomplete to processing.

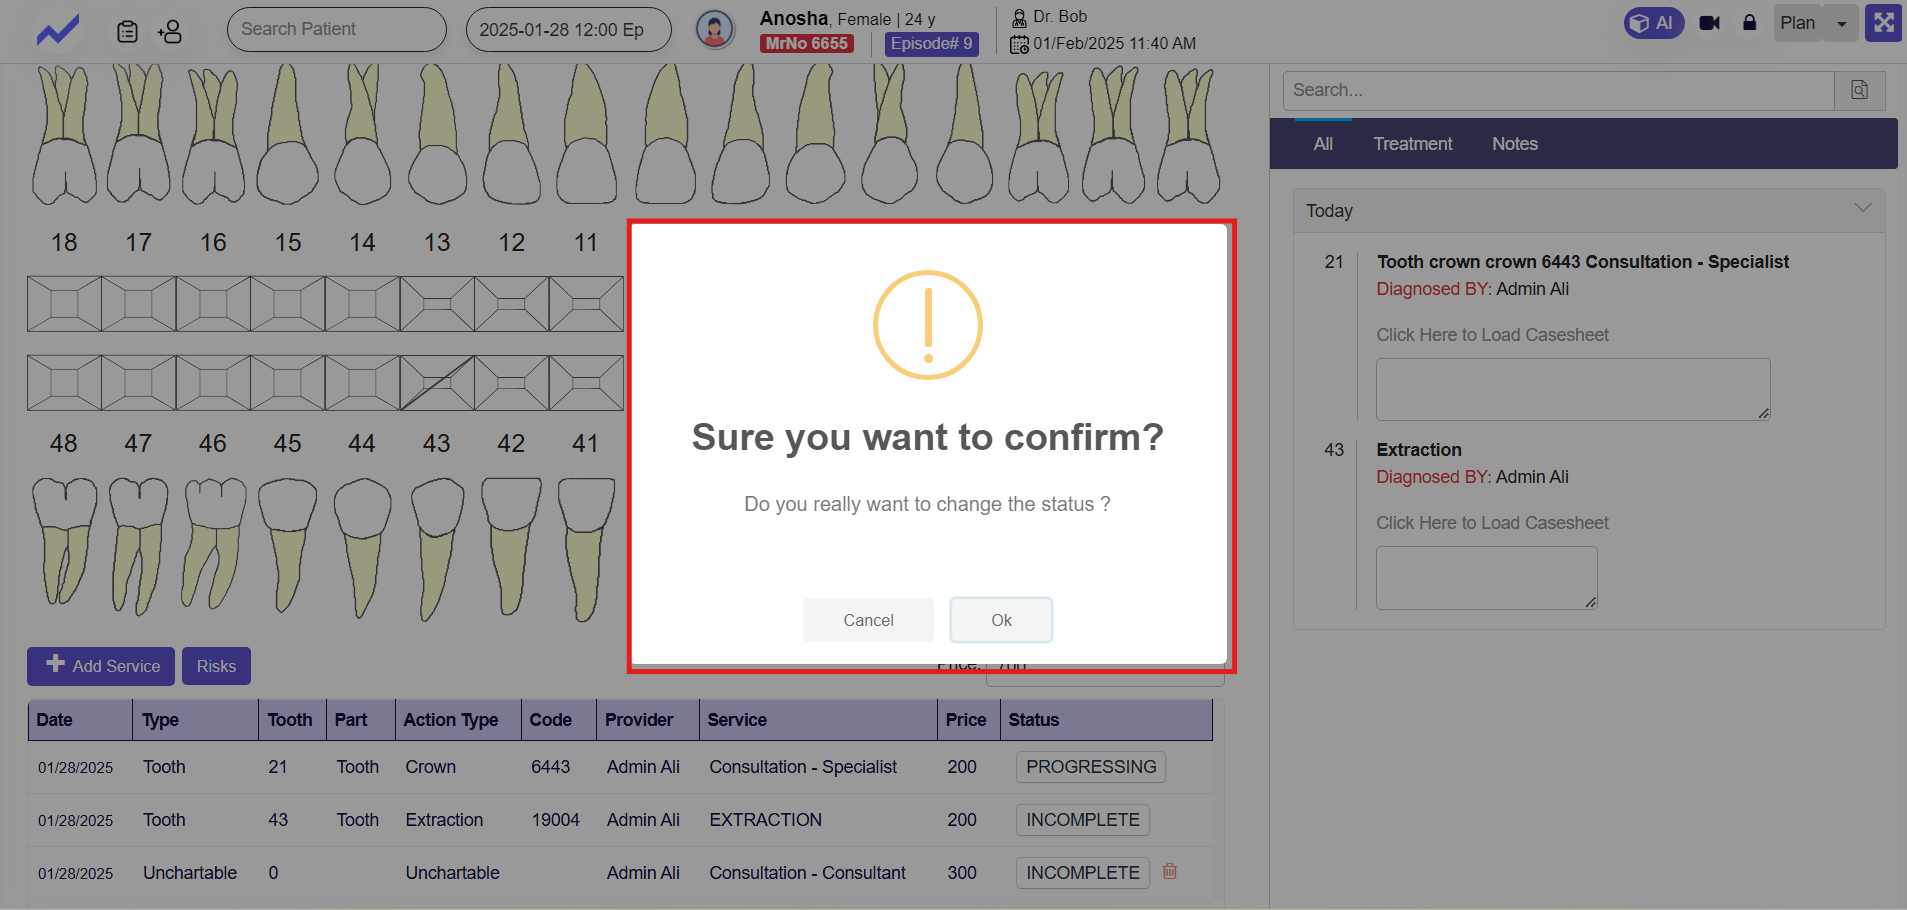
When his operation is performed successfully the doctor can change the status from processing to complete.
This is all about the plan screen.


