Soft Tissues: #
Soft tissues refer to the tissues that surround, support, and protect the teeth. This includes the gums (gingiva), the periodontal ligament, and the dental pulp inside the tooth. These tissues are crucial in maintaining oral health and supporting the teeth.
This feature is completely independent of the Baseline and Plan.
This feature allows doctors to examine the teeth and mark the affected parts easily and closely. Focusing on internal, and external structures, dental pulp, gums, and soft tissues helps identify and address specific dental issues effectively.

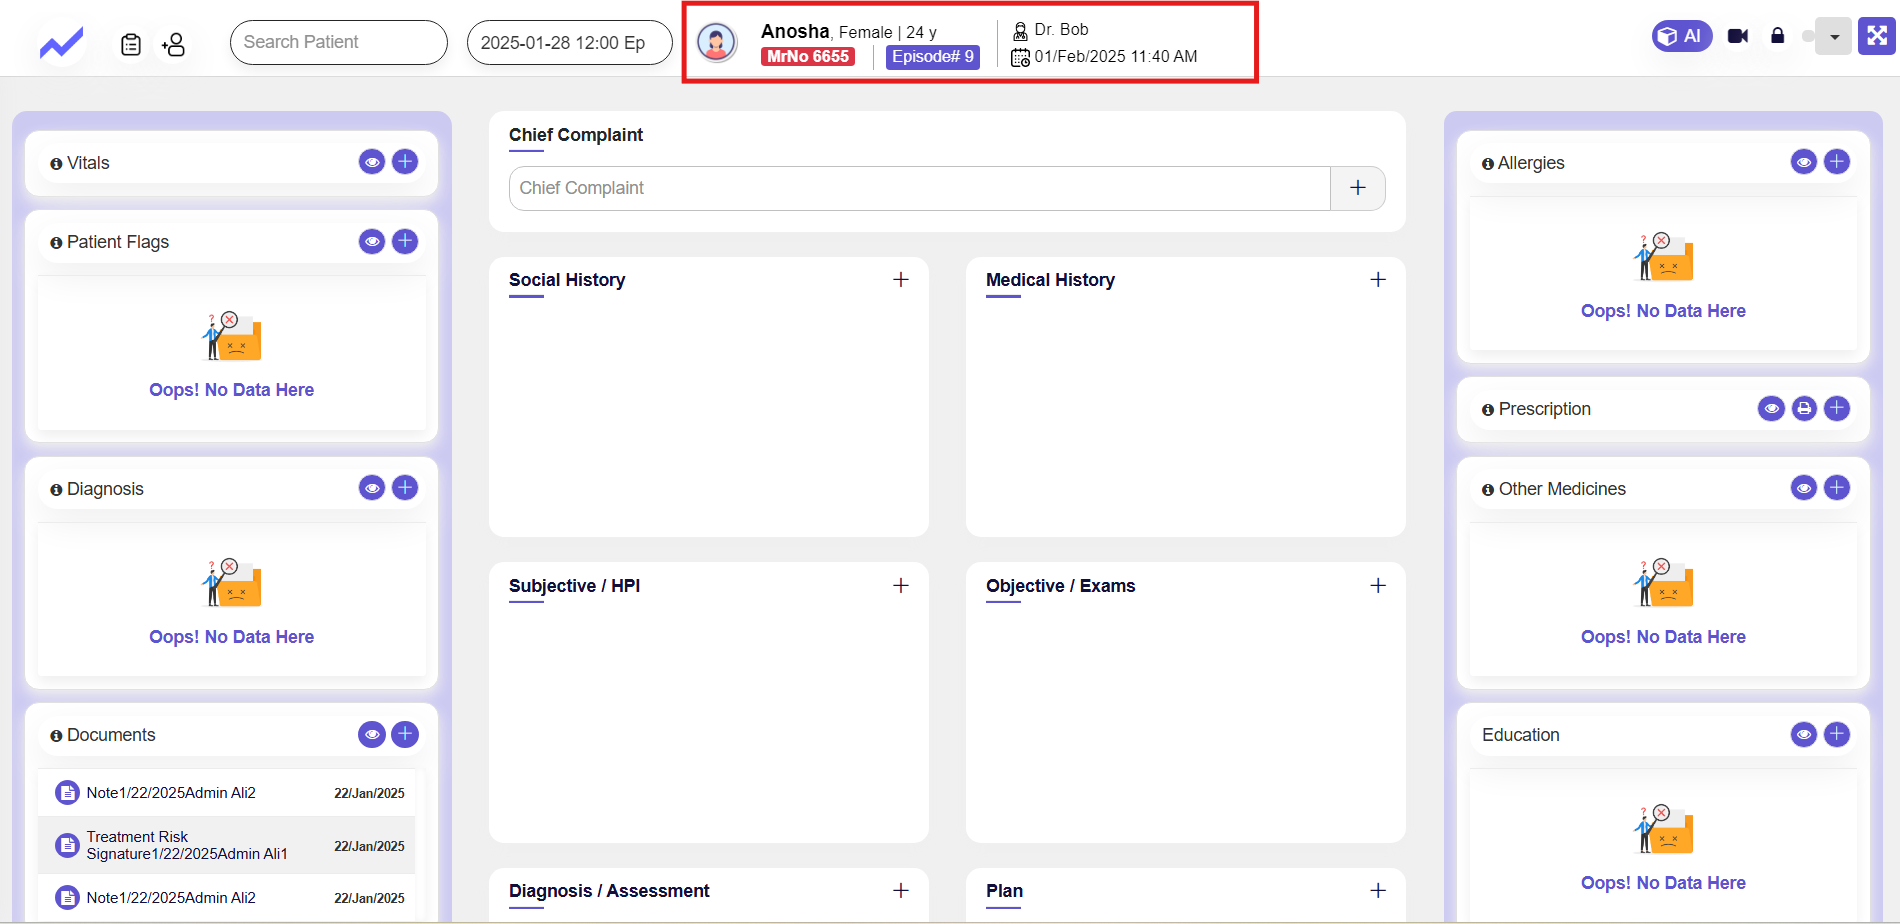
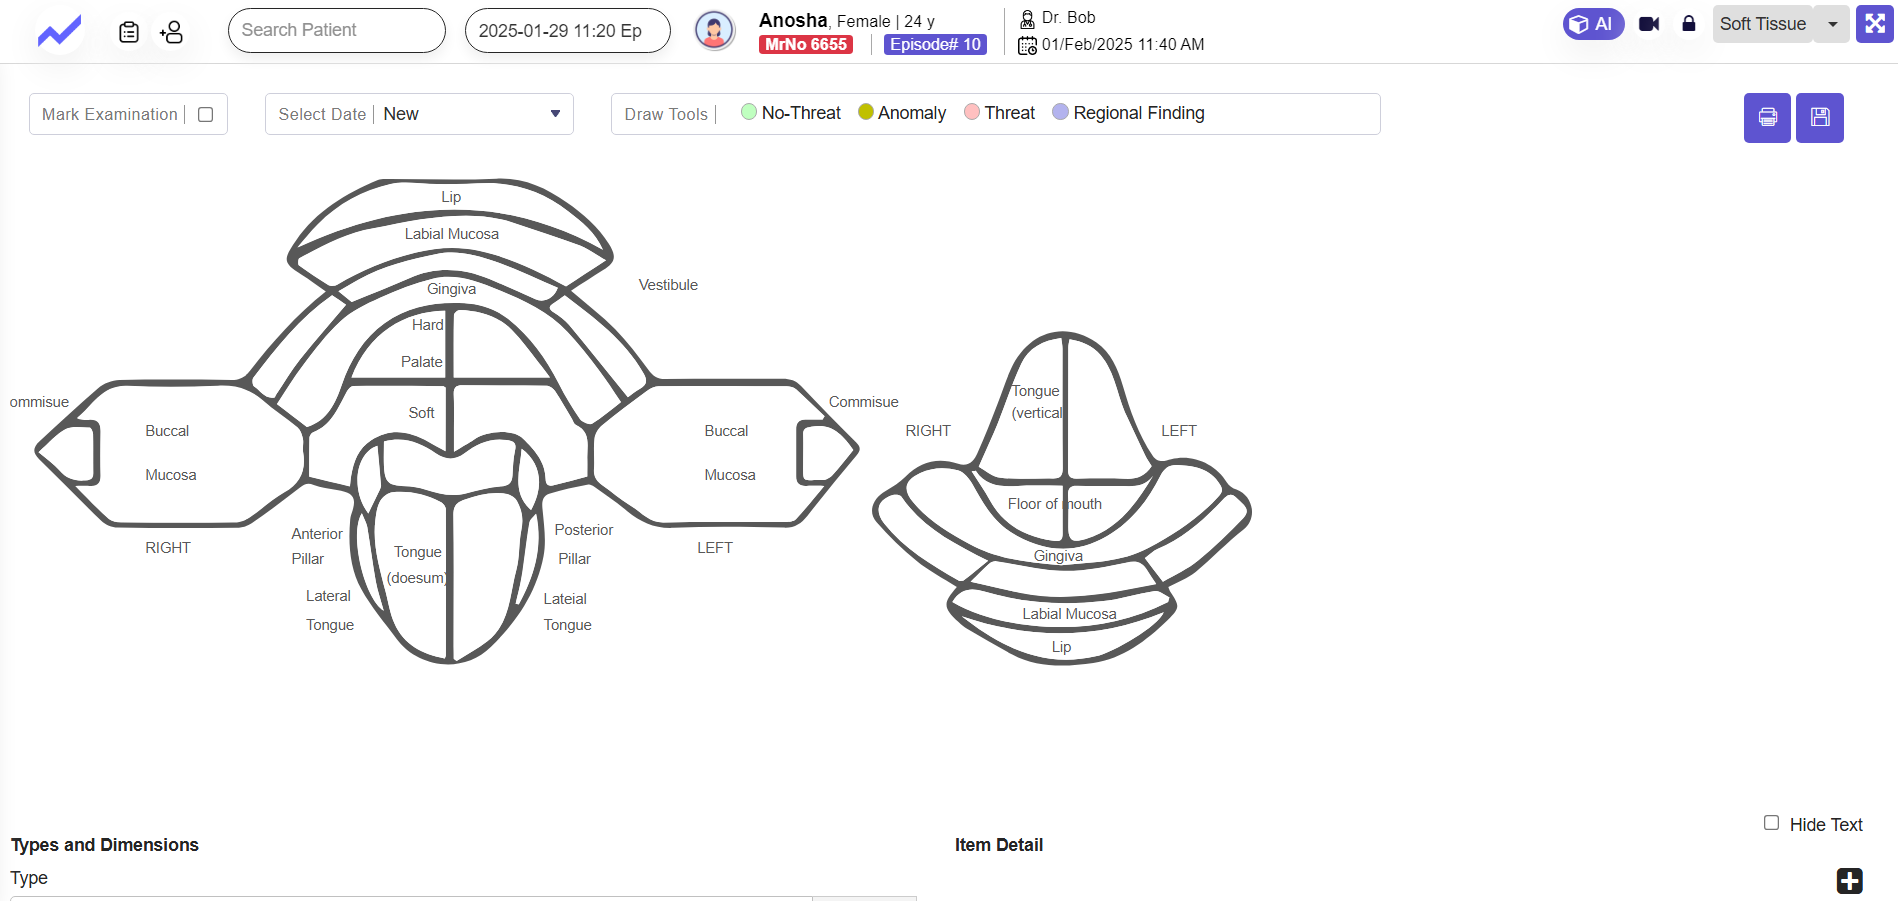
This screen provides a detailed interface for examining the soft tissues of the oral cavity. It allows doctors to visualize and mark findings related to specific areas of soft tissue. Below are the key features and functionalities:
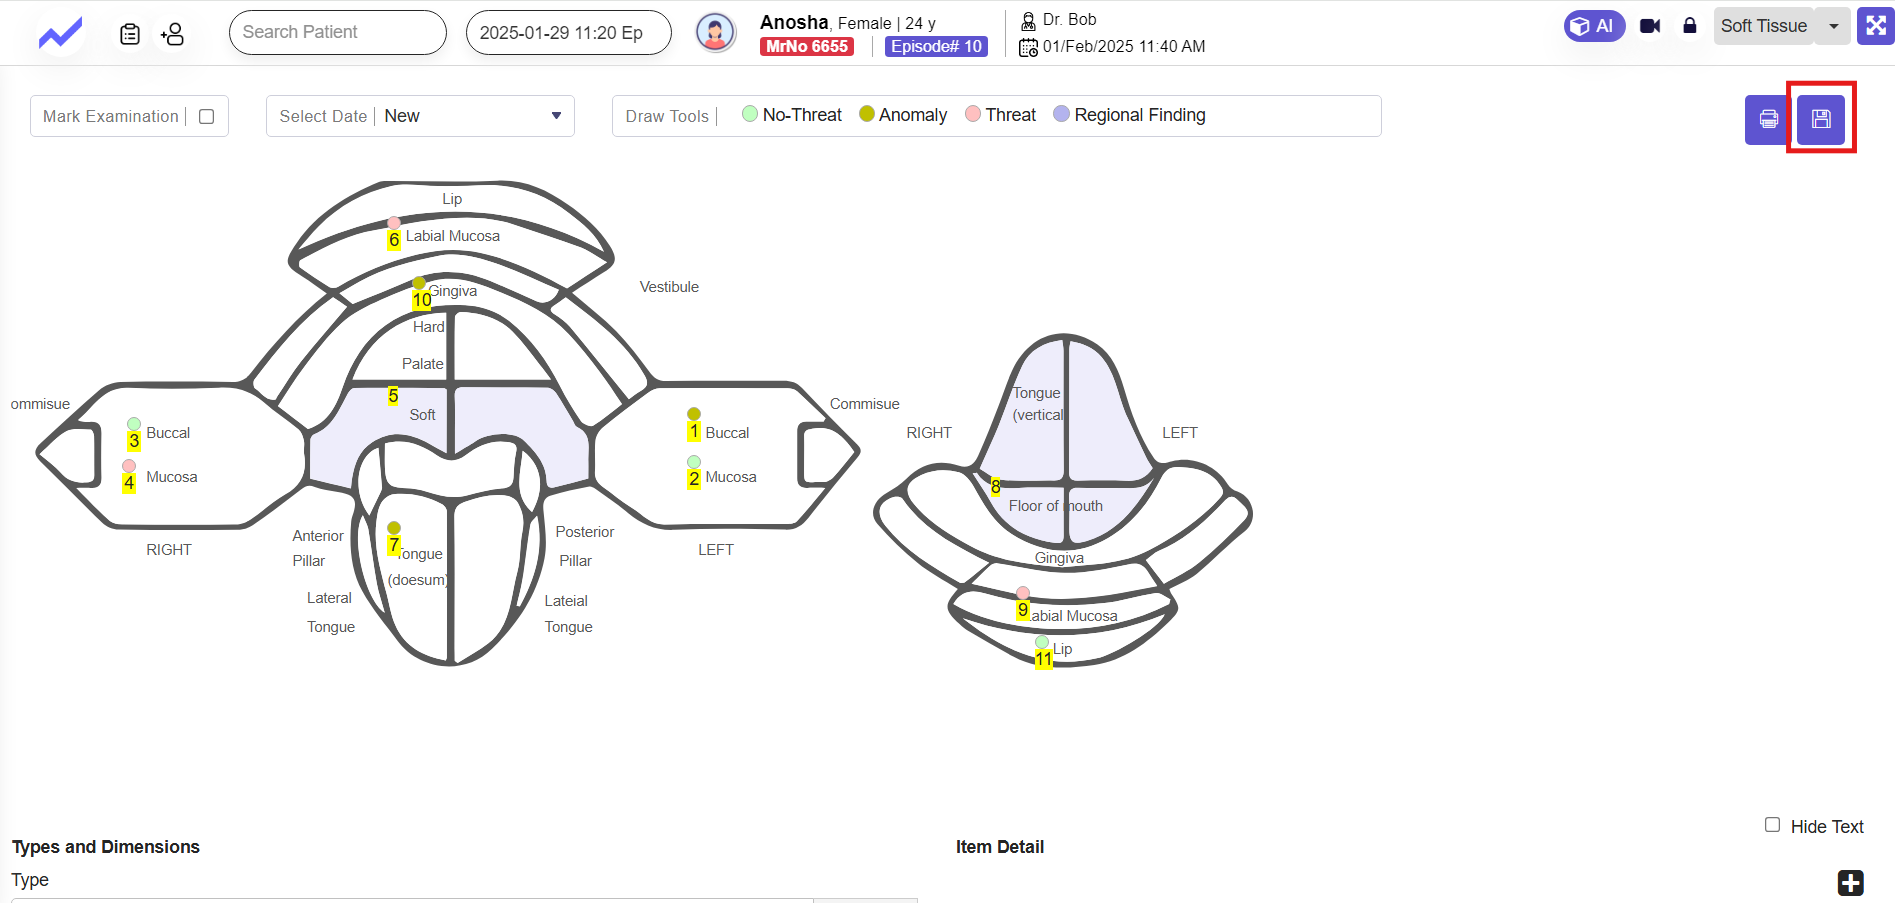
1. Visual Diagram of Soft Tissues #
- The screen displays a labeled diagram of the soft tissues of the oral cavity, including:
- Lips
- Labial Mucosa
- Buccal Mucosa (Left and Right)
- Gingiva (Gums)
- Tongue (Dorsal, Lateral, and Vertical)
- Floor of Mouth
- Hard and Soft Palate
1.1 Permission Settings for Dental’s Tissue Feature: #
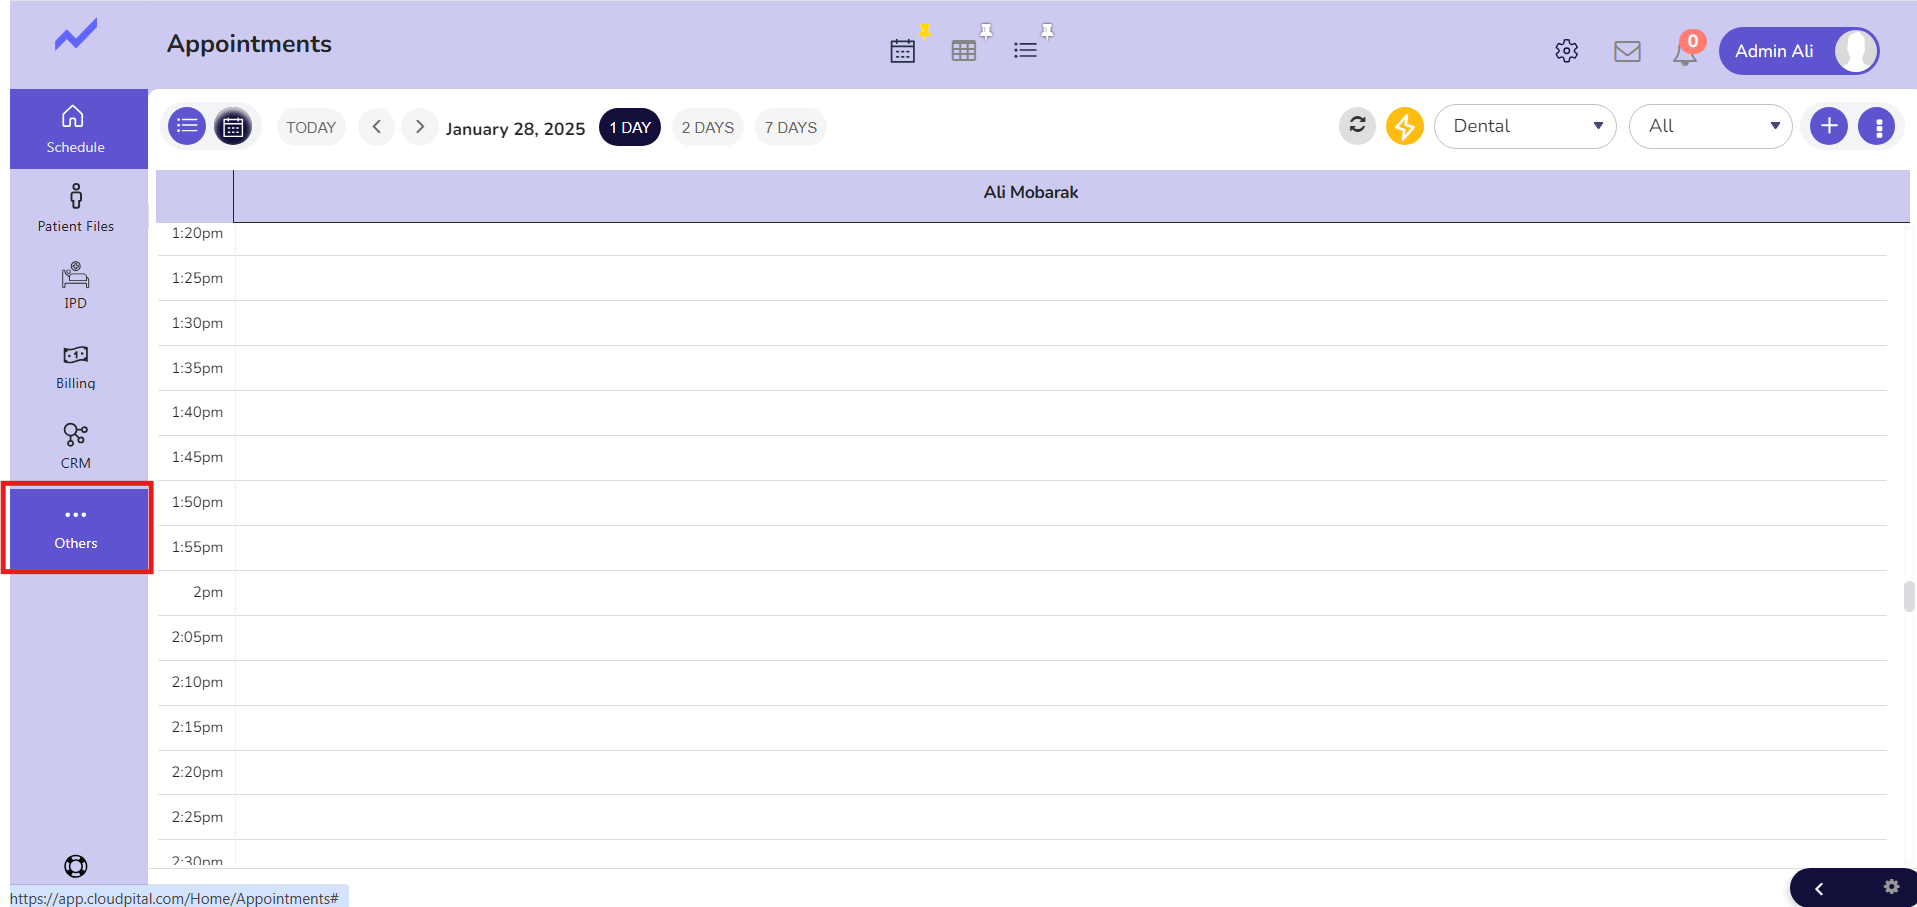
From the Schedule screen, click on Others.
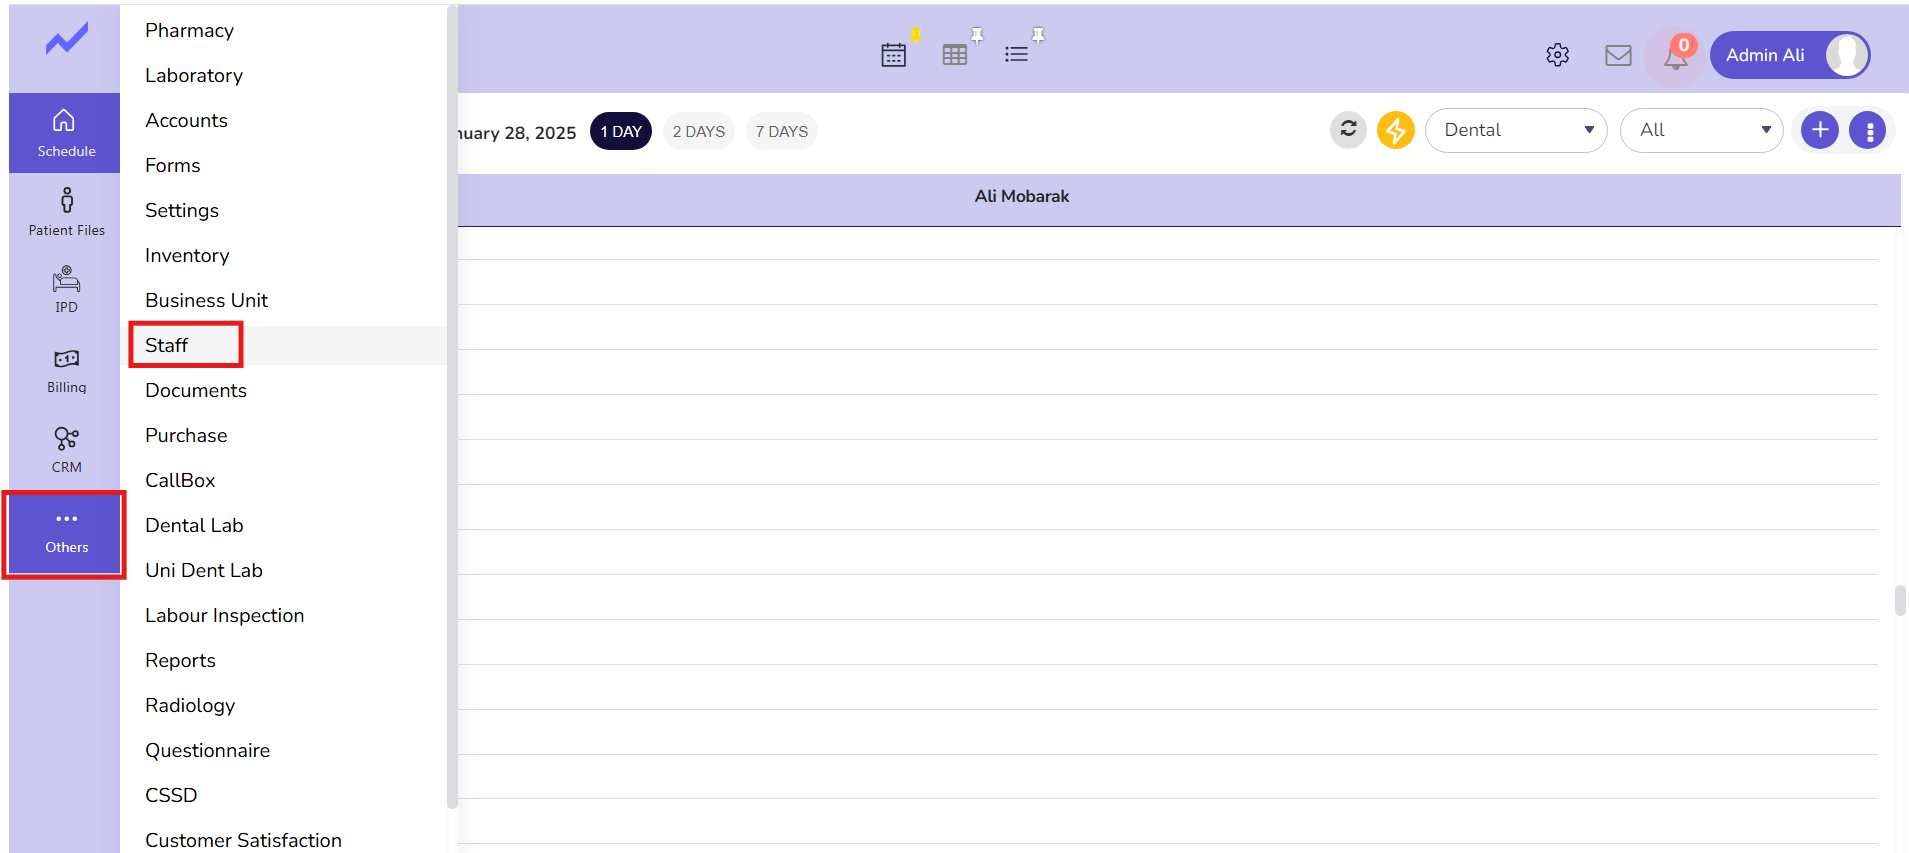
Click on Staff.
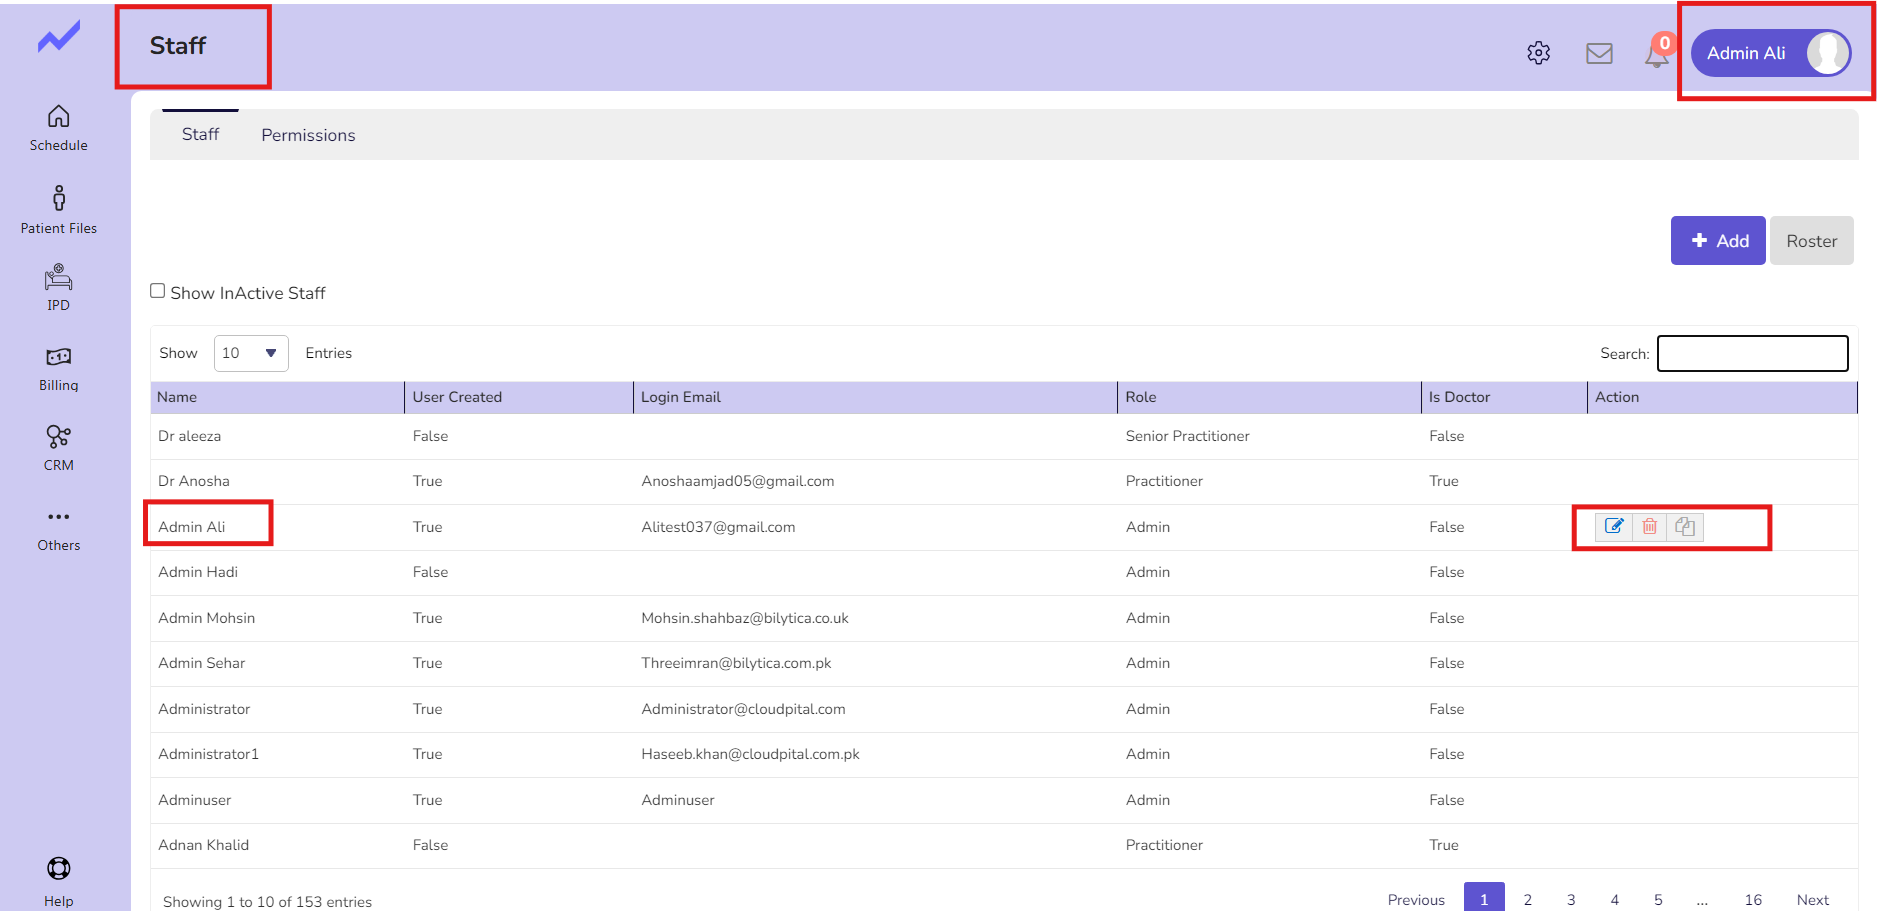
The Staff screen appears. Select the user with whom you are currently logged in. In this case, I am granting permissions to Admin Ali, as I am currently logged in as Admin Ali.
You just need to click on the edit icon.
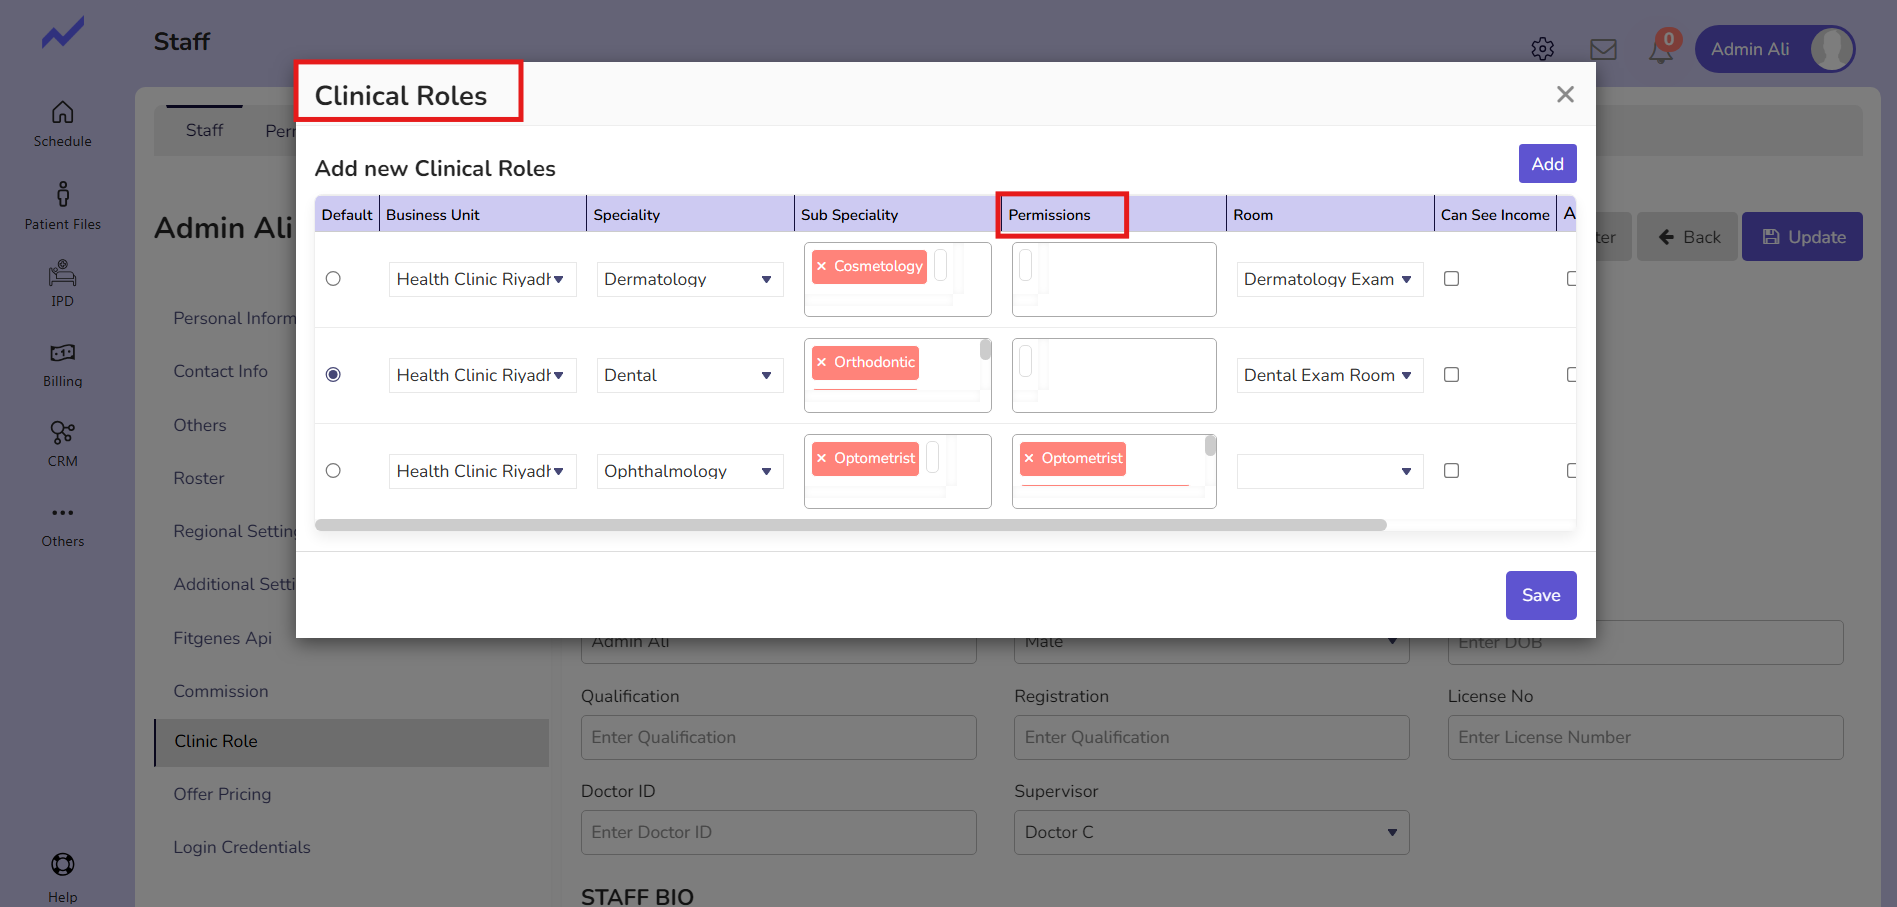
The staff screen will appear. Now, click on ‘Clinic Role’

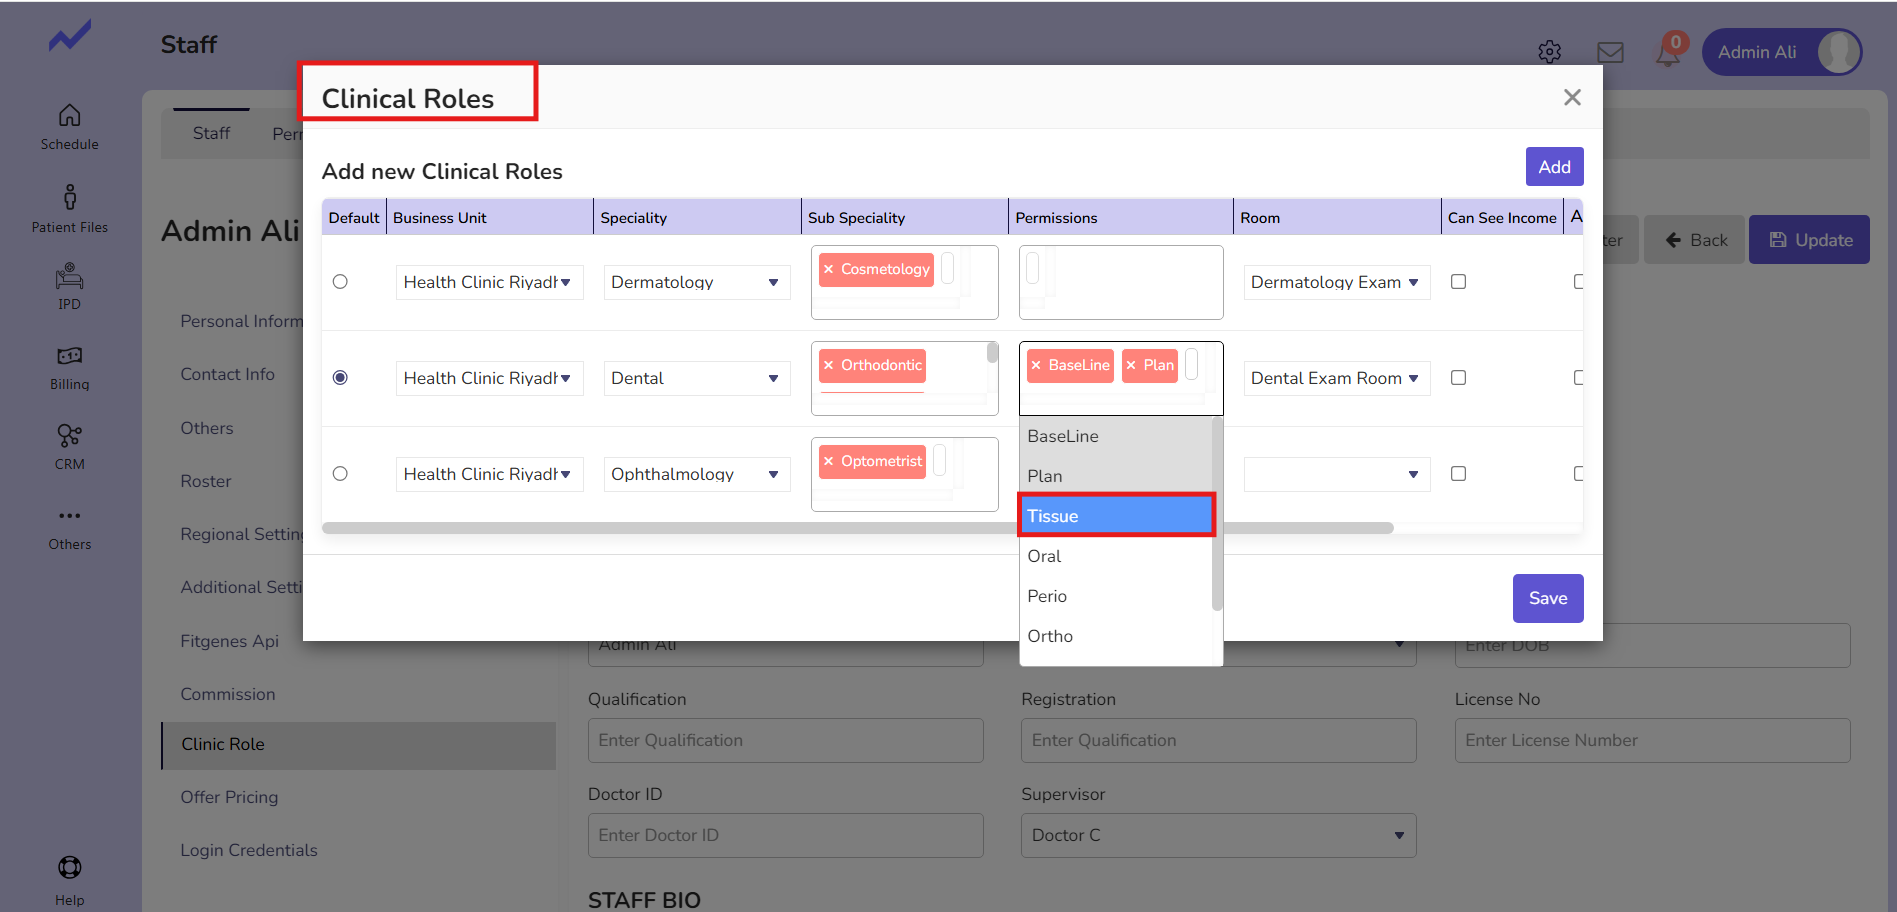
For the Dental specialty, you have to click on Permissions to assign this doctor the permissions for the Tissues module.
When you click on Permissions, a drop-down will appear with the option of Tissues. Select Tissues and then click on the Save button. The Tissues permission will be granted to Admin Ali.
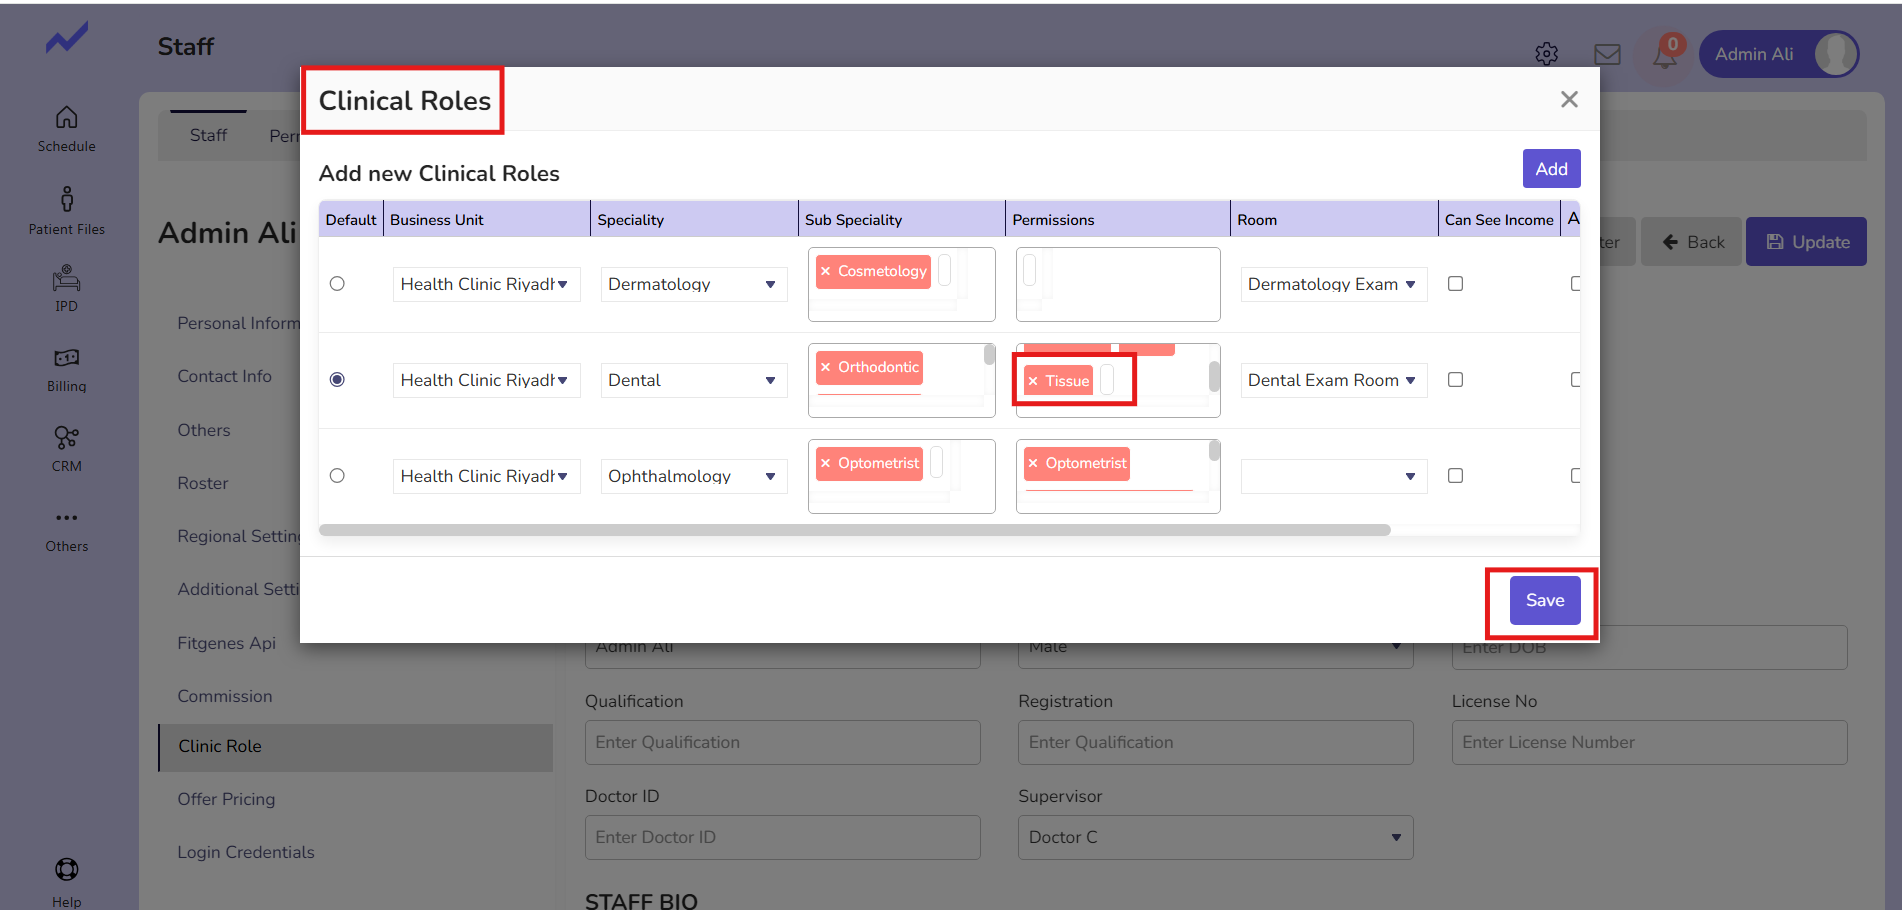
Now click on the update button and the changes will be saved successfully.

1.2 Create a dental Appointment #
Now, go to the Schedule screen and create an appointment for a dental patient with any Doctor.
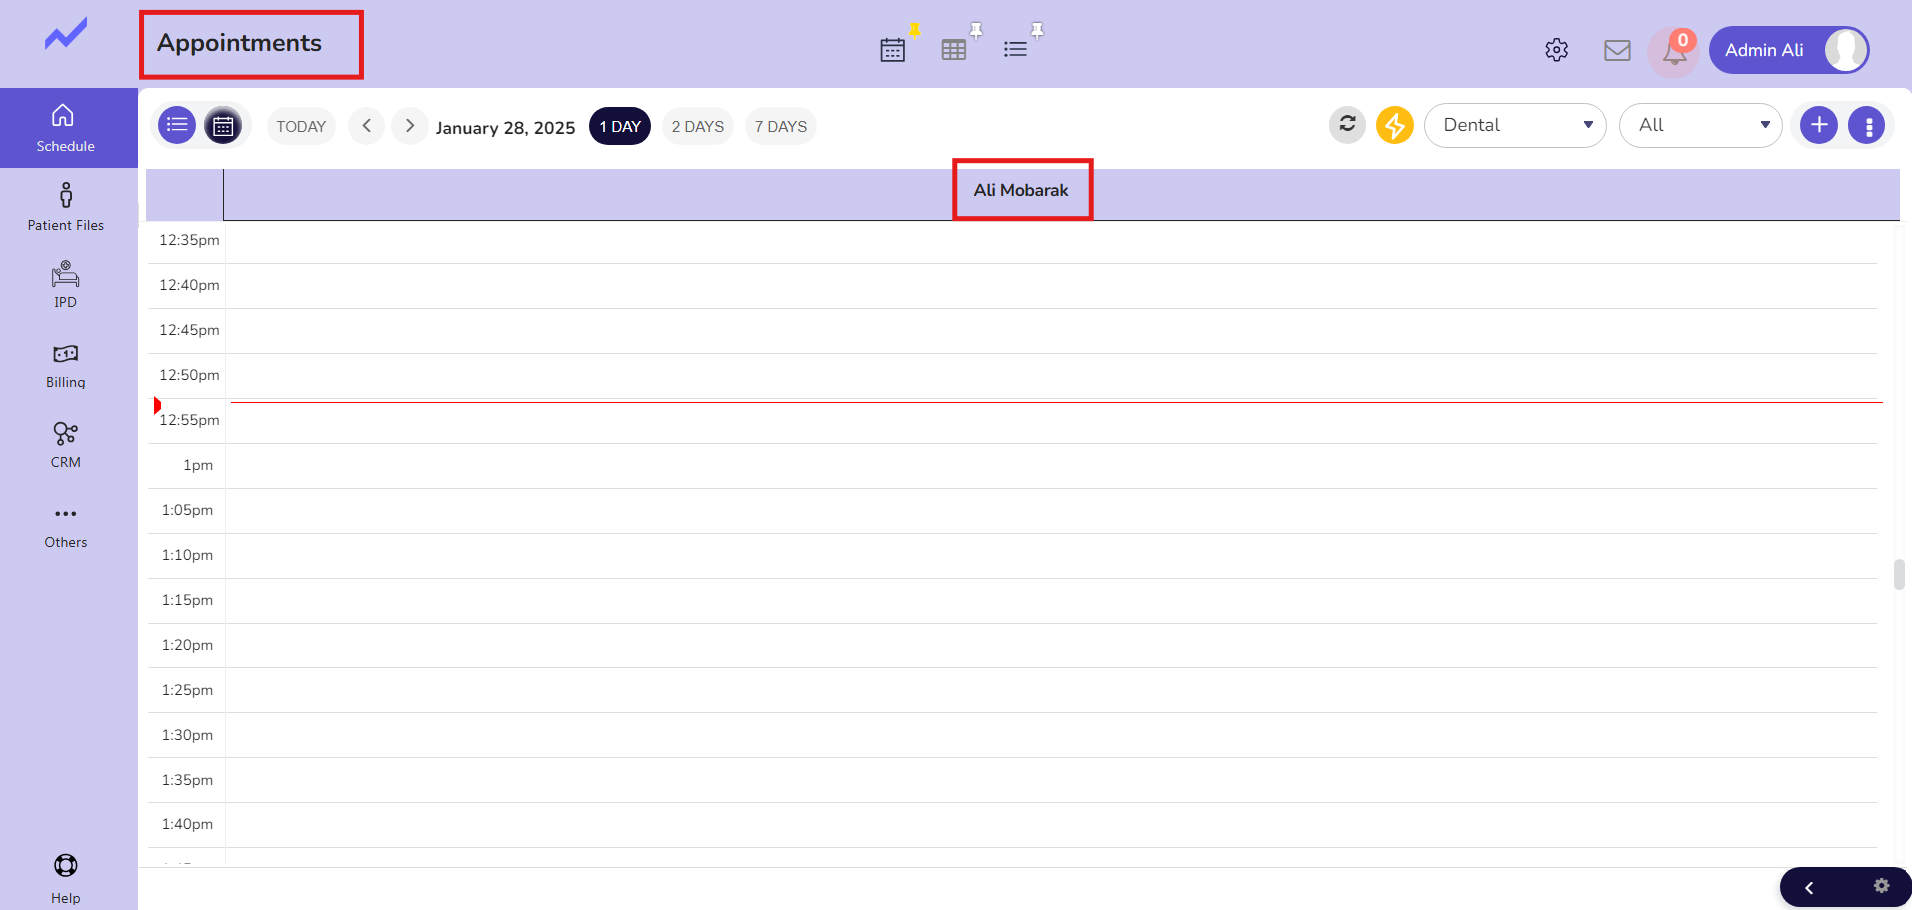
Click on any Slot and make an appointment.
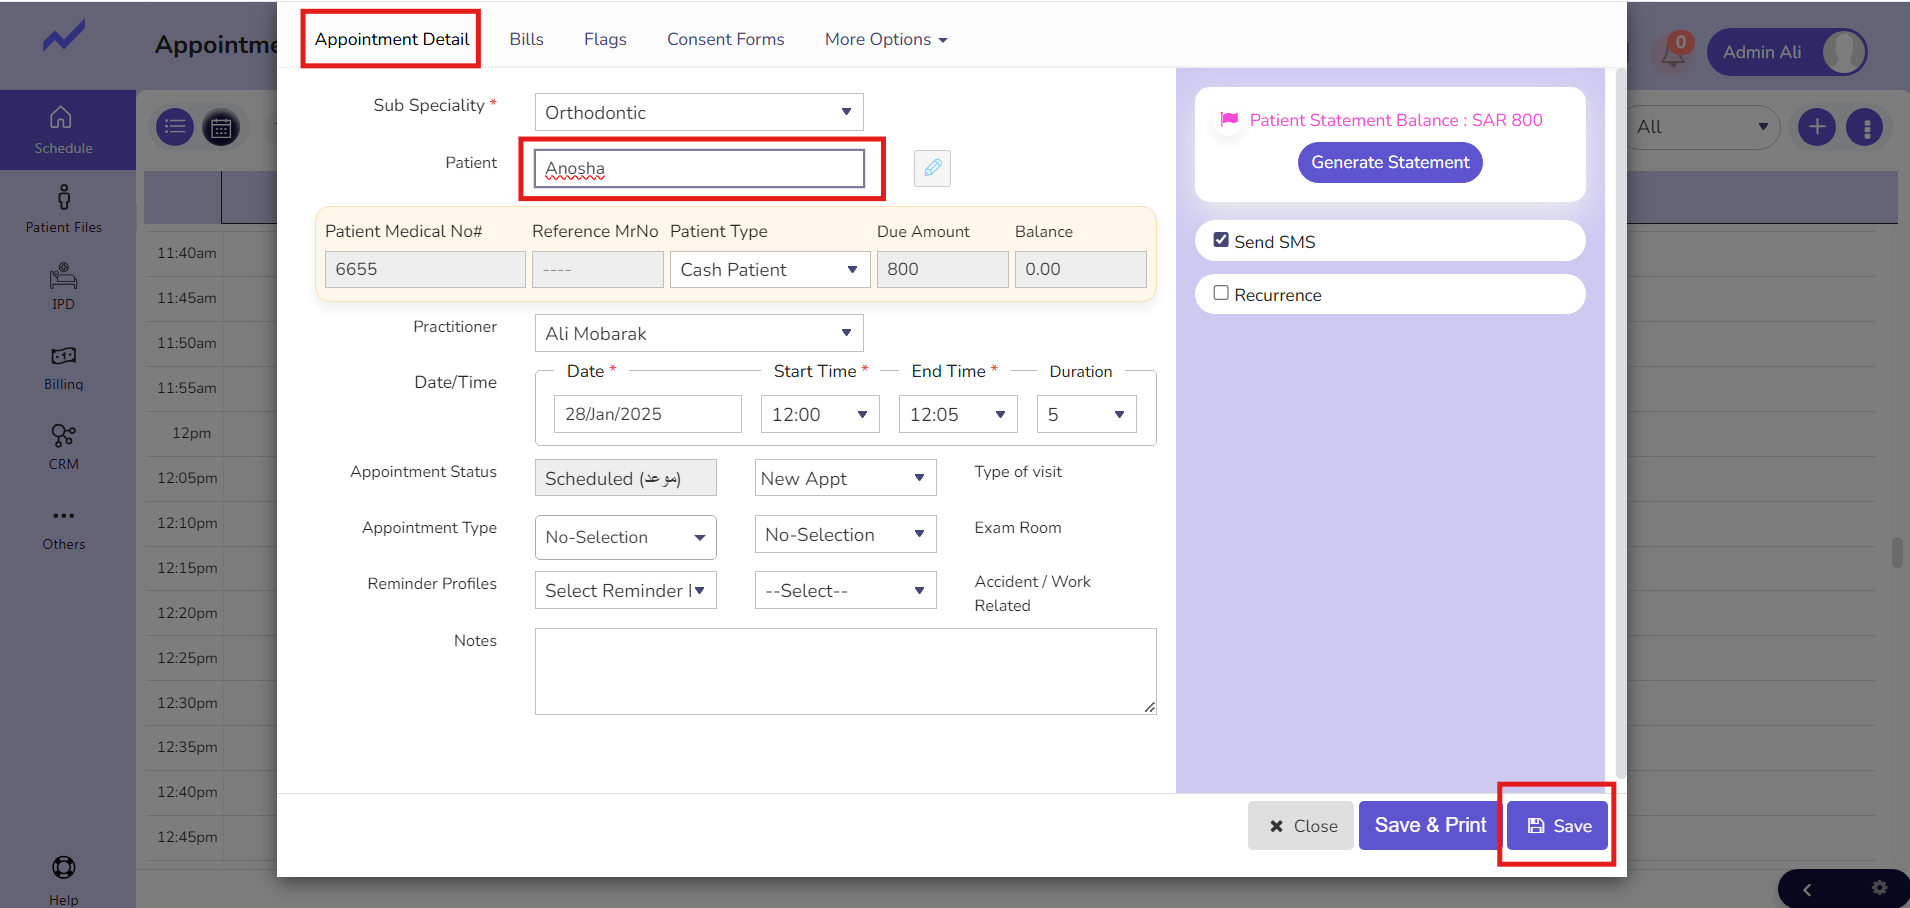
The Appointment Details screen will appear. Select the patient and click on the Save button.
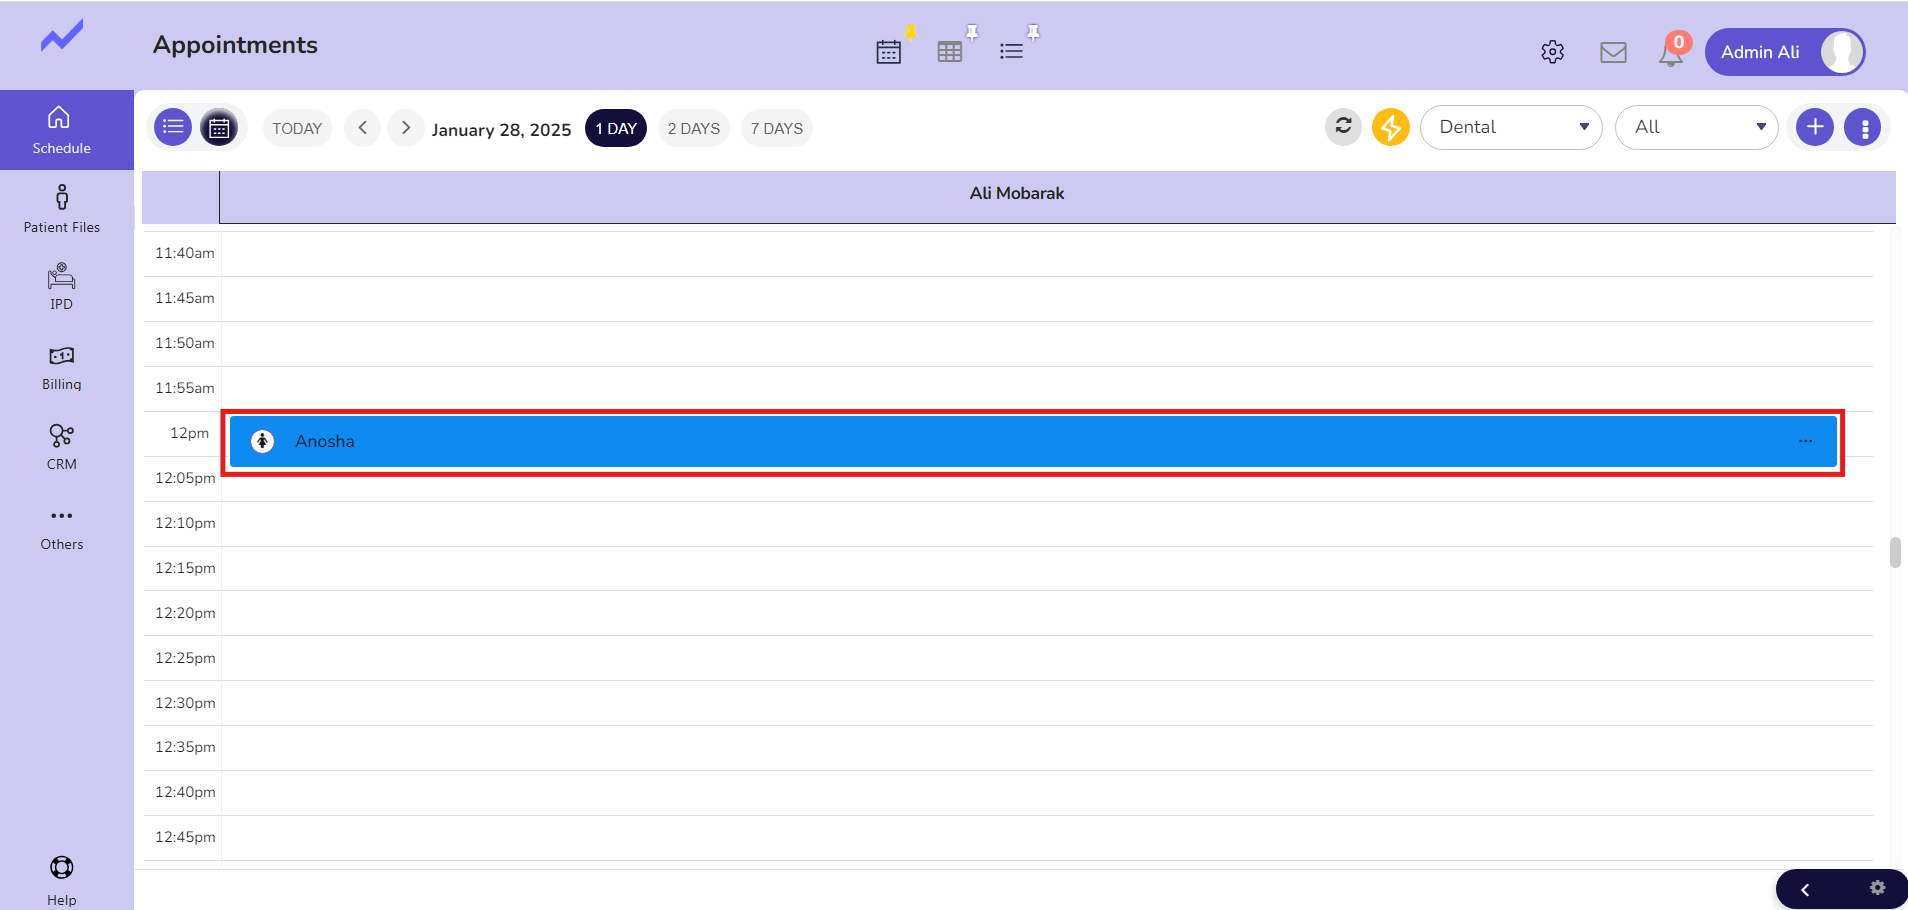
Appointment has been created.
Now, click on the Appointment and then click on the Clinical Note button.
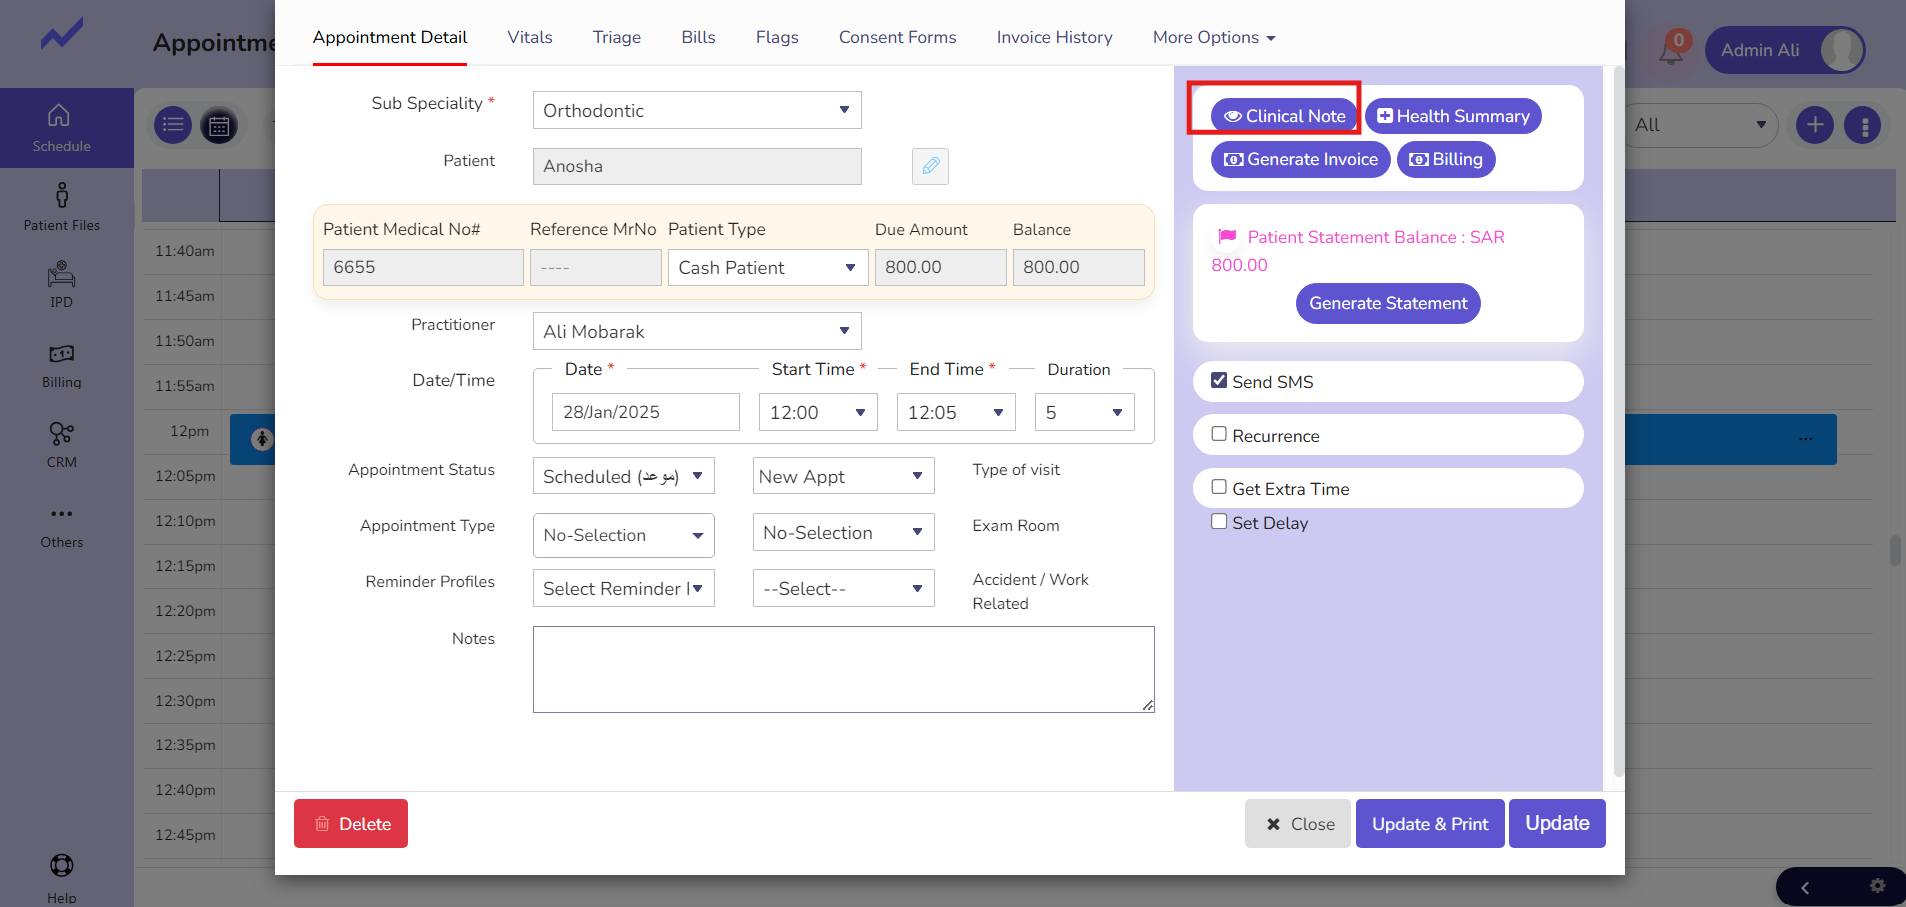
Clinical Note screen will appear.
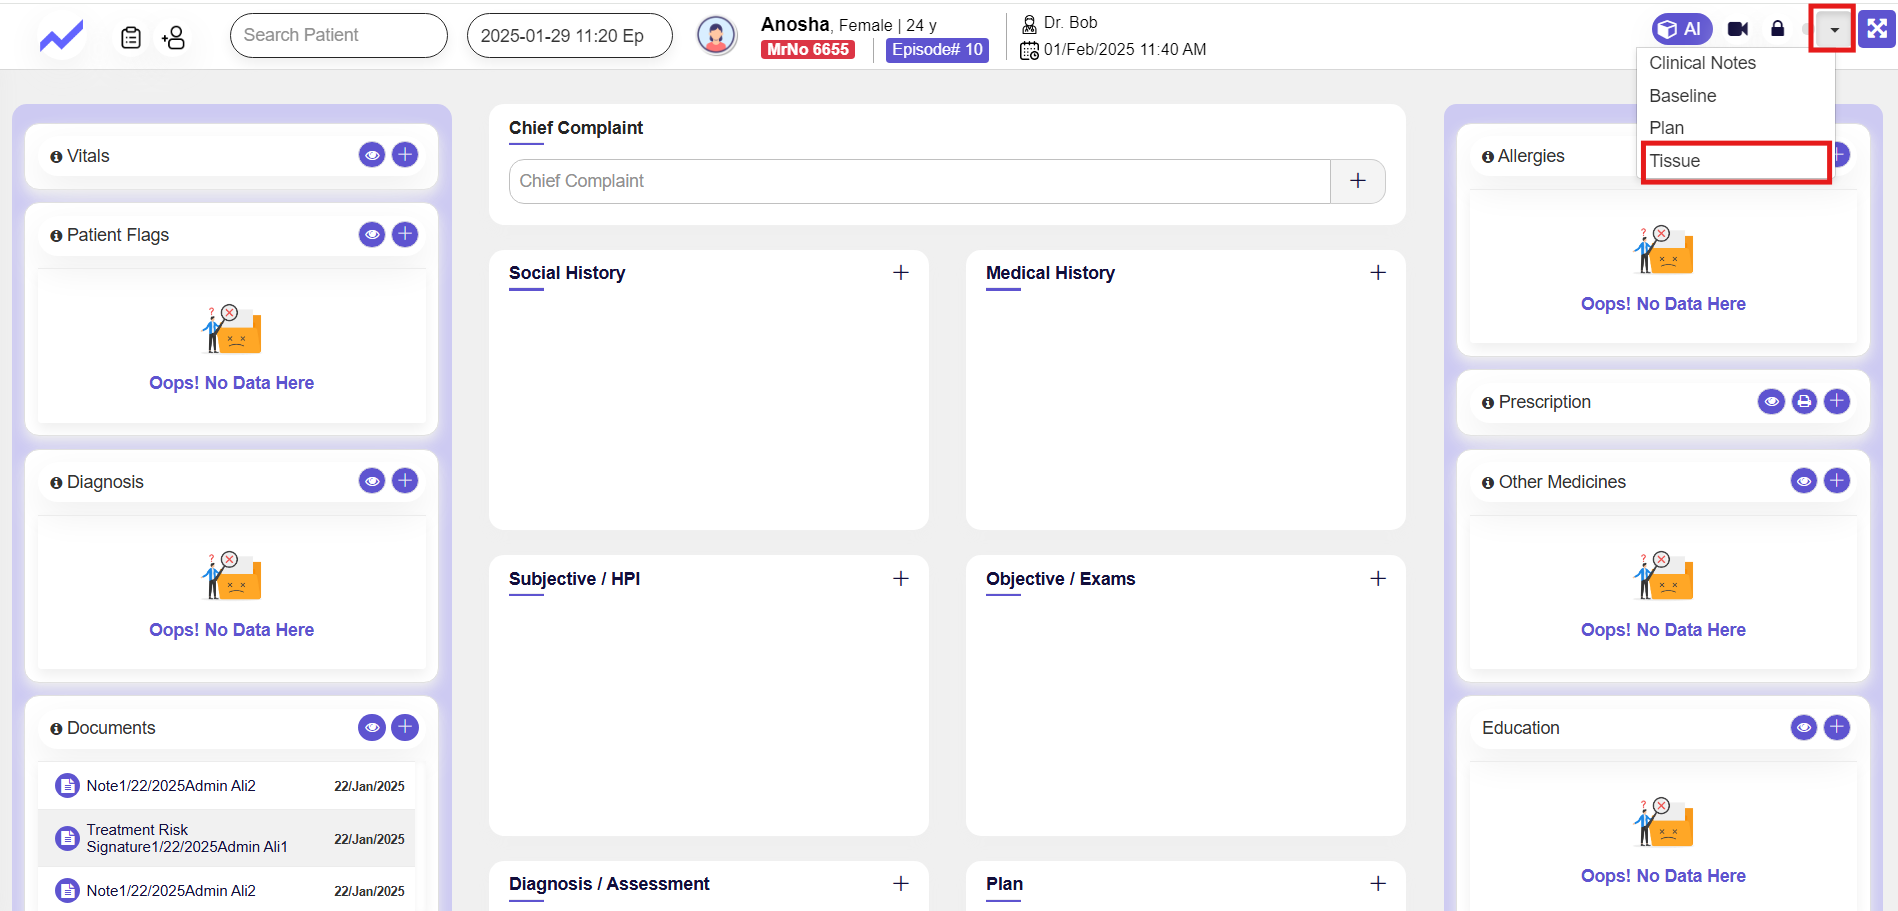
On the top-right corner, there is a drop-down menu that allows you to access the Tissues screen.
1.2 Soft Tissue Examination Screen #
1.2.1 Mark Examination Option #
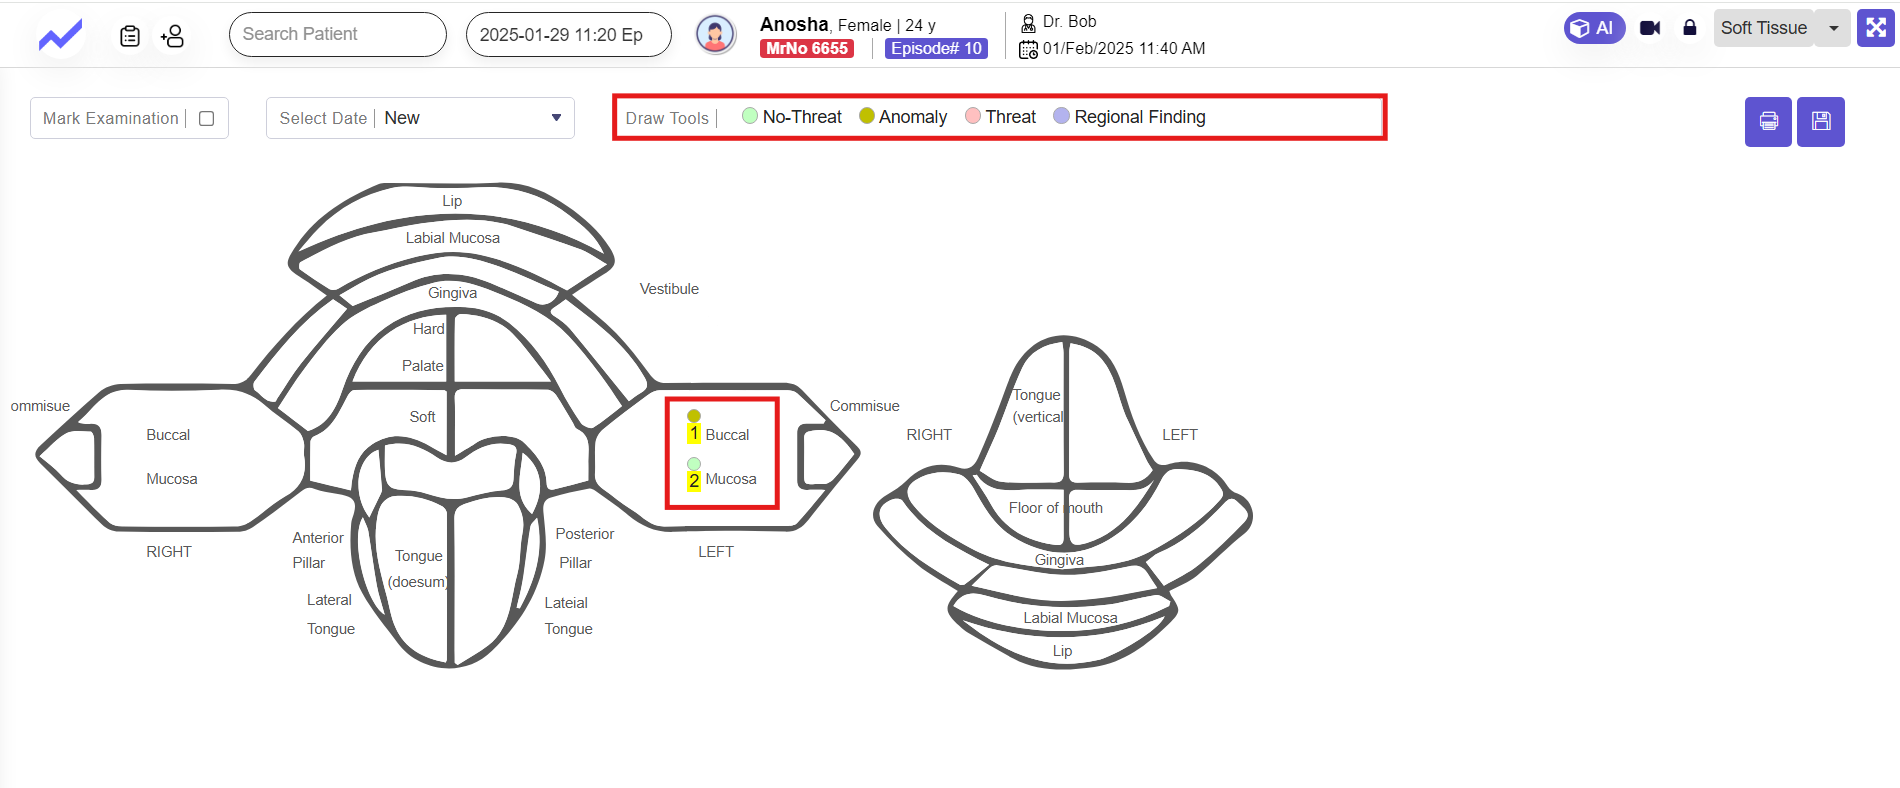
- Doctors can use the “Mark Examination” feature to indicate areas of concern or abnormalities on the diagram.
1.2.2 Draw Tools #
- The screen provides tools for marking findings, categorized into:
- No-Threat: Areas with no abnormalities.
- Anomaly: Areas with minor concerns.
- Threat: Areas indicating severe conditions.
- Regional Finding: Specific localized issues.
The doctors just need to Drag the point and drop where it is required.
 The point will be marked accordingly.
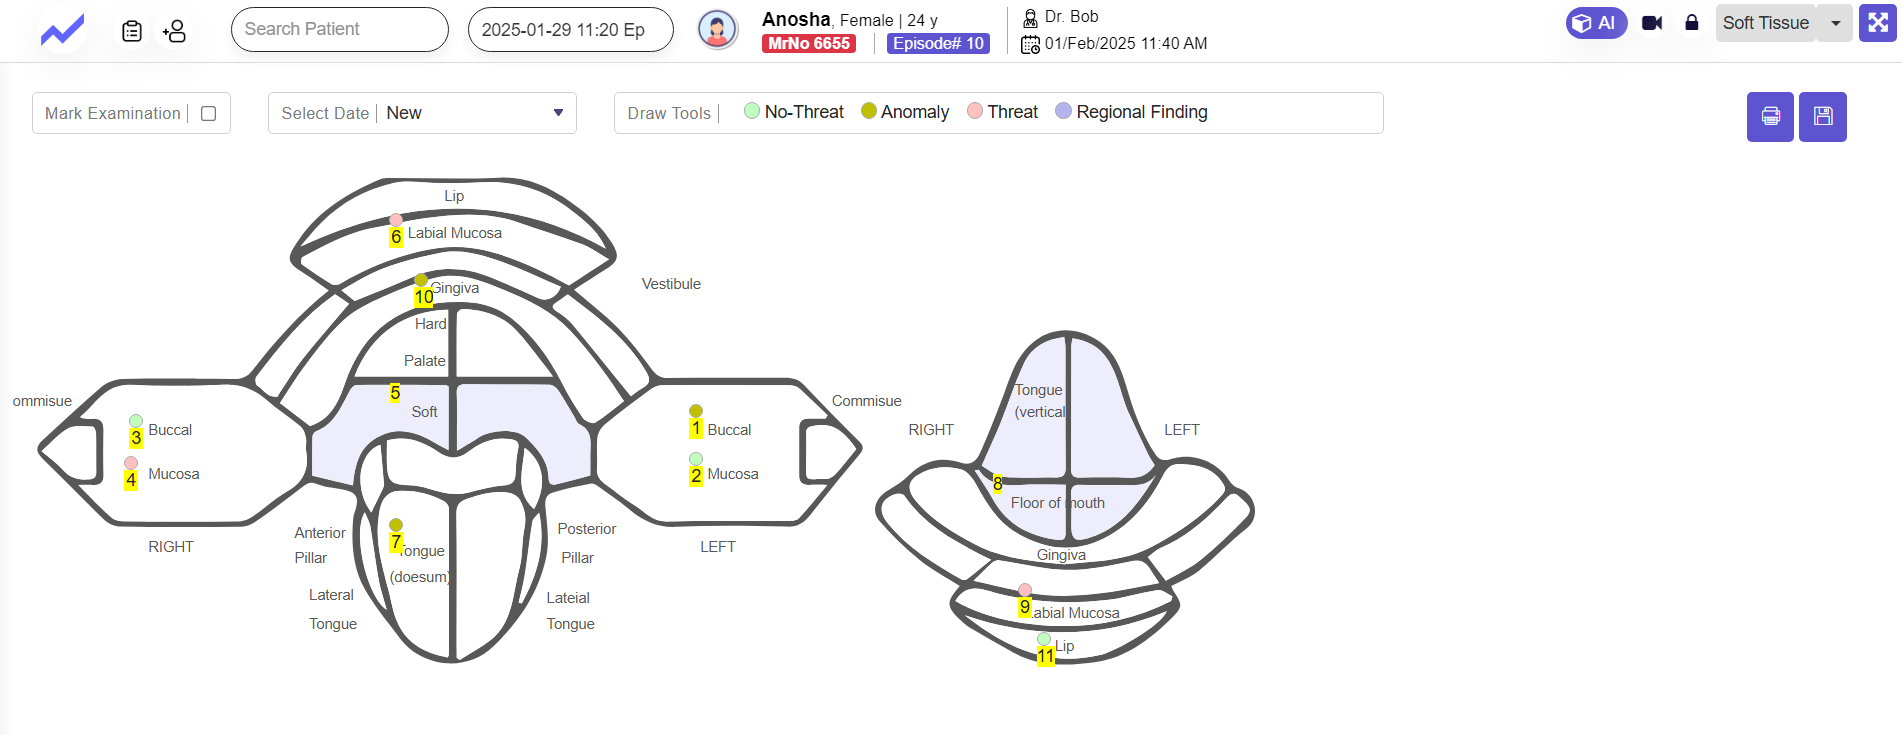
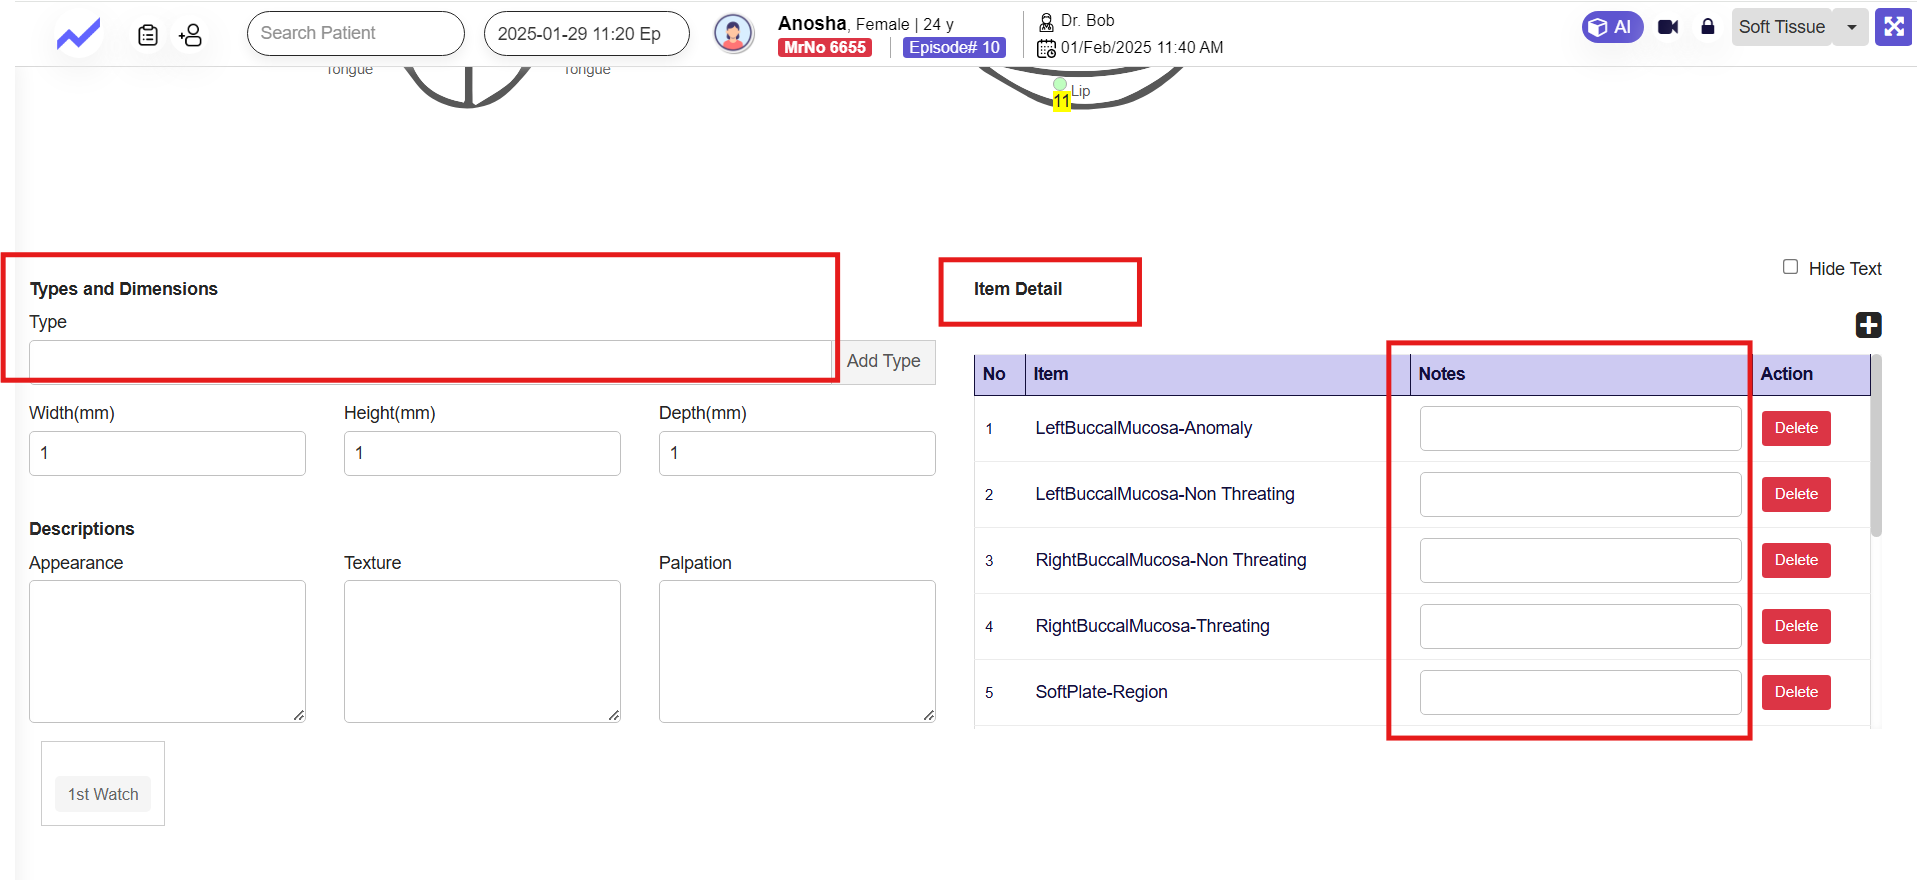
The details of these marked points will appear at the bottom, and the doctor can add details accordingly
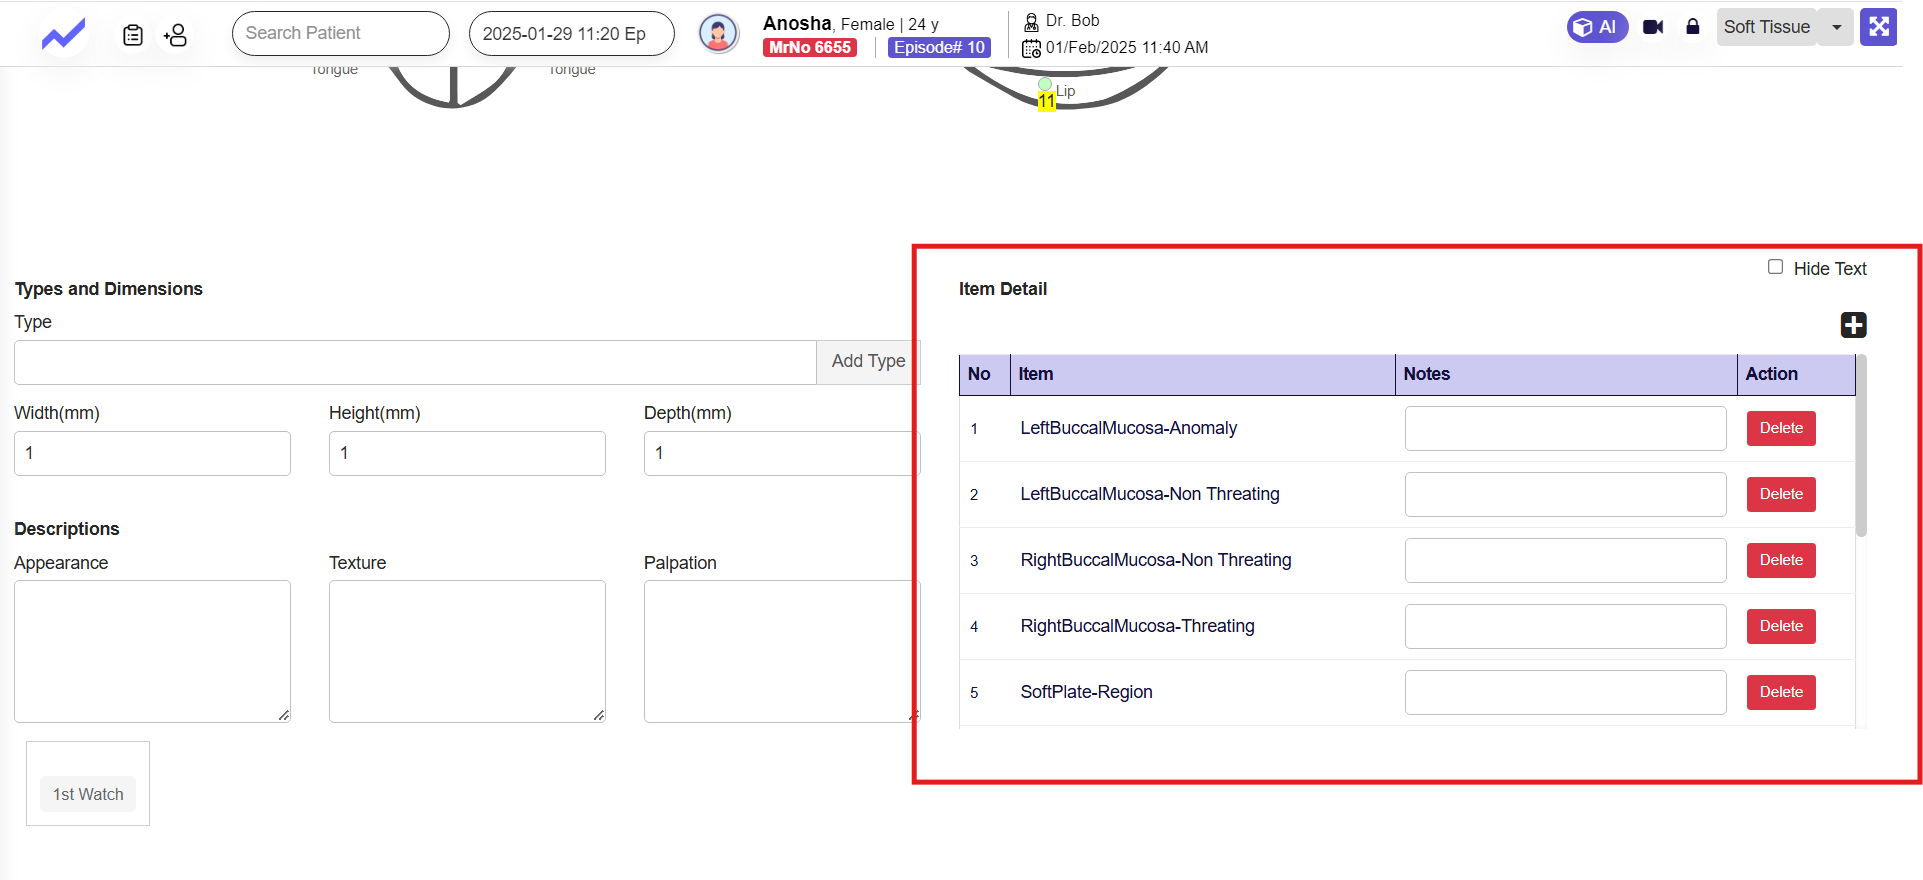
Doctors can add all these details manually.
When we click on the save button all data will be saved.
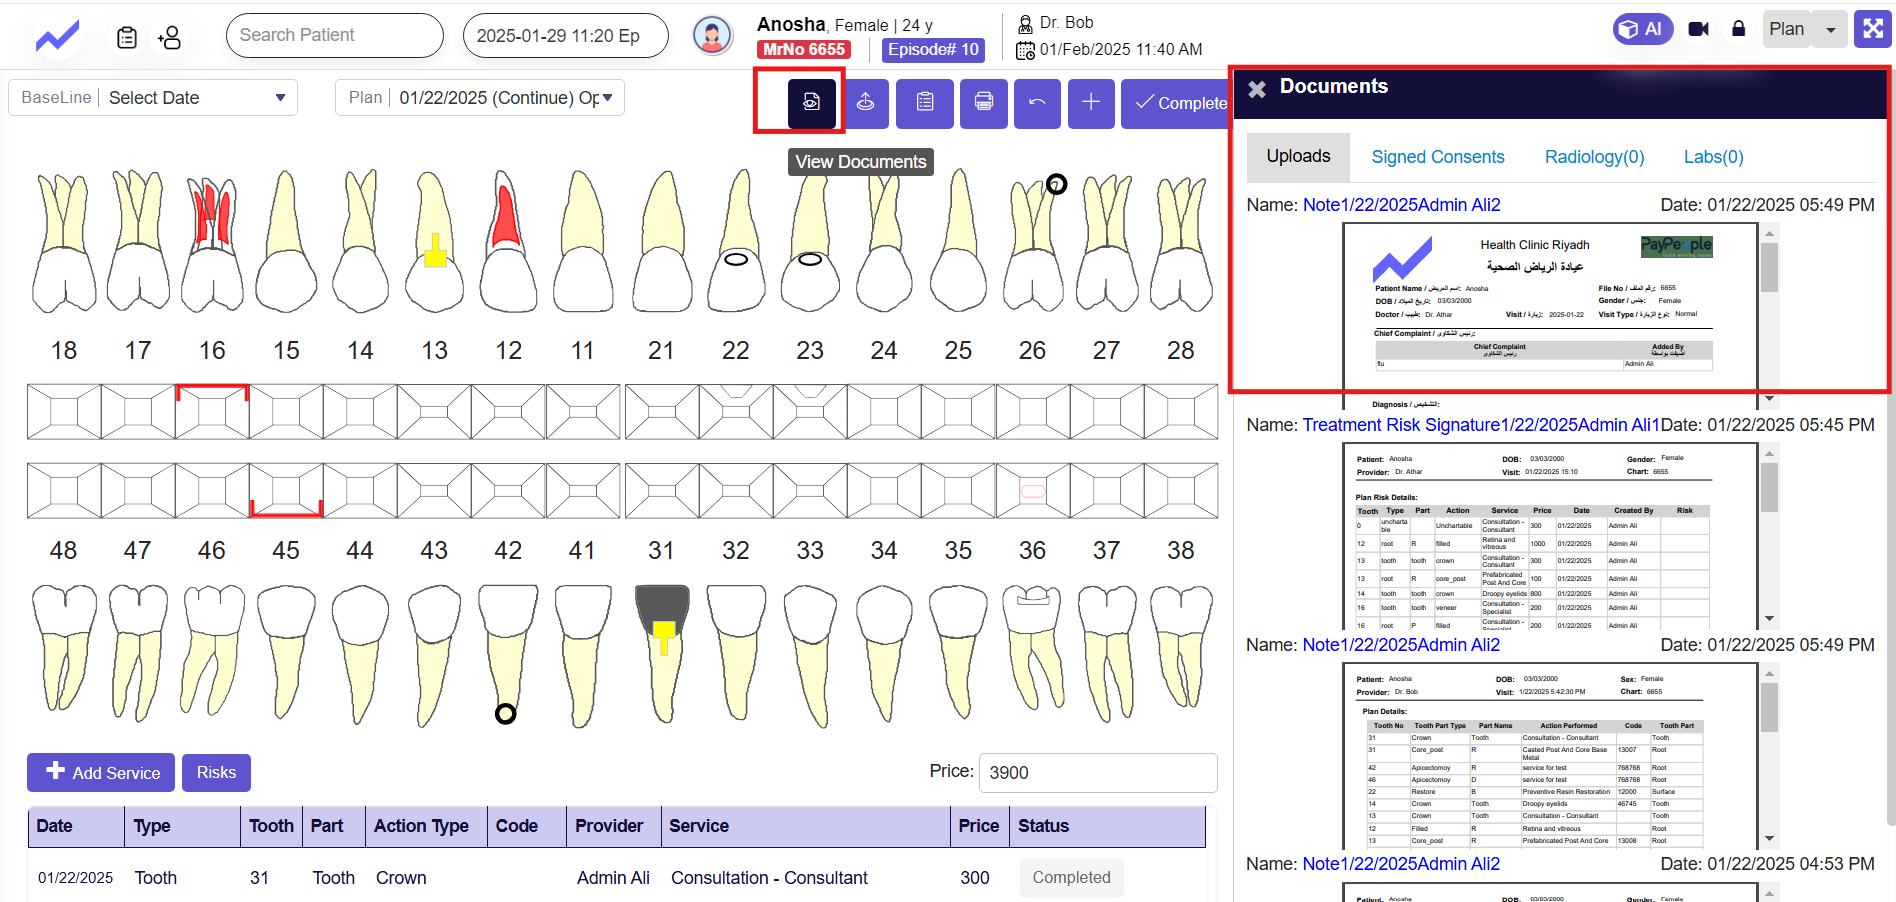
The data in the form of a document will be uploaded to the plan screen, where there is an option to view documents.