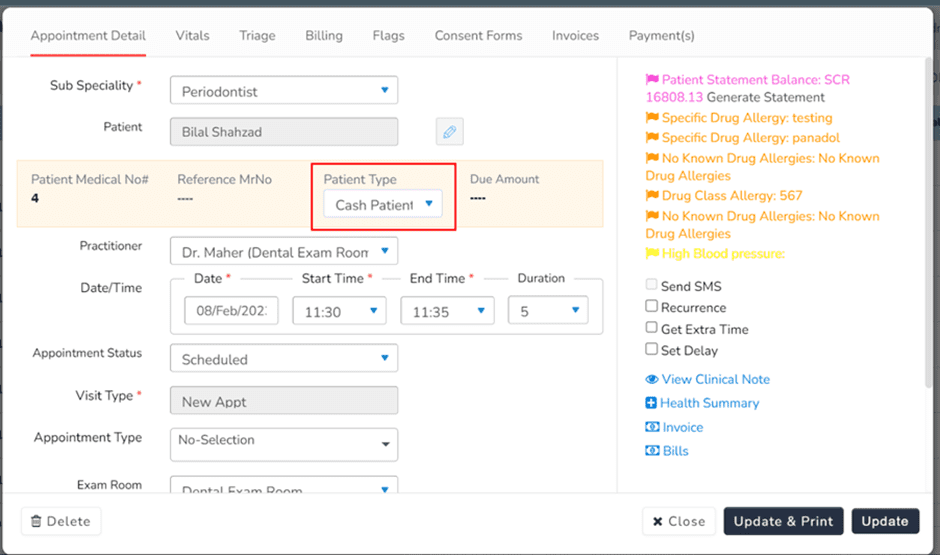
While creating a new patient, you have the option to select whether the patient’s invoice will be cashed out or the payment will be insured. If the patient asks to cover their expenses by insurance at the time of appointment creation, you can enter the insurance details under the “Patient Insurance Info” tab. After creating the appointment, you can check the eligibility of the insurance company by navigating to the “Eligibility” tab in the Appointment pop-up.
This feature allows the receptionist to efficiently verify the insurance coverage and ensure a smooth payment process for the patient.
For the Cash Patient

Fig: Choosing Patient Type during appointment requesting
For Insurance Patient

Choose patient type from the dropdown
-
Add Company
-
Add Policy Number
-
Add Membership Number
-
Add Card Number
If the patient is paying cash for the services they availed, an invoice will be created. For invoices, the user needs to click on the patient modal under the Existing patient tab.
A billing screen will appear, displaying availed services with type, quantity, net price, and applicable discounts. A total bill including tax, discount, and payment mode will be shown at the bottom right.


