Procedure to create consent forms:
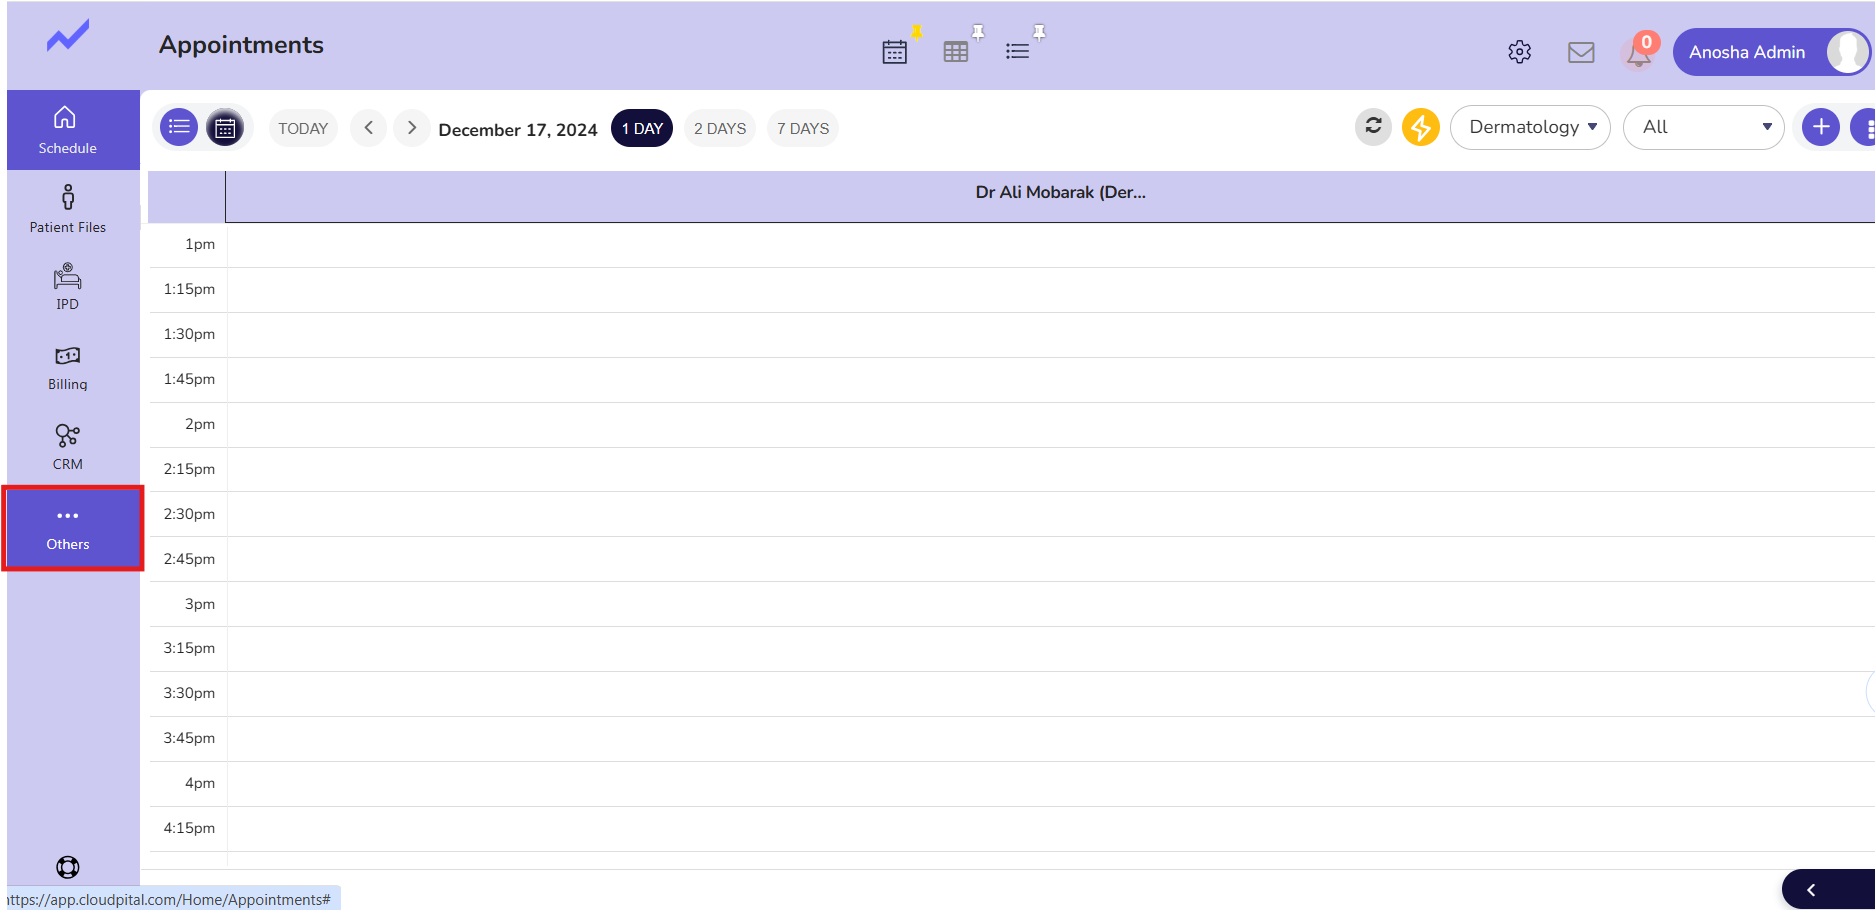
From the schedule screen click on others.
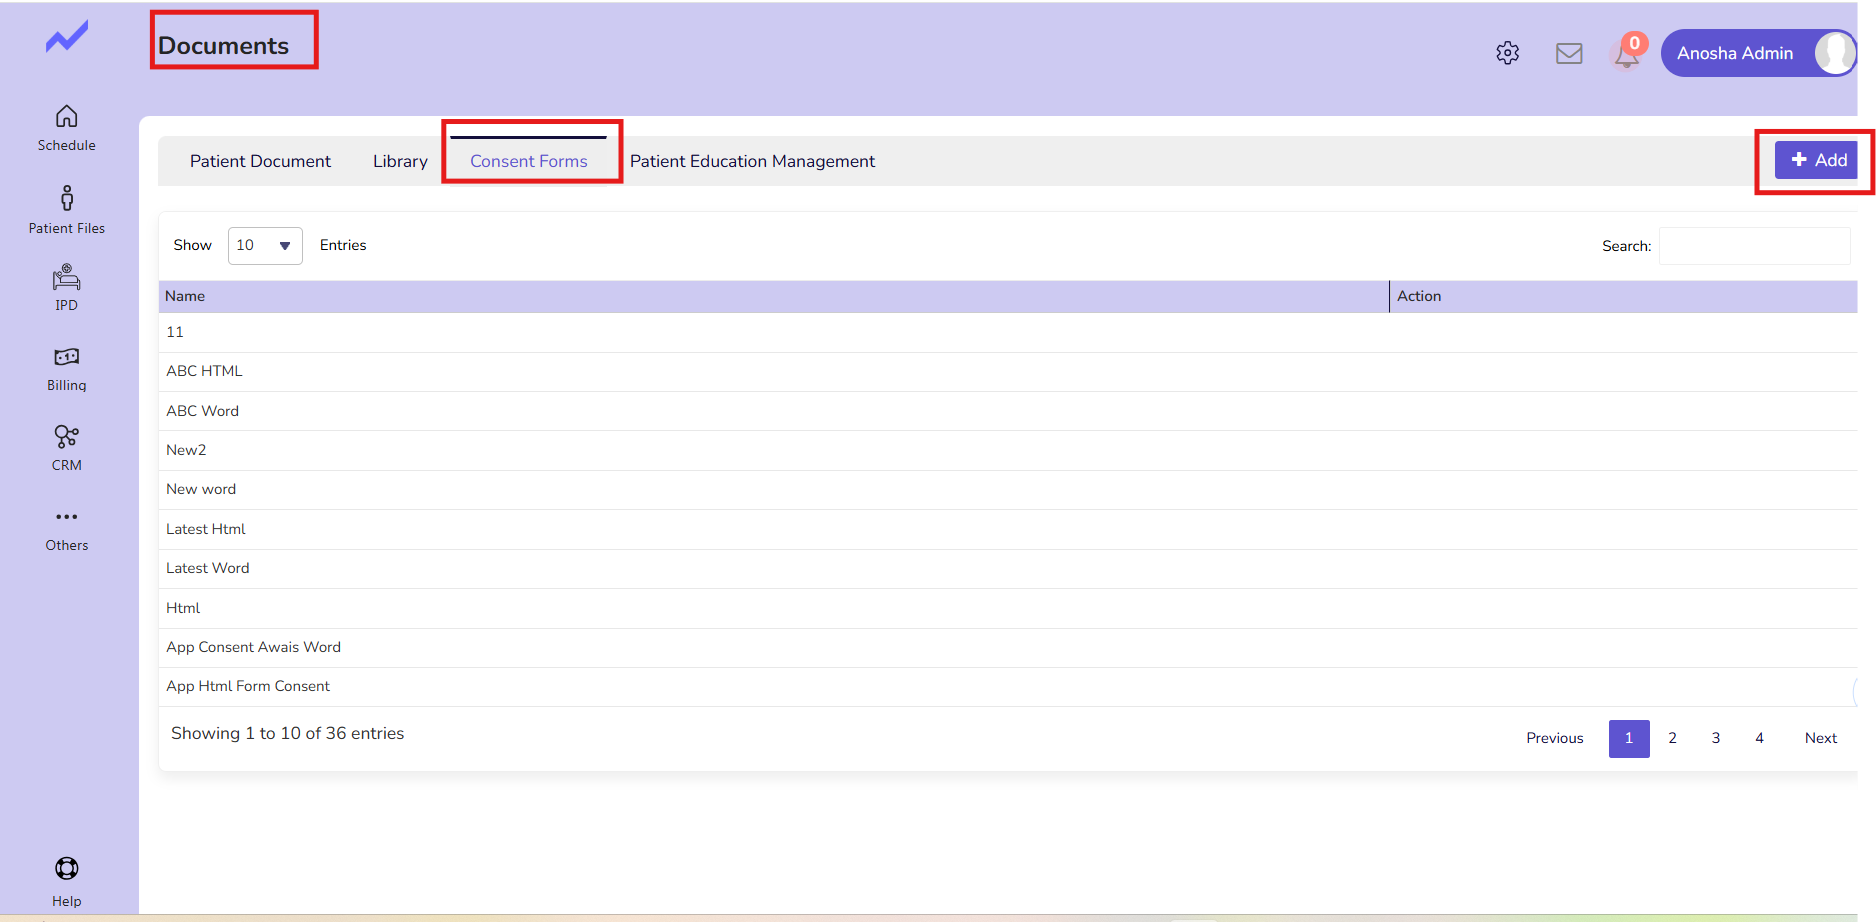
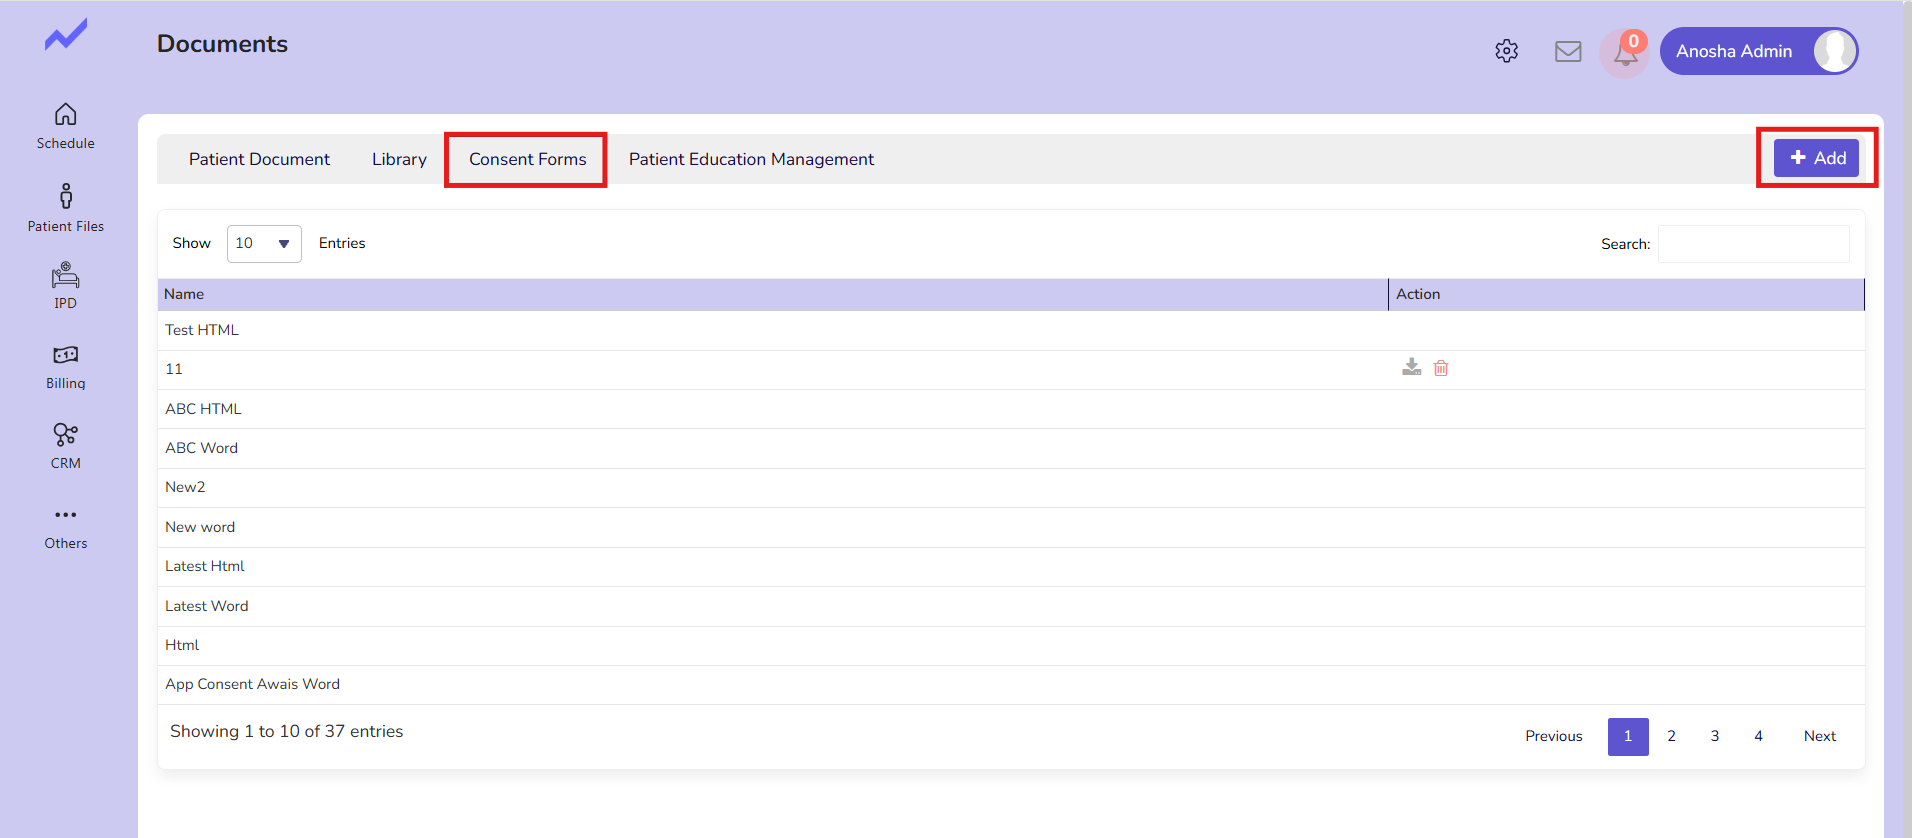
Go to Documents.

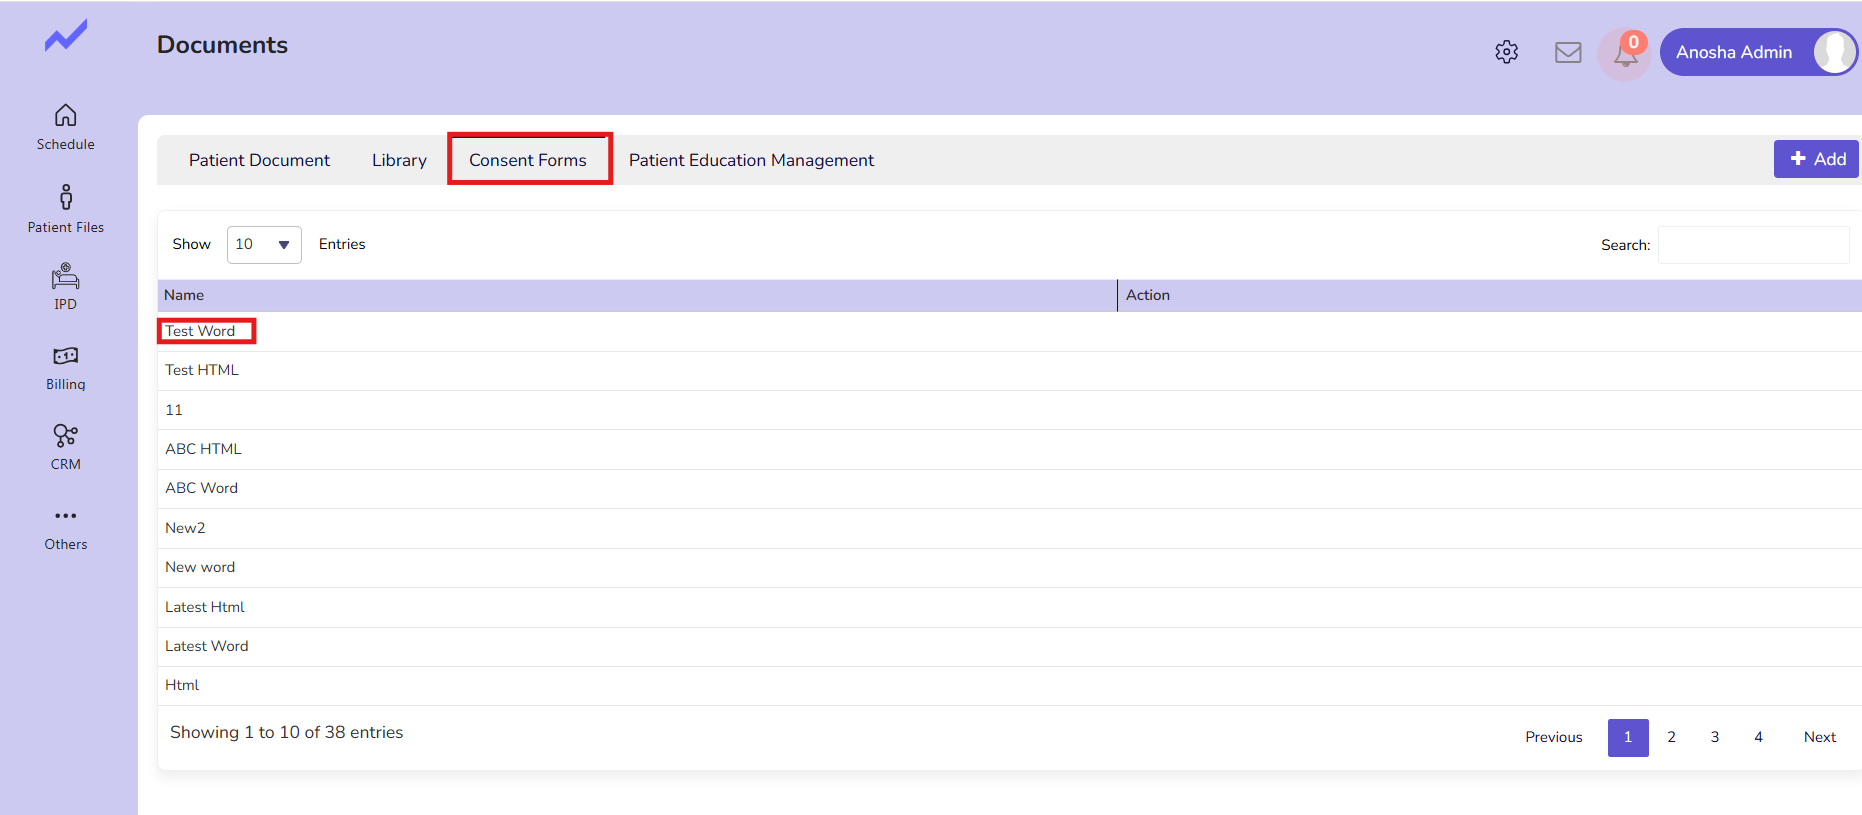
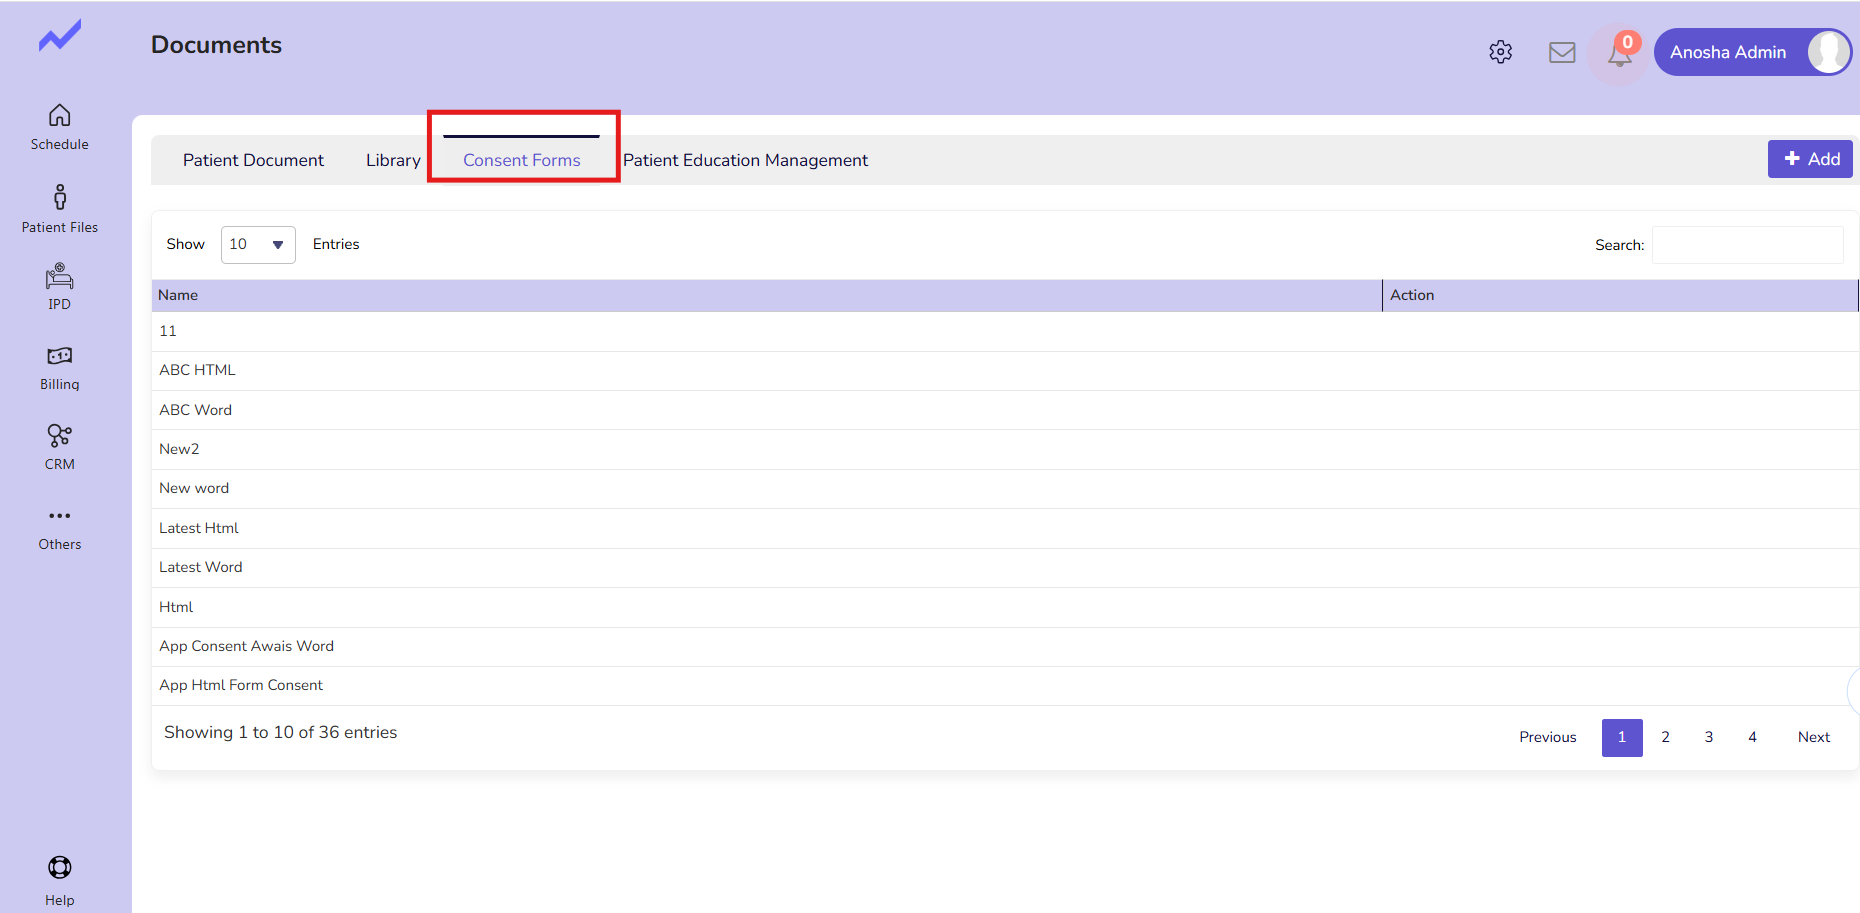
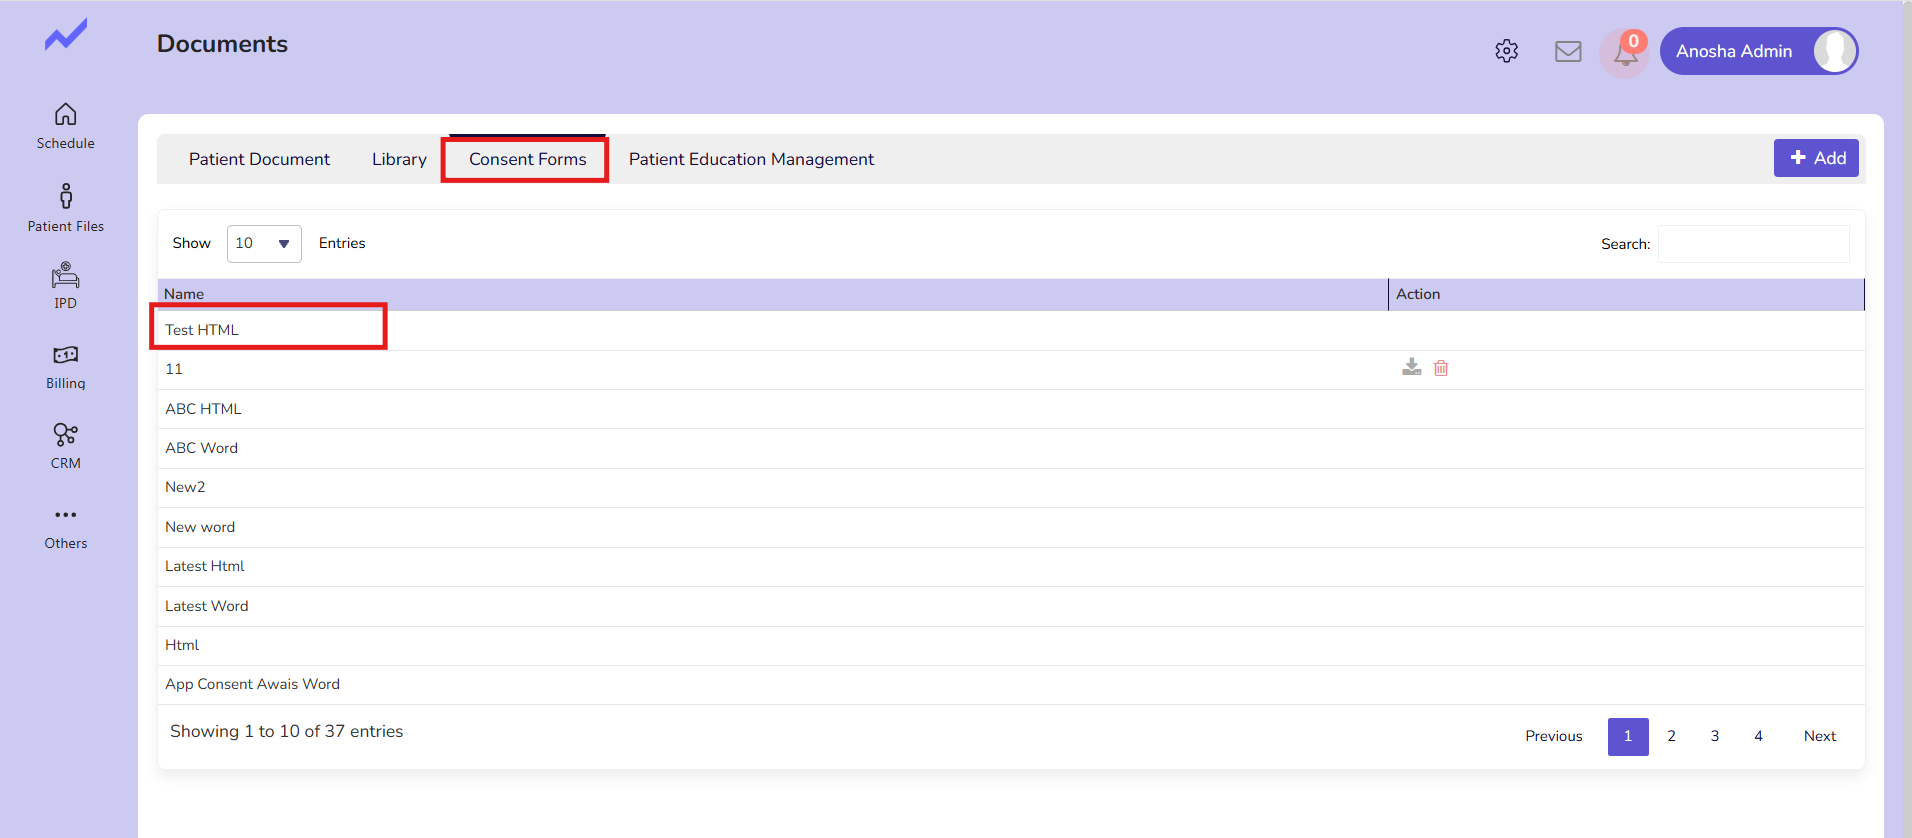
Here you see the consent form tab. Click on it.
To create a new consent form, click on the ADD button.
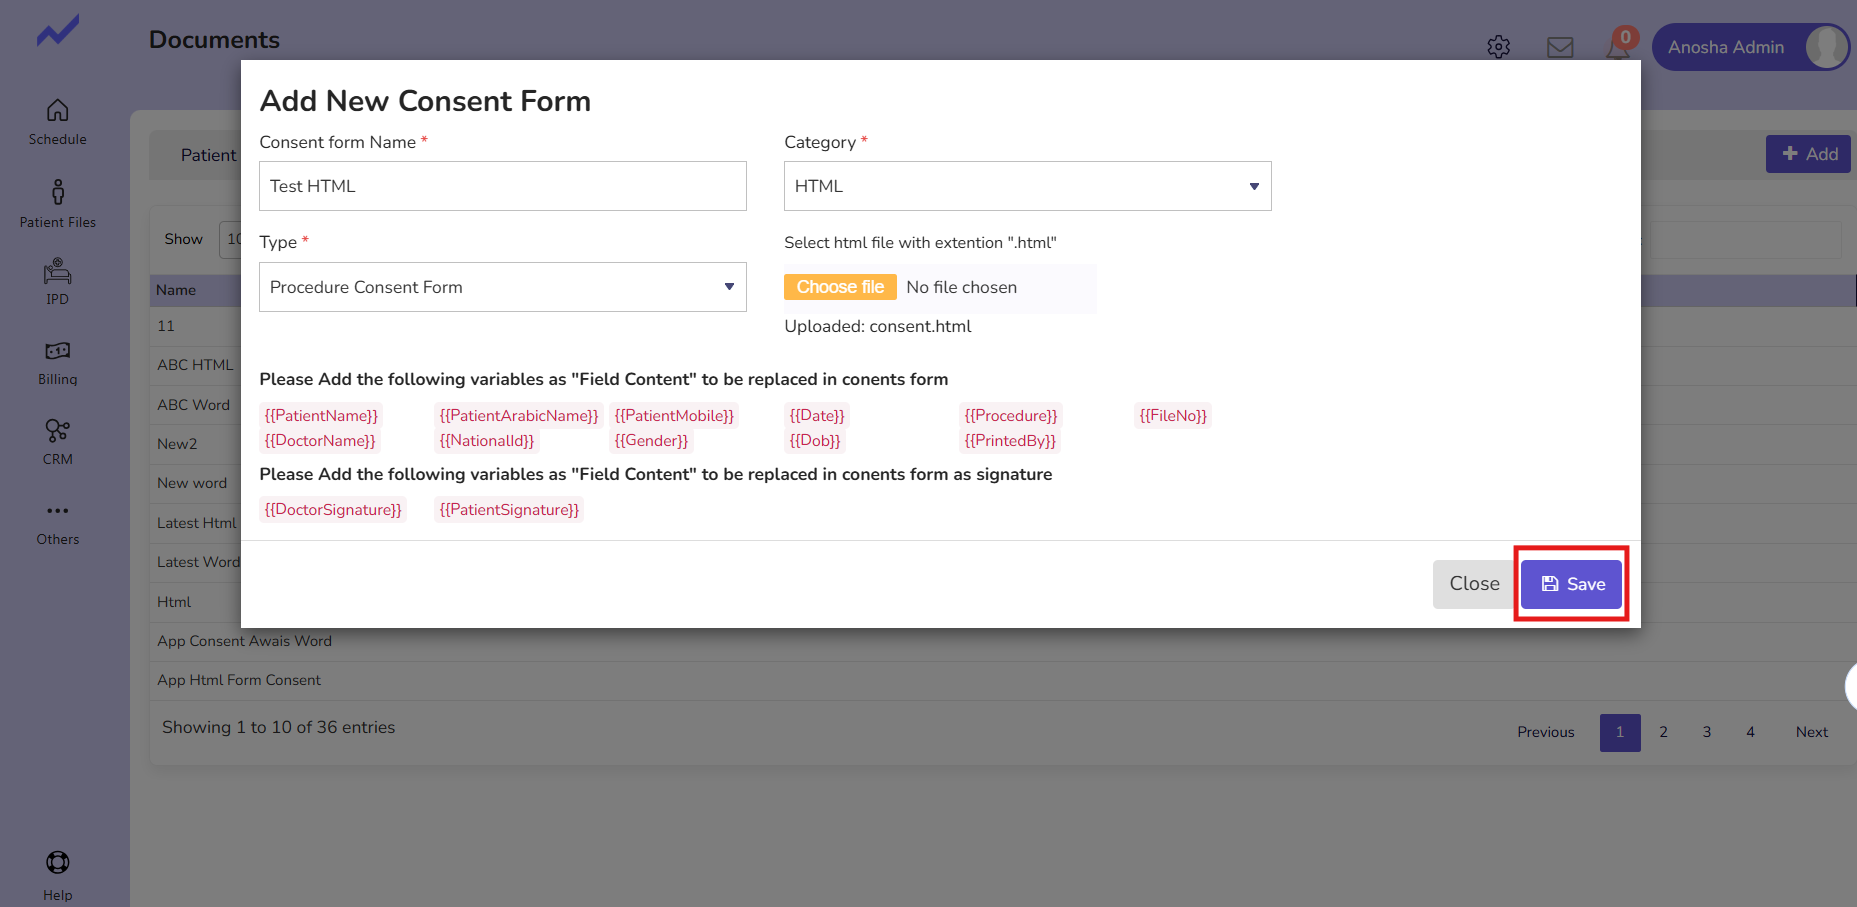
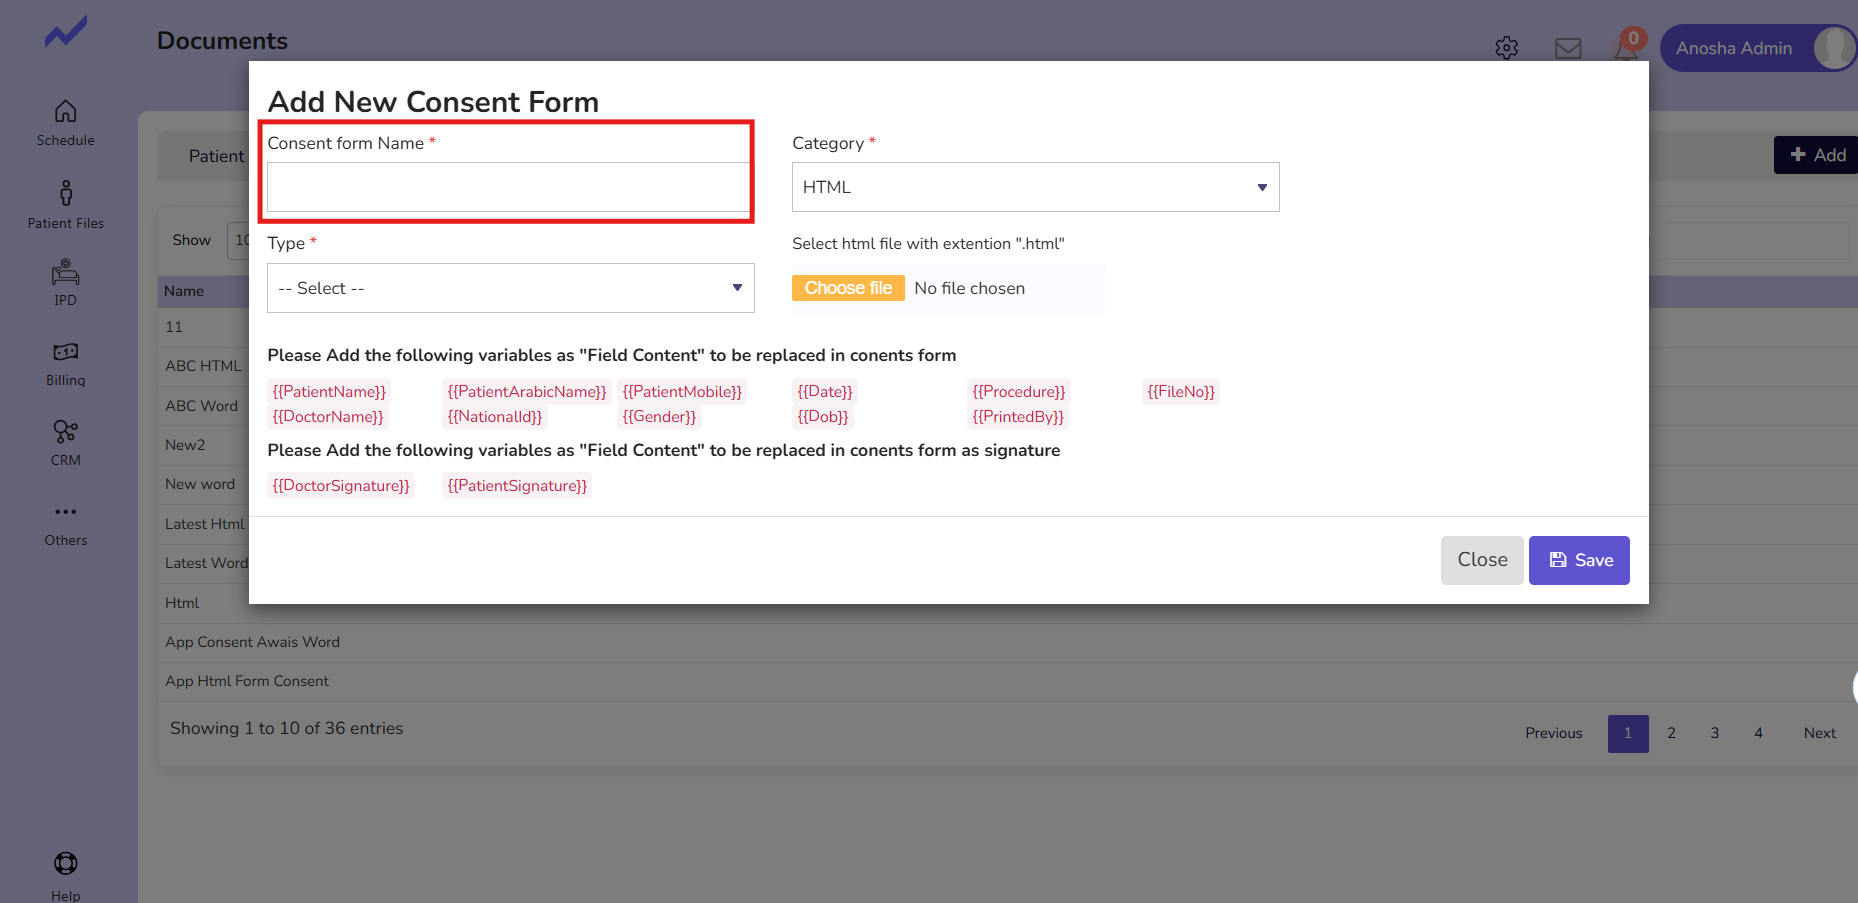
When you click on the ADD button, a new window will appear (Add New Consent Form).
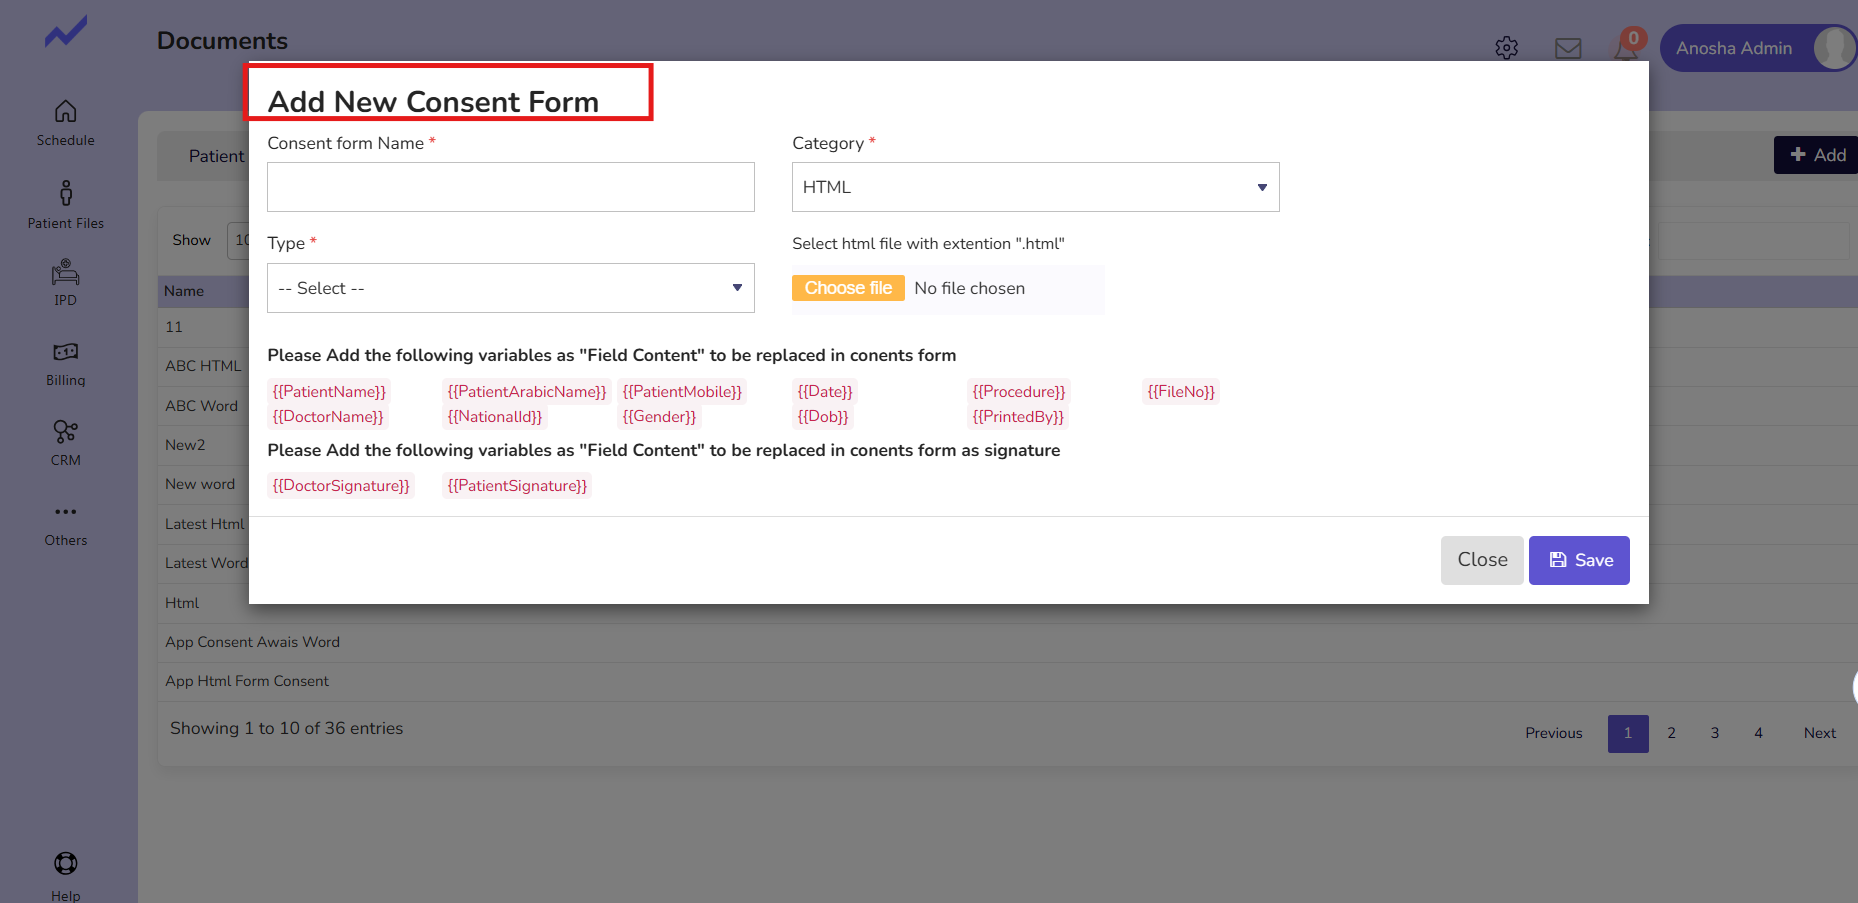
Enter the consent form name in the Name field.

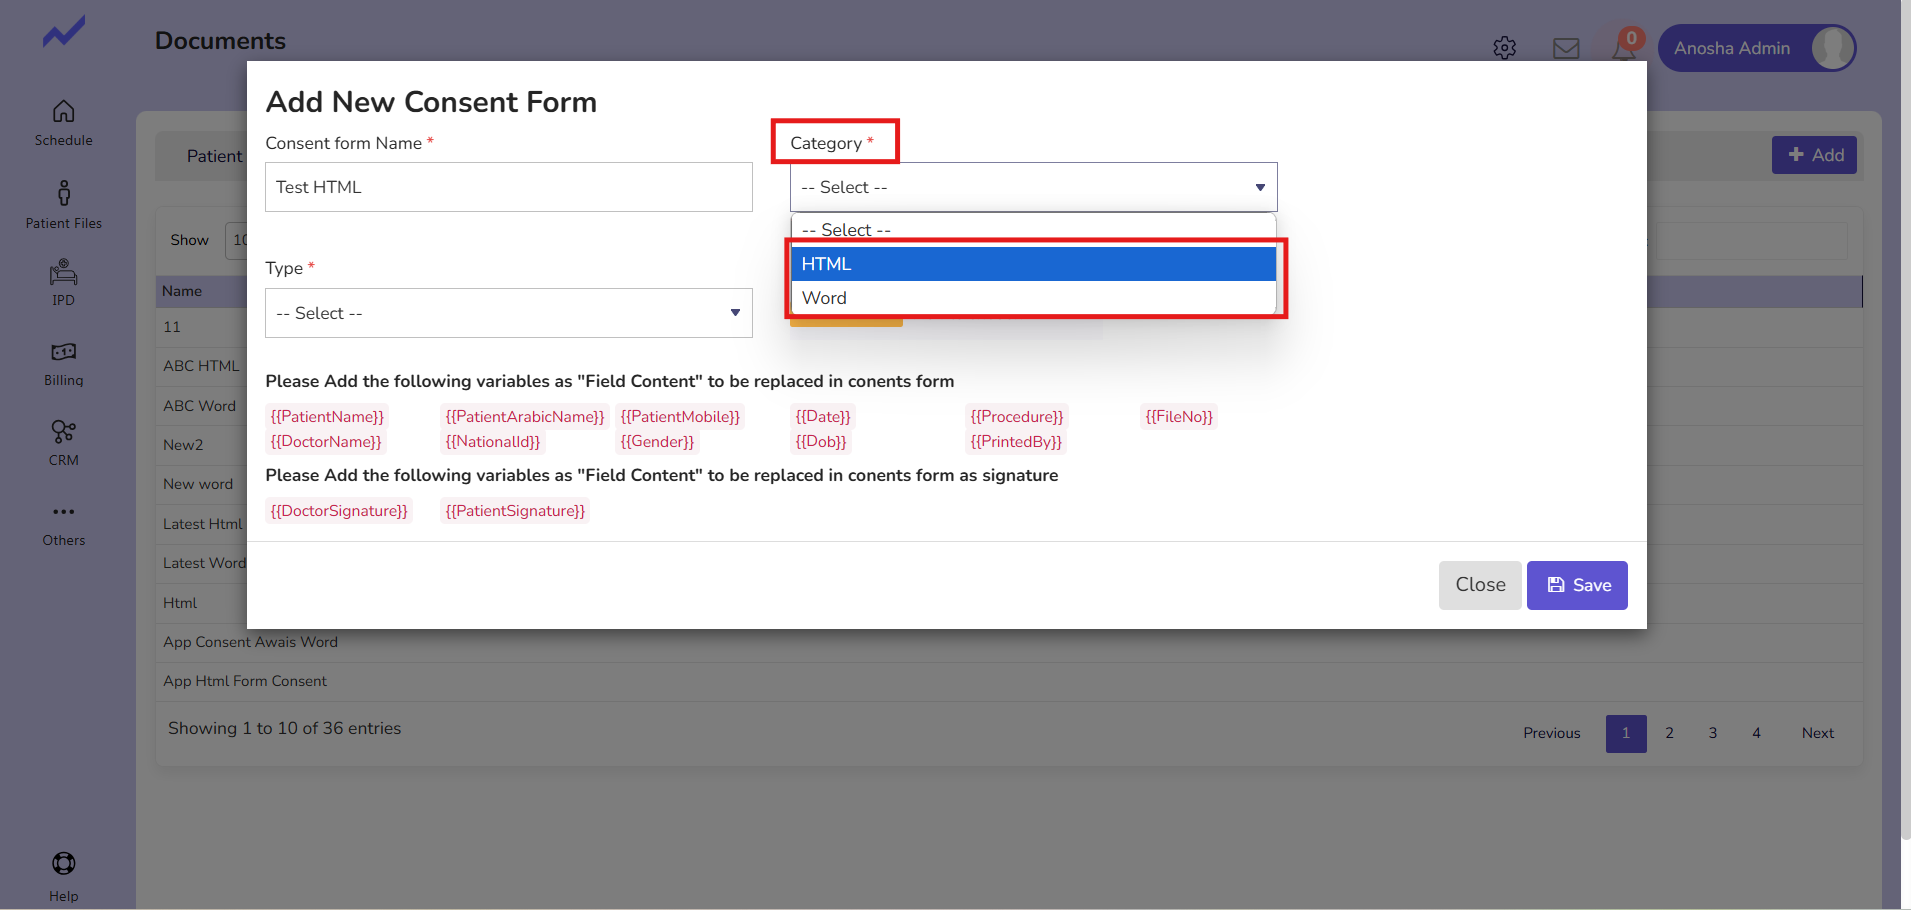
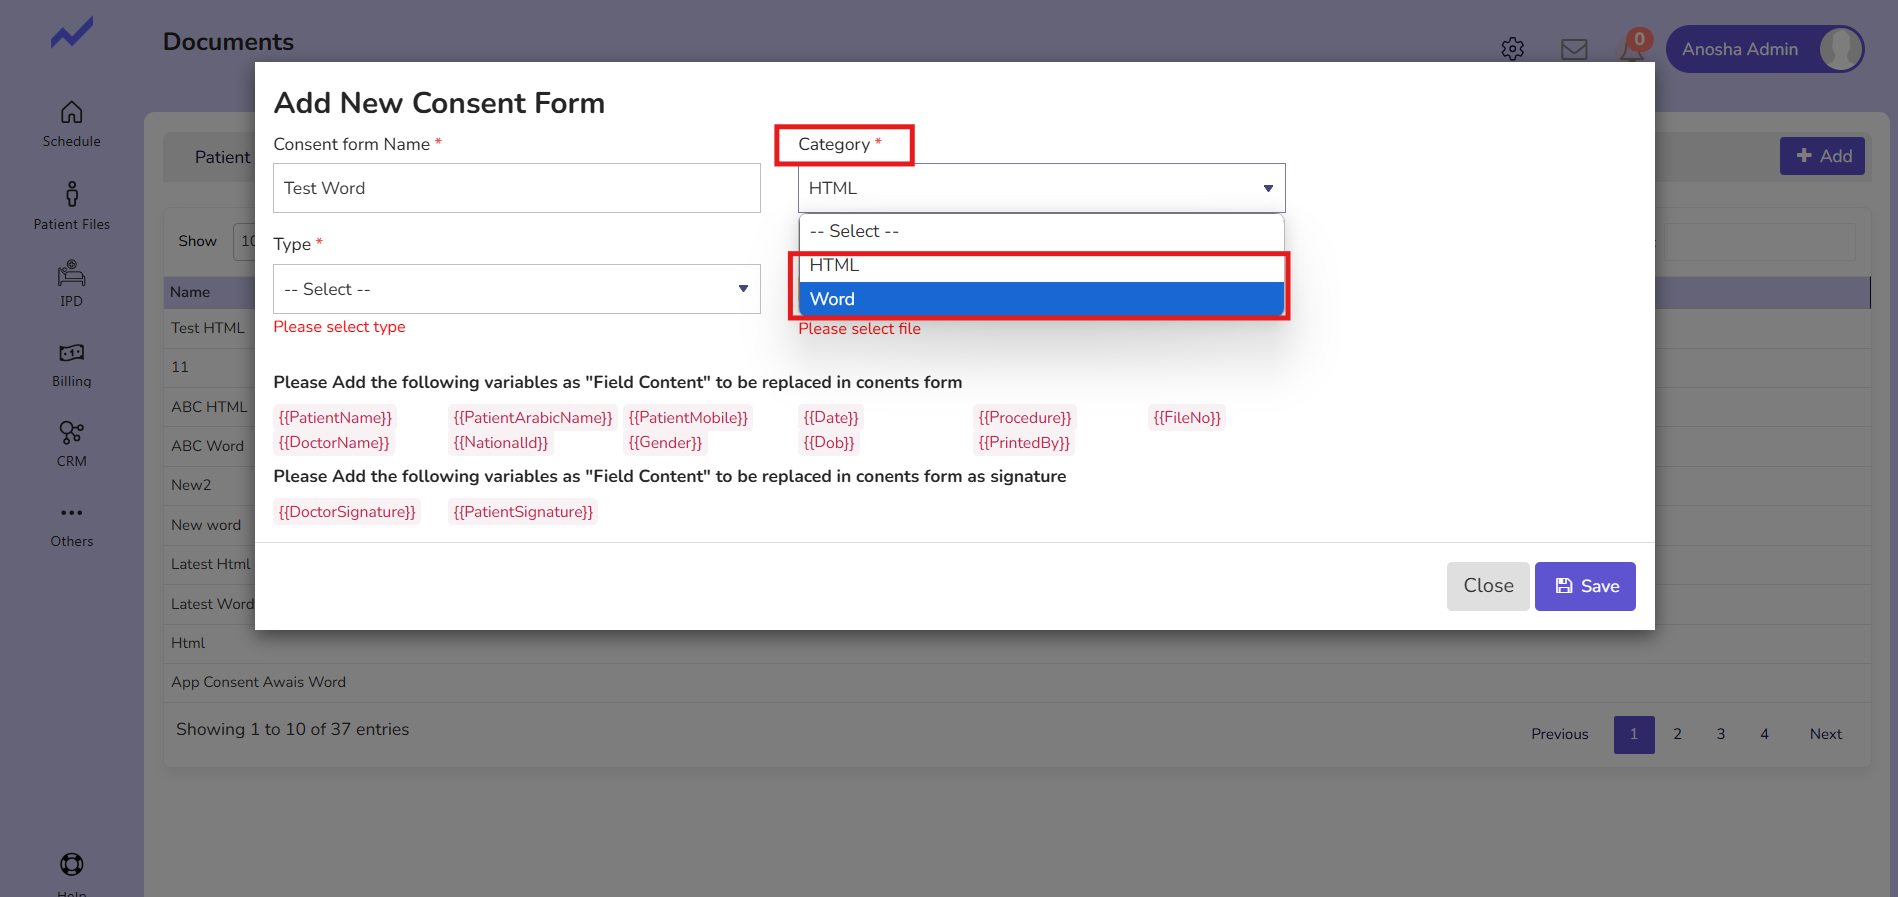
After that, select the consent form category from the drop-down. It can be either a Word file or an HTML file.
Let us begin by selecting an HTML file.
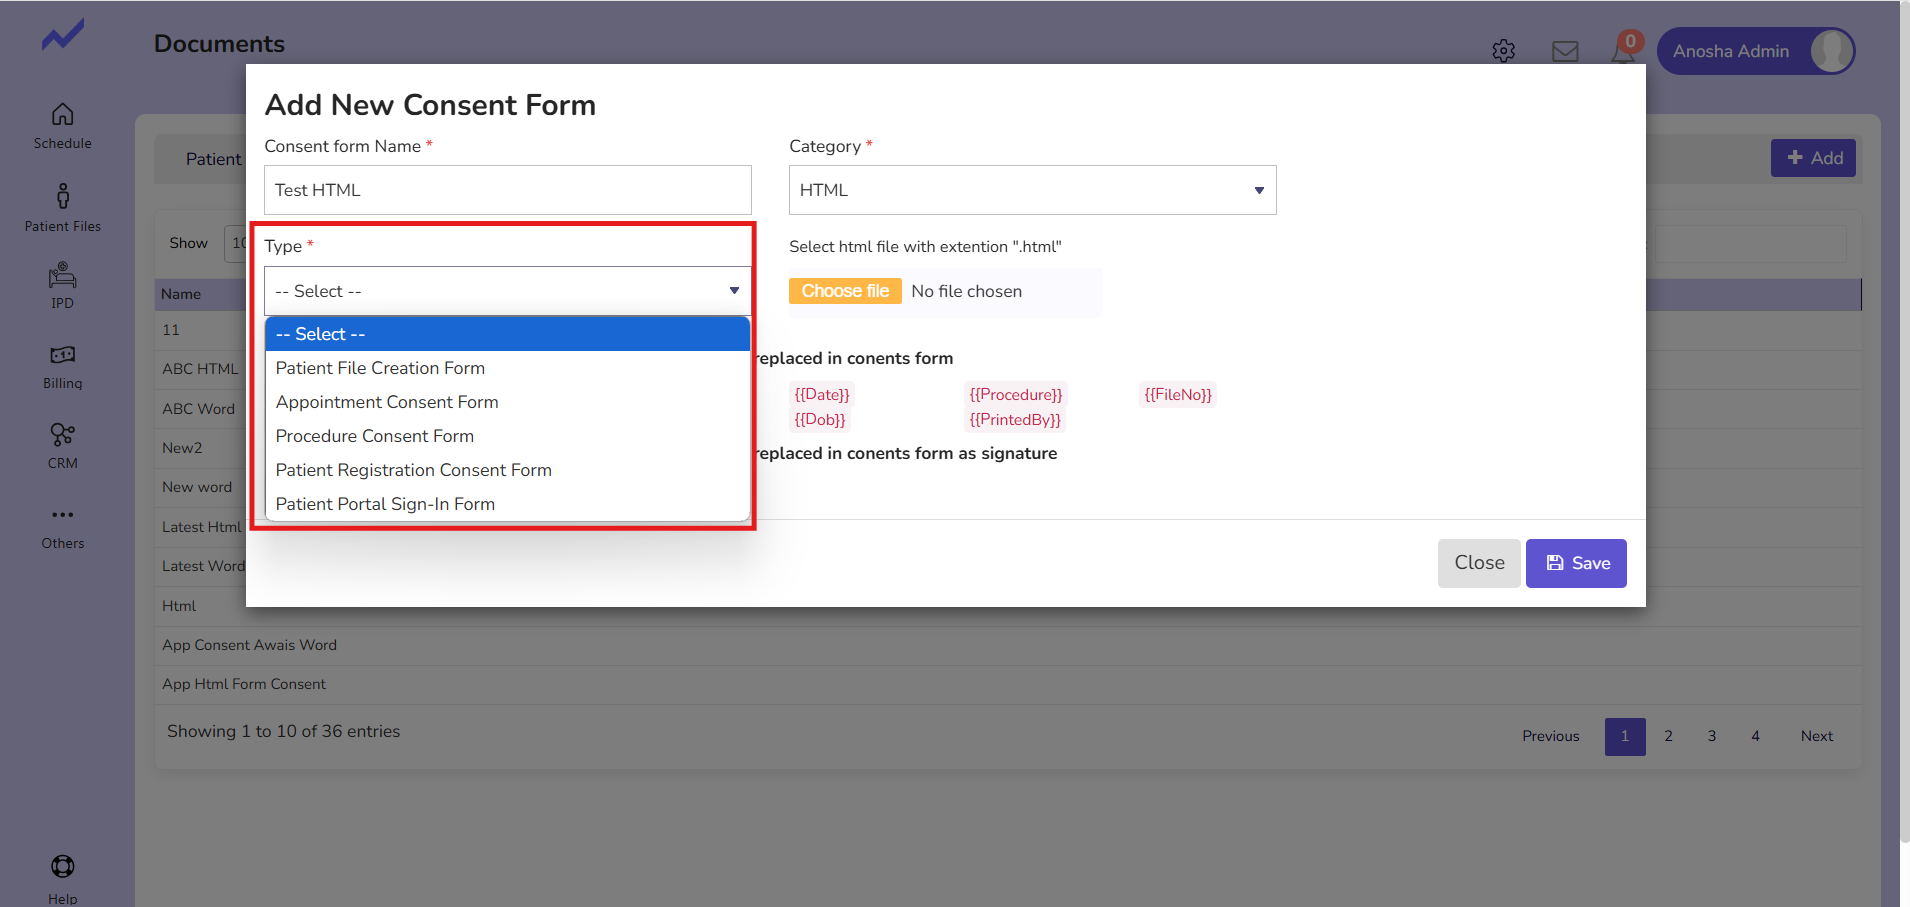
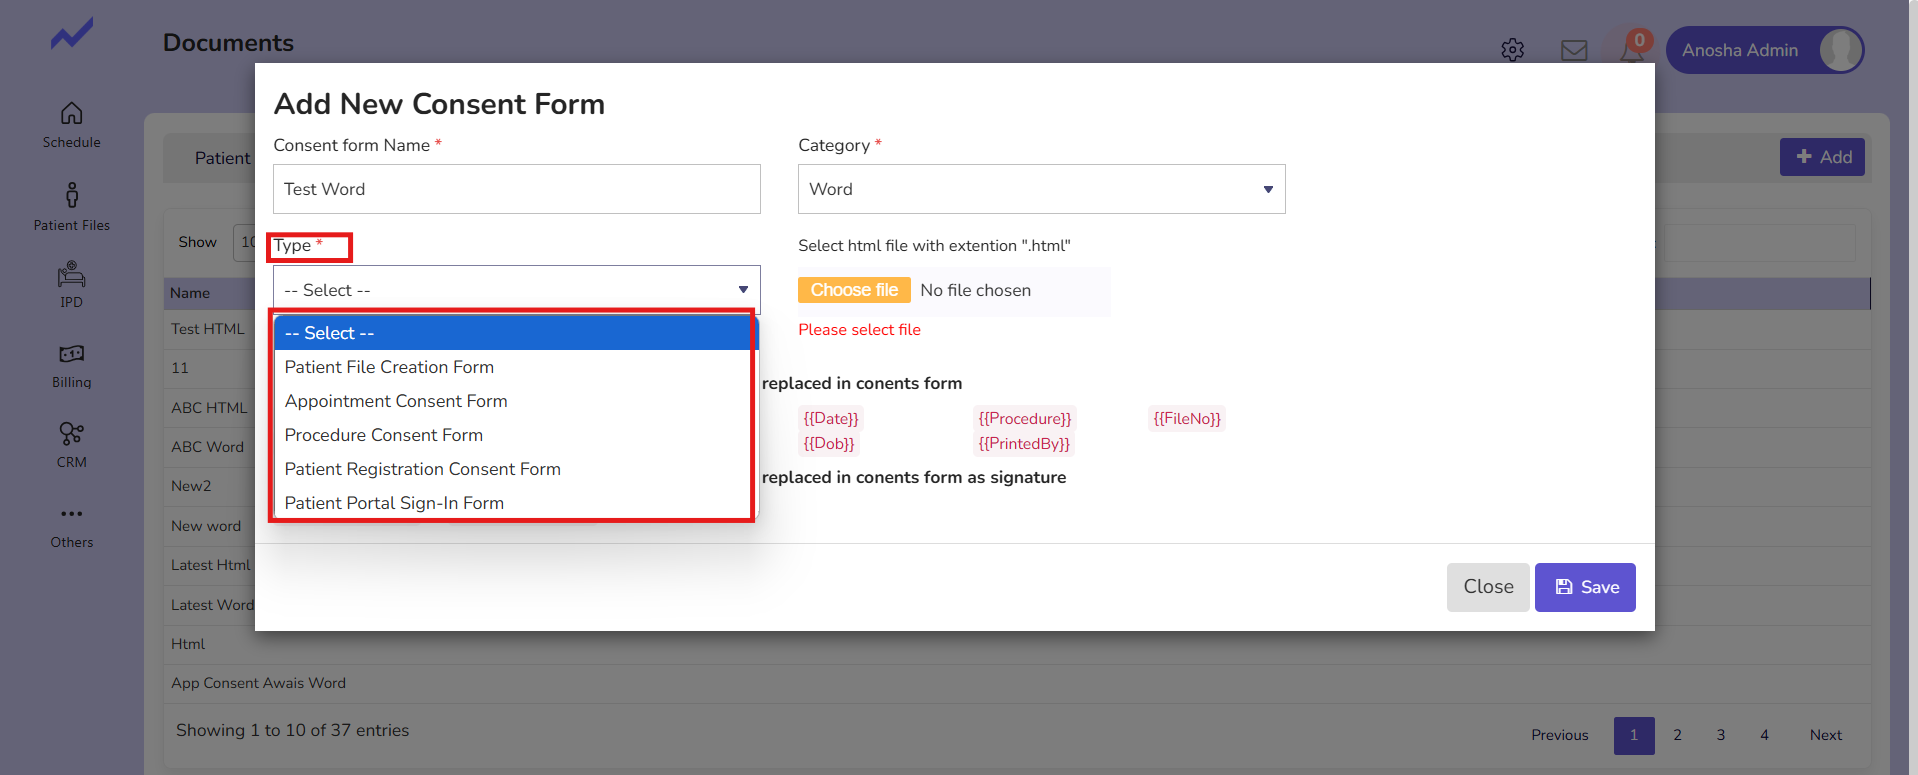
When adding a new consent form, you will see a Type dropdown menu. This menu allows you to select the specific type of consent form required. Select the appropriate type based on the purpose of the consent form.
Select the Type of Consent form from the Type Drop-Down.
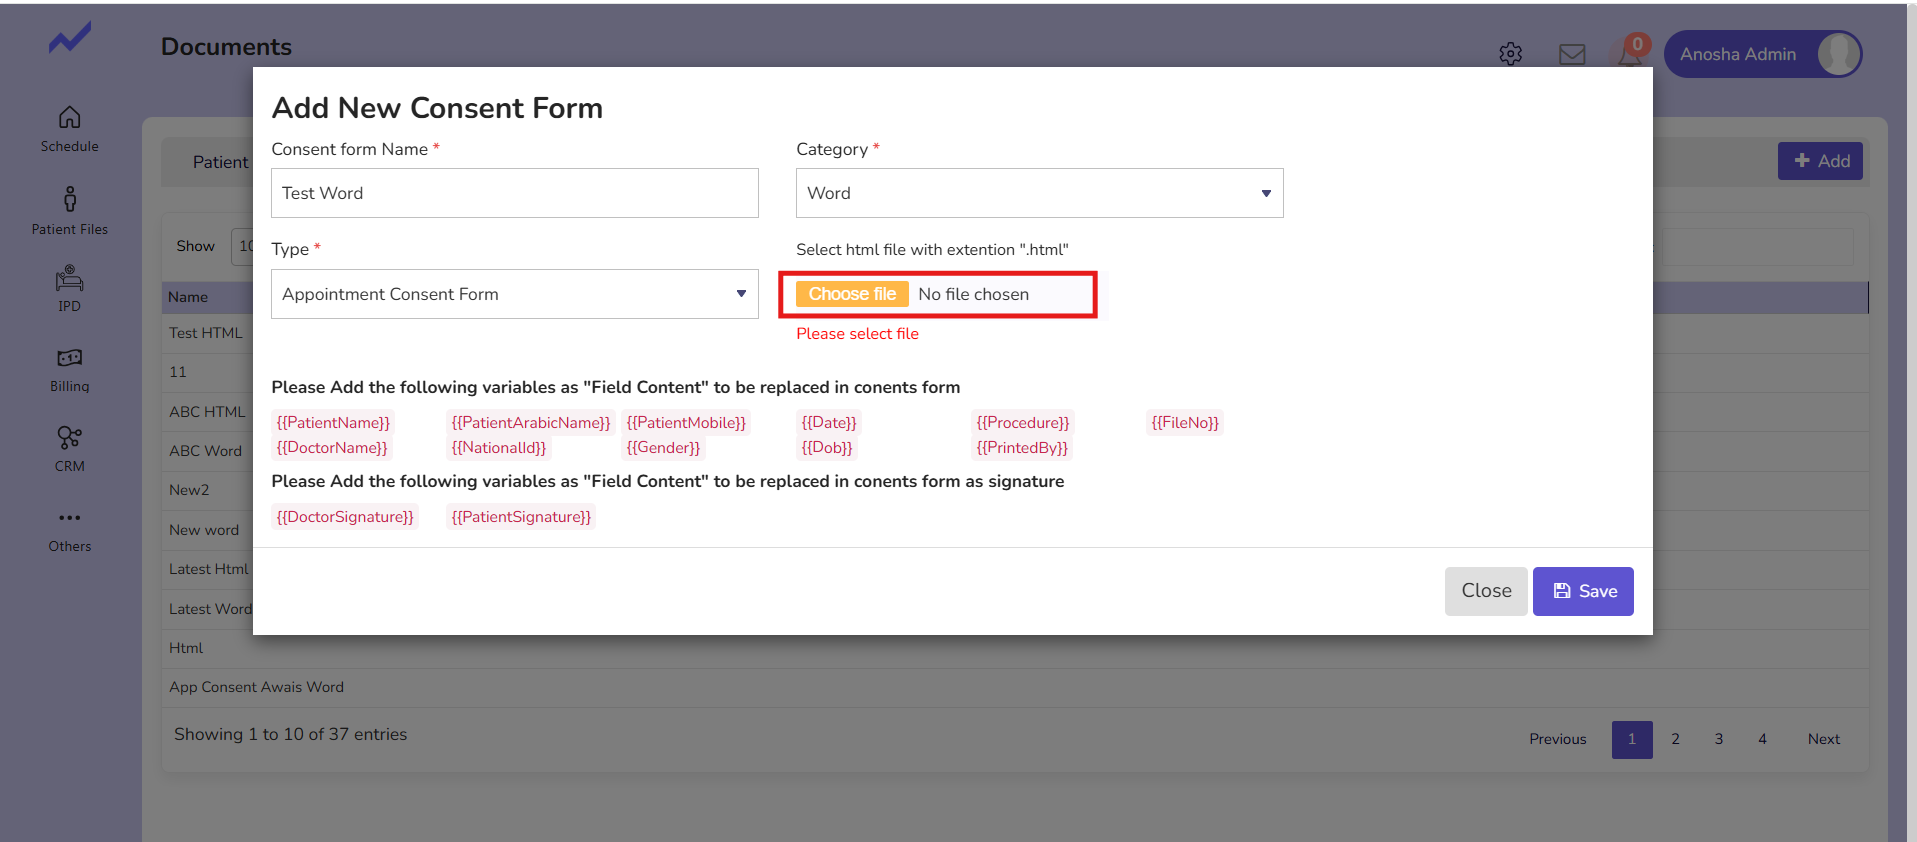
Click on Choose File, select the HTML document you want to upload.
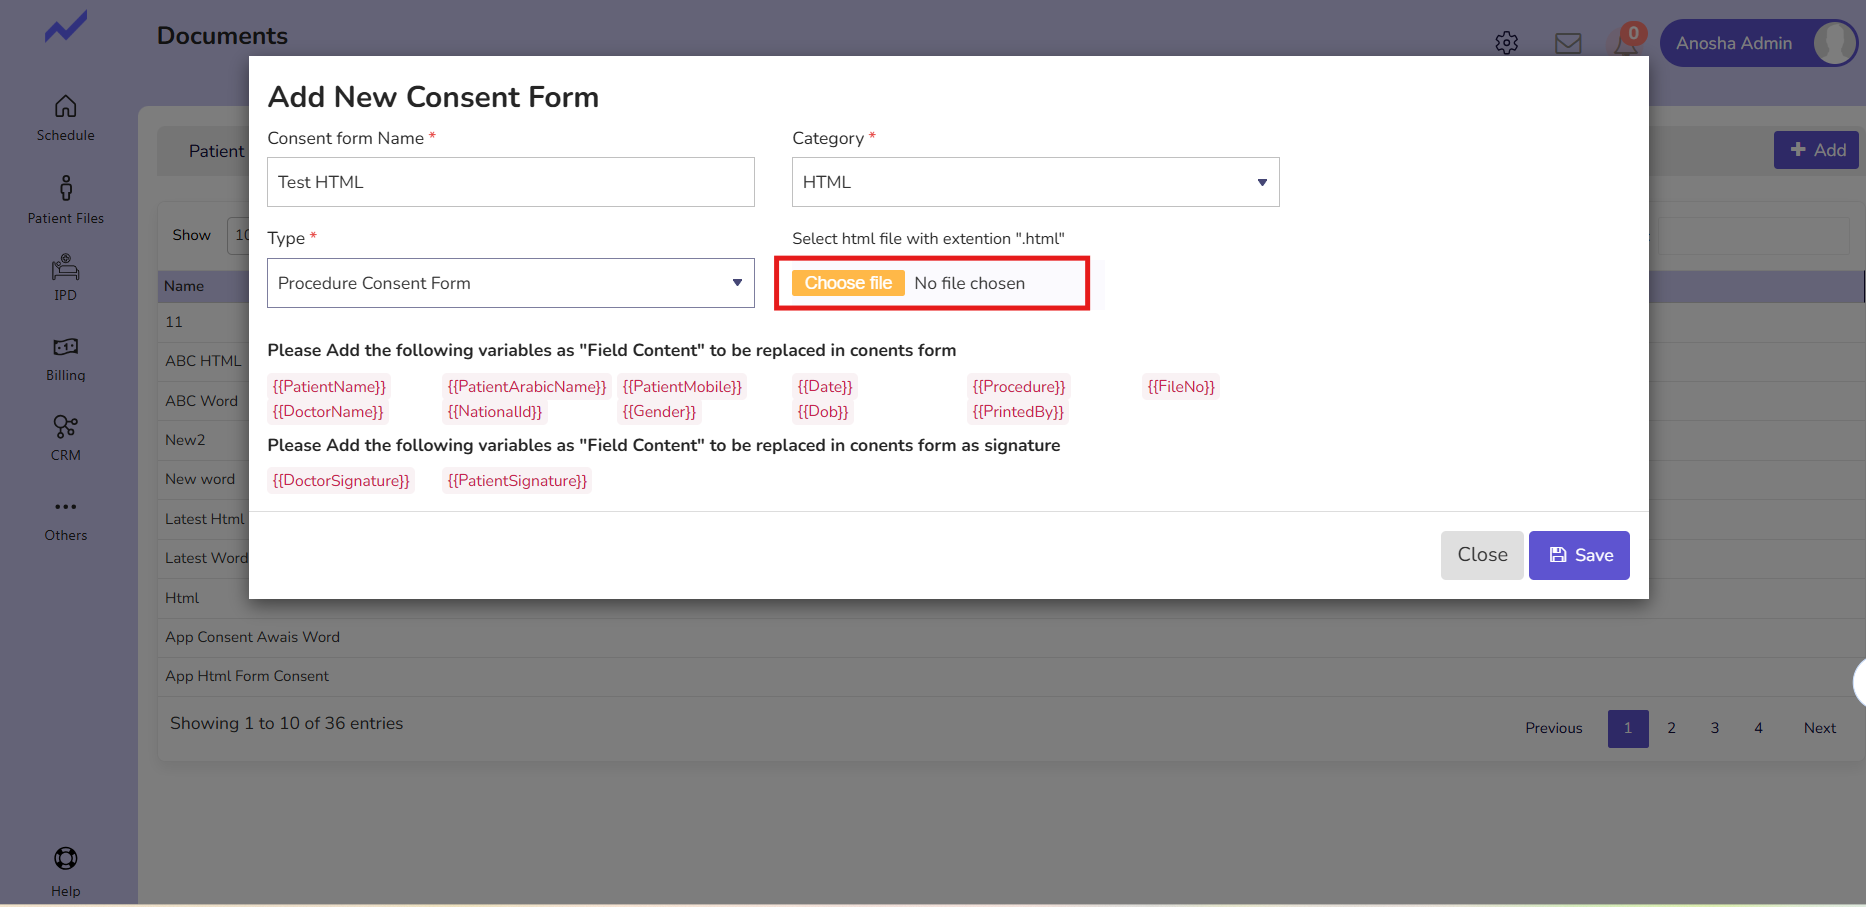
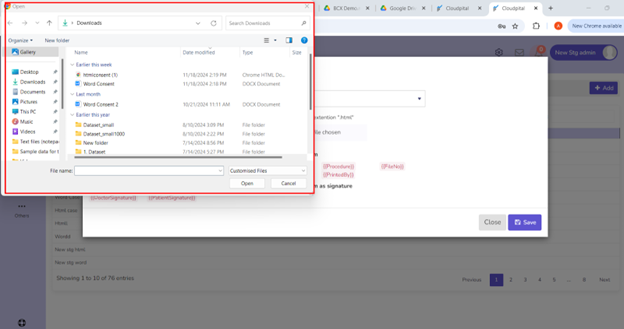
After uploading the file click on the Save button.
Clicking the Save button saves the consent form, and it will appear at the top of the consent form list on the main screen of consent forms.
Now let’s create a Word Consent form.
Click on the ADD button.
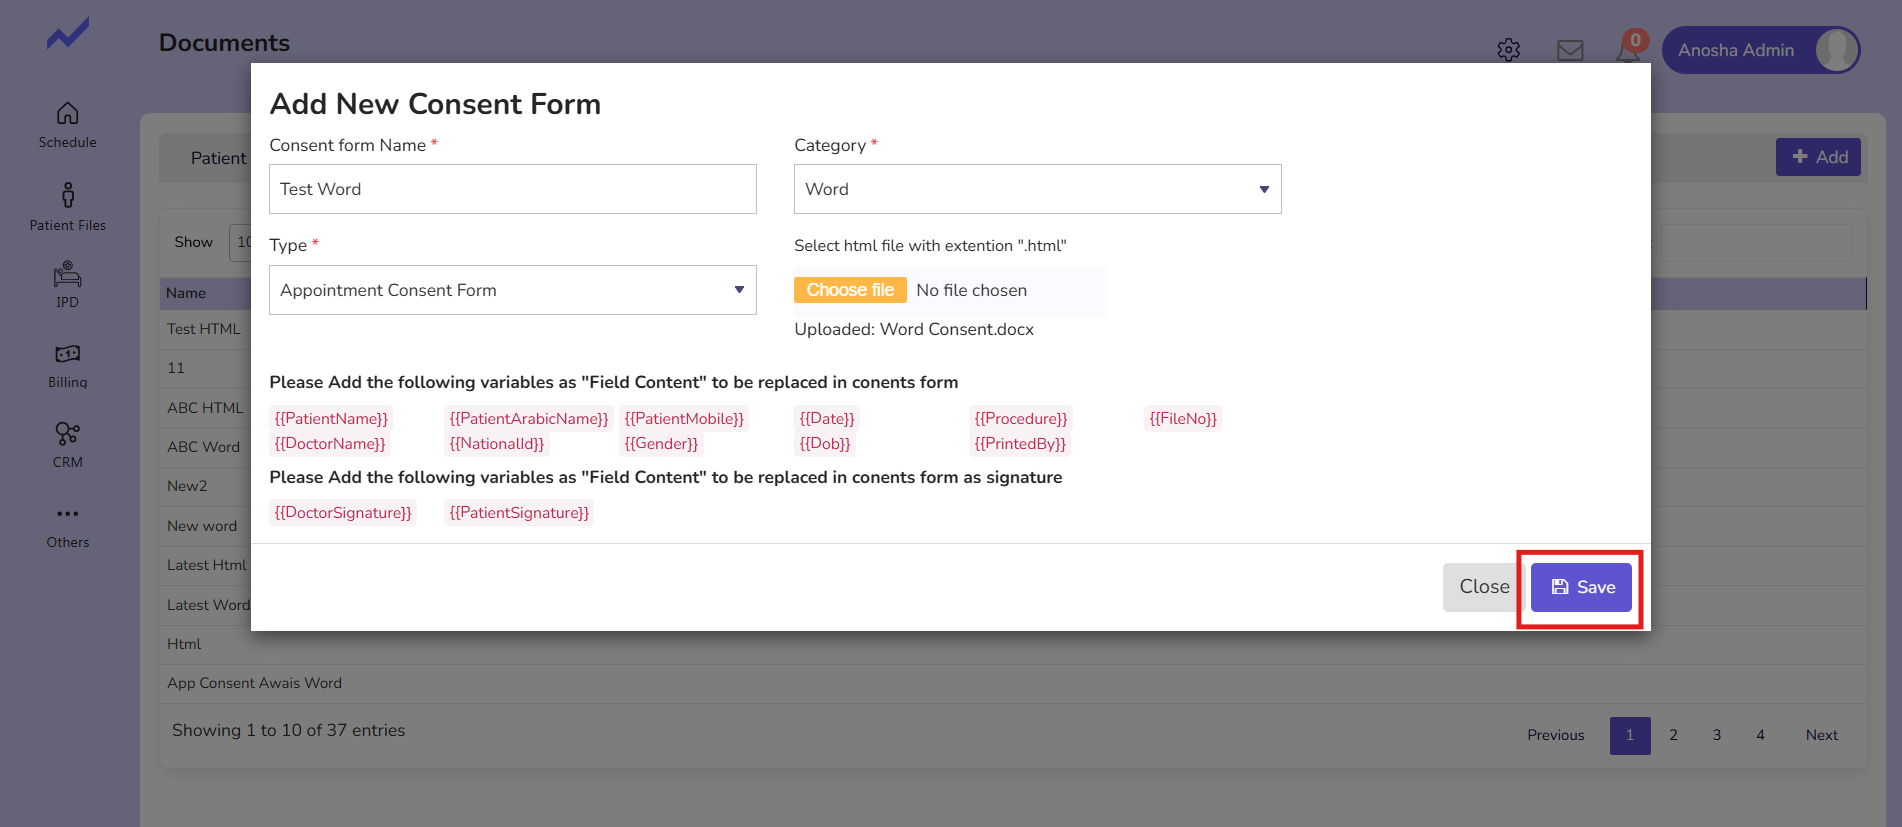
When you click on the ADD button, a new window will appear (Add New Consent Form).

Enter the Consent form name in the Name field.
Choose the category as Word.
After that choose Consent form type.
Click on Choose File, select the Word document you want to upload.

After uploading the file click on the Save button.
Clicking the Save button saves the consent form, and it will appear at the top of the consent form list on the main screen of consent forms.