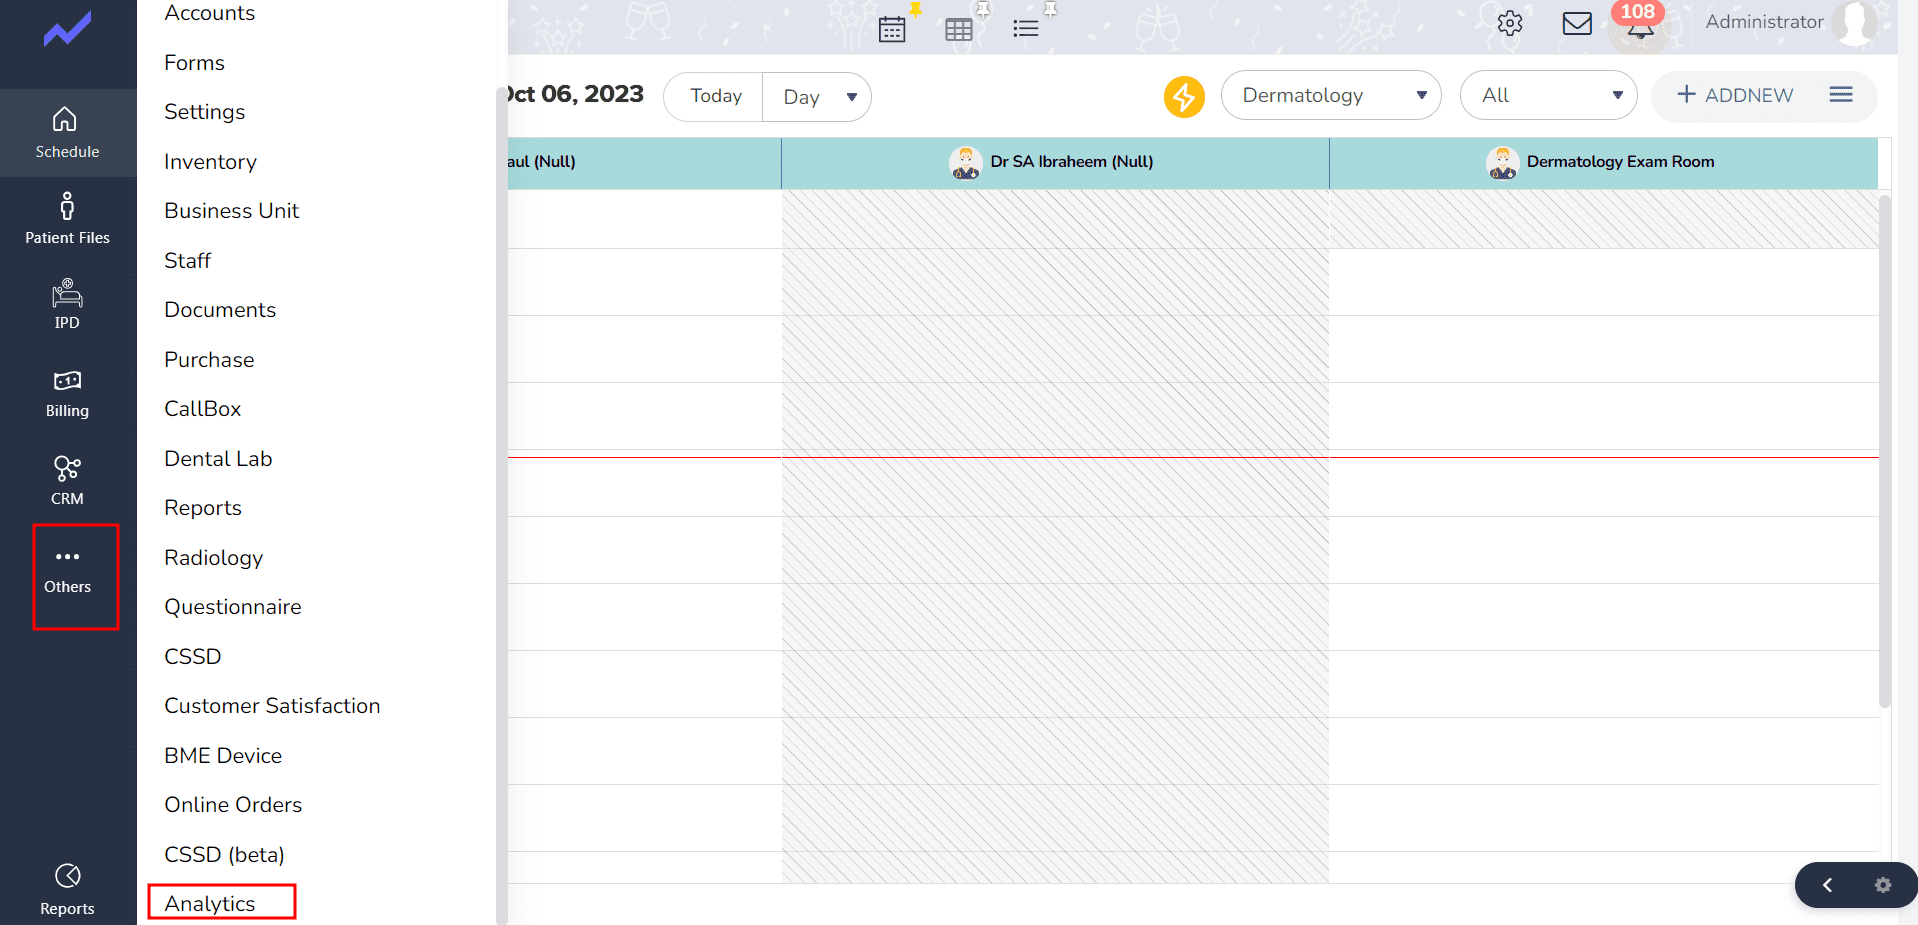
First, the admin goes to the “Others” section and selects “Analytics” on the schedule screen.
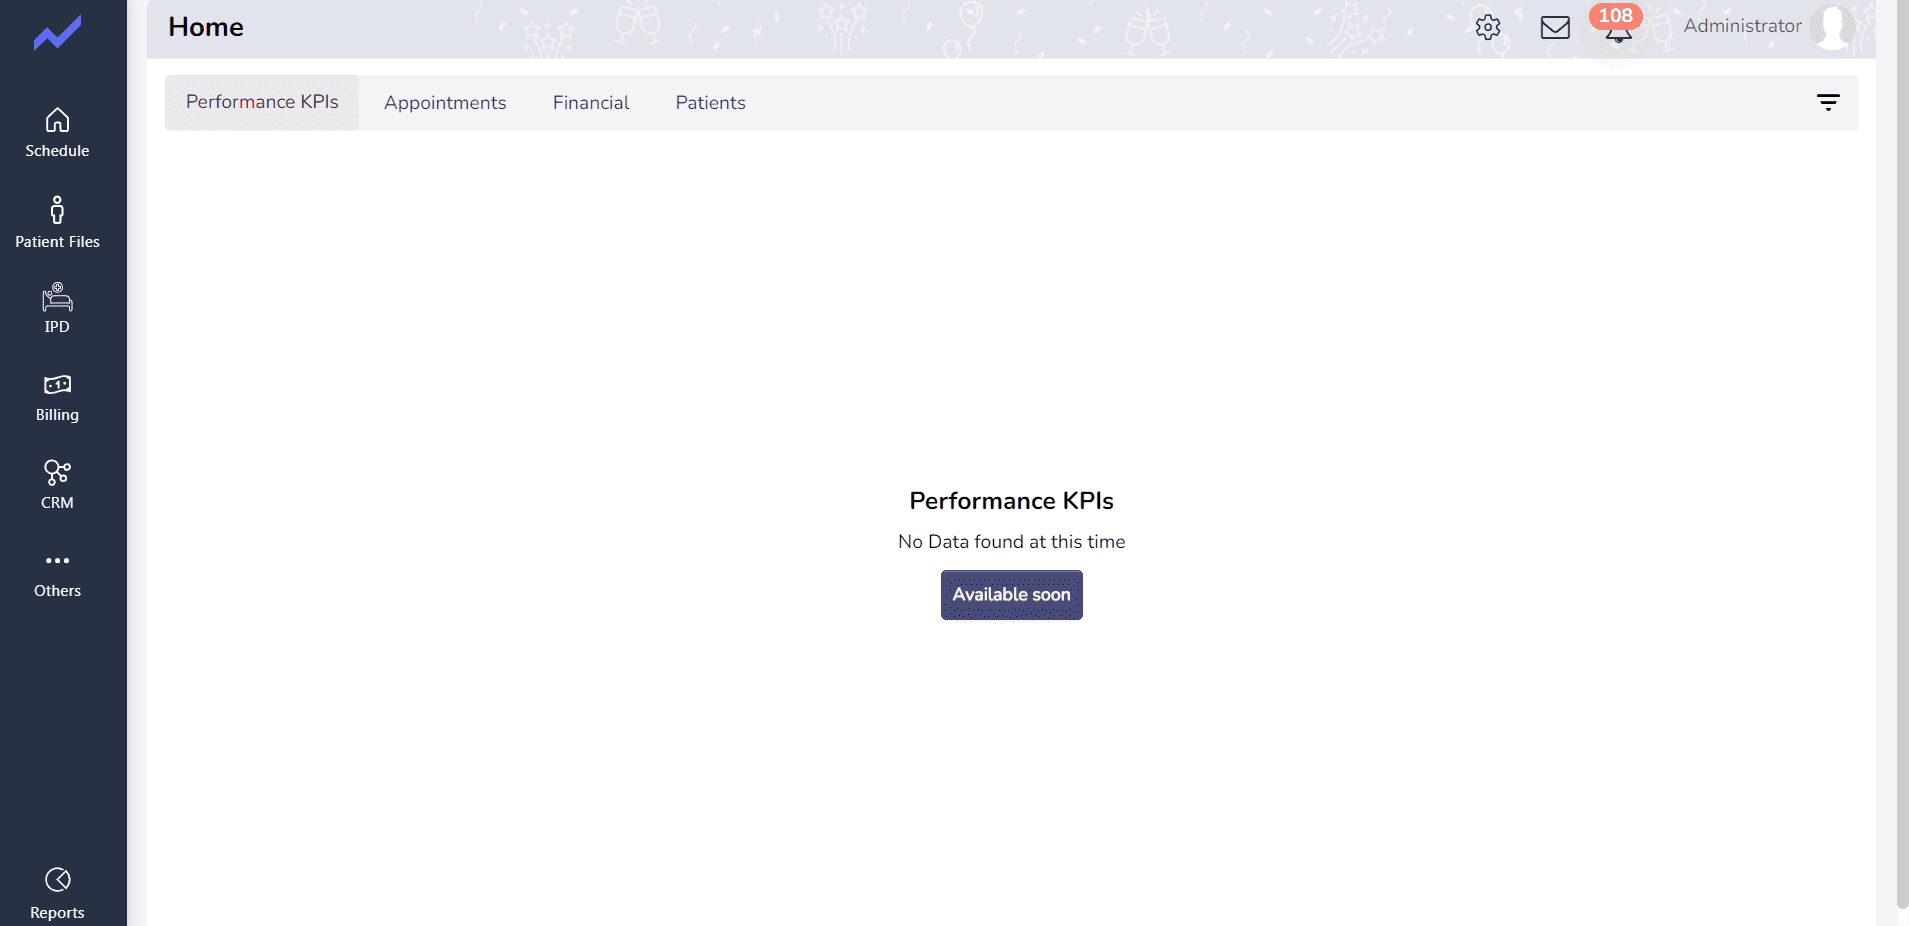
When the admin clicks on the analytics option, a screen for analytics opens. In this screen, various types of analytics are available.
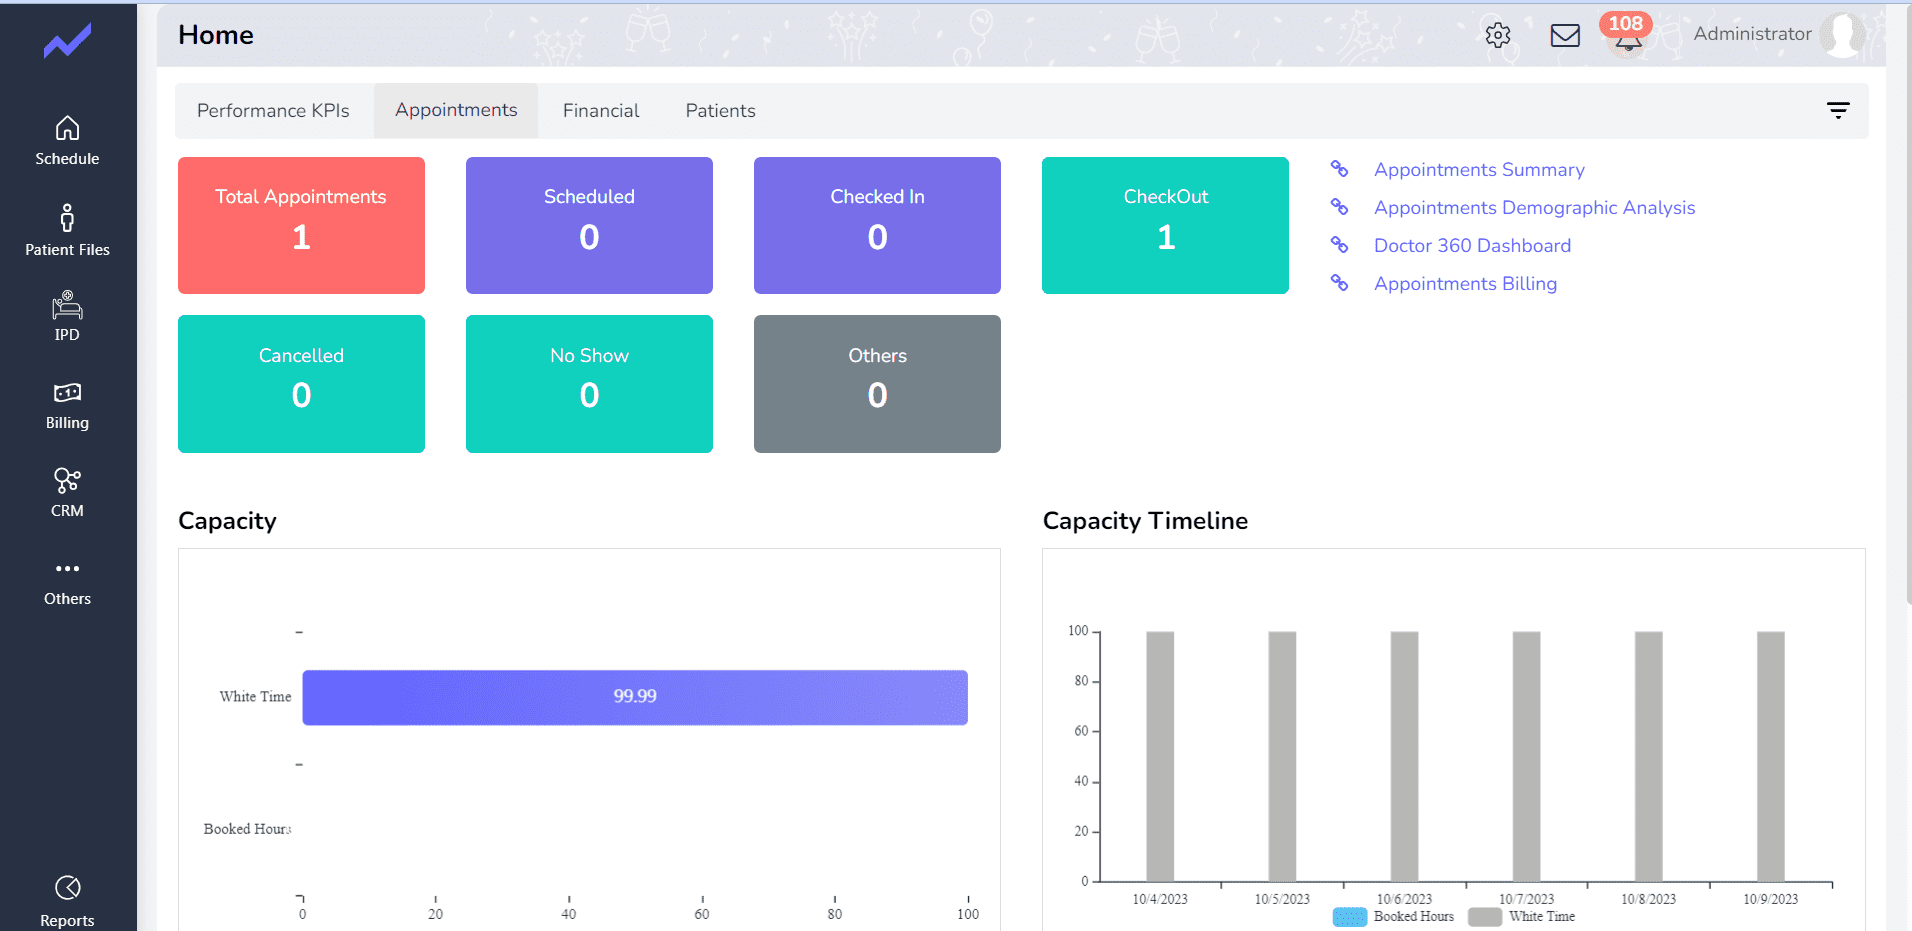
The Admin clicks on “Appointments,” and this screen displays all the appointments along with graphs.
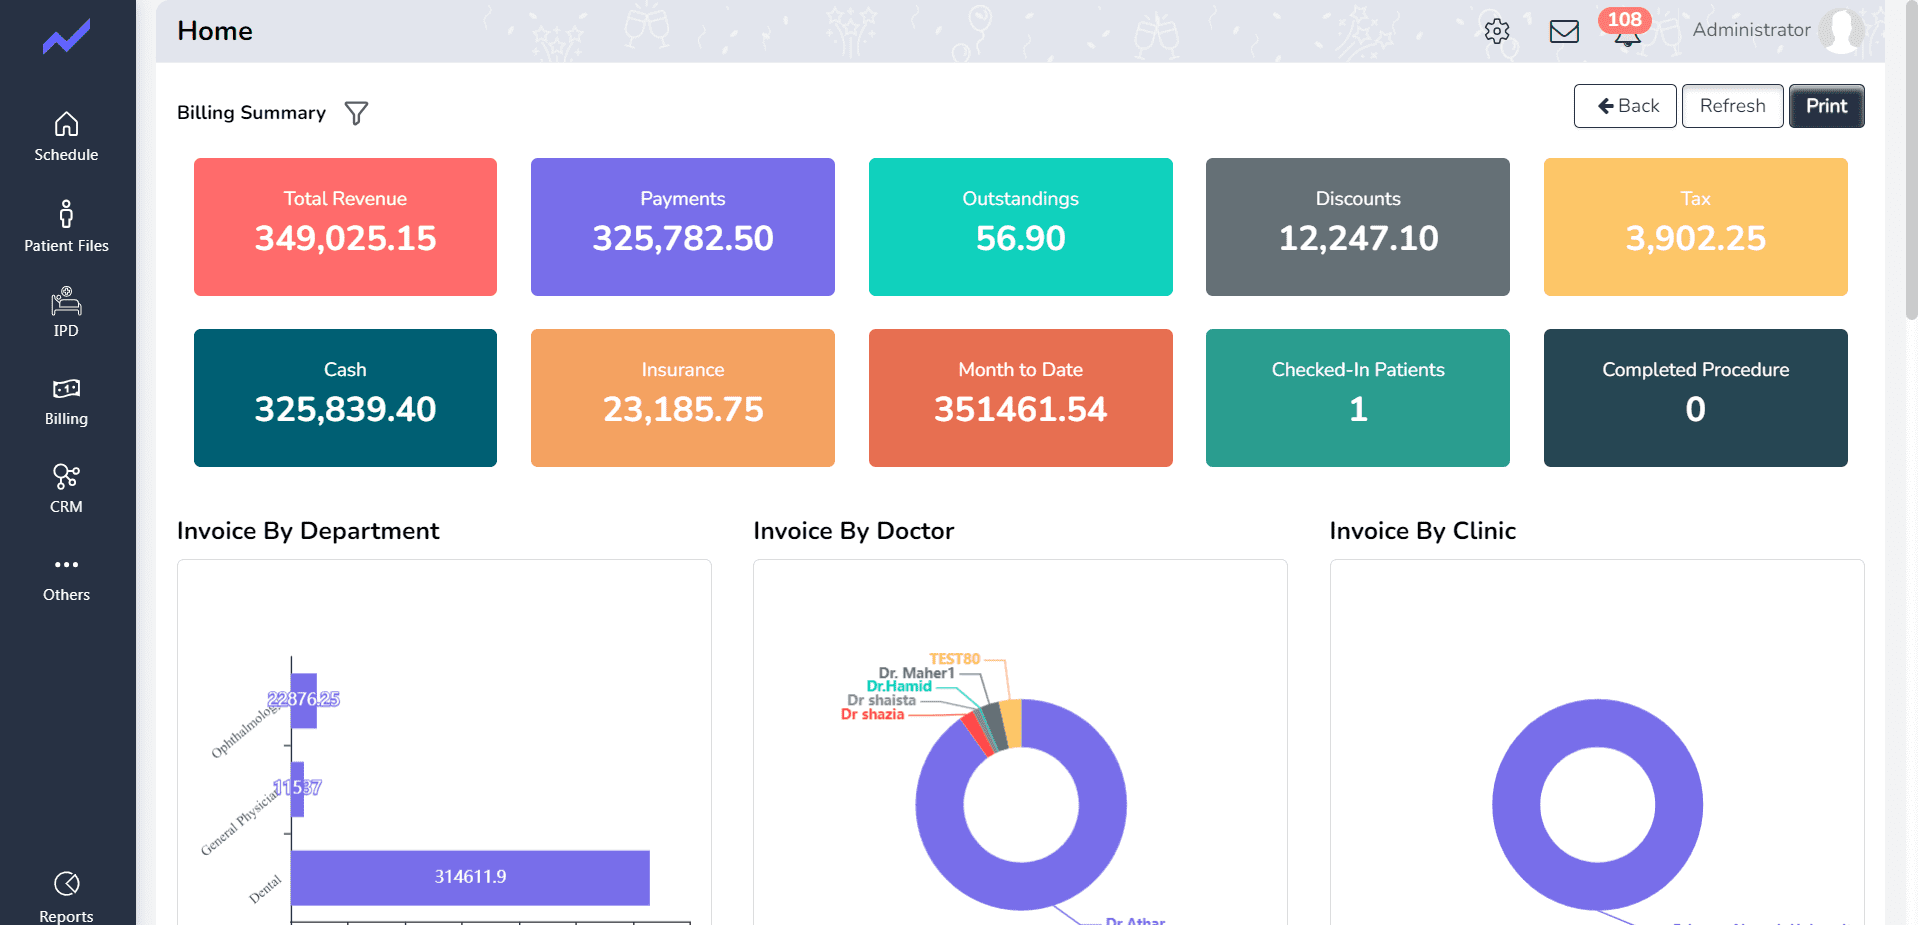
Then, the Admin clicks on “Financial,” and in this screen, all billing and invoice information is displayed.
Finally, the Admin clicks on “Patients,” and when they do, information related to all patients, including new and existing patients, is shown.
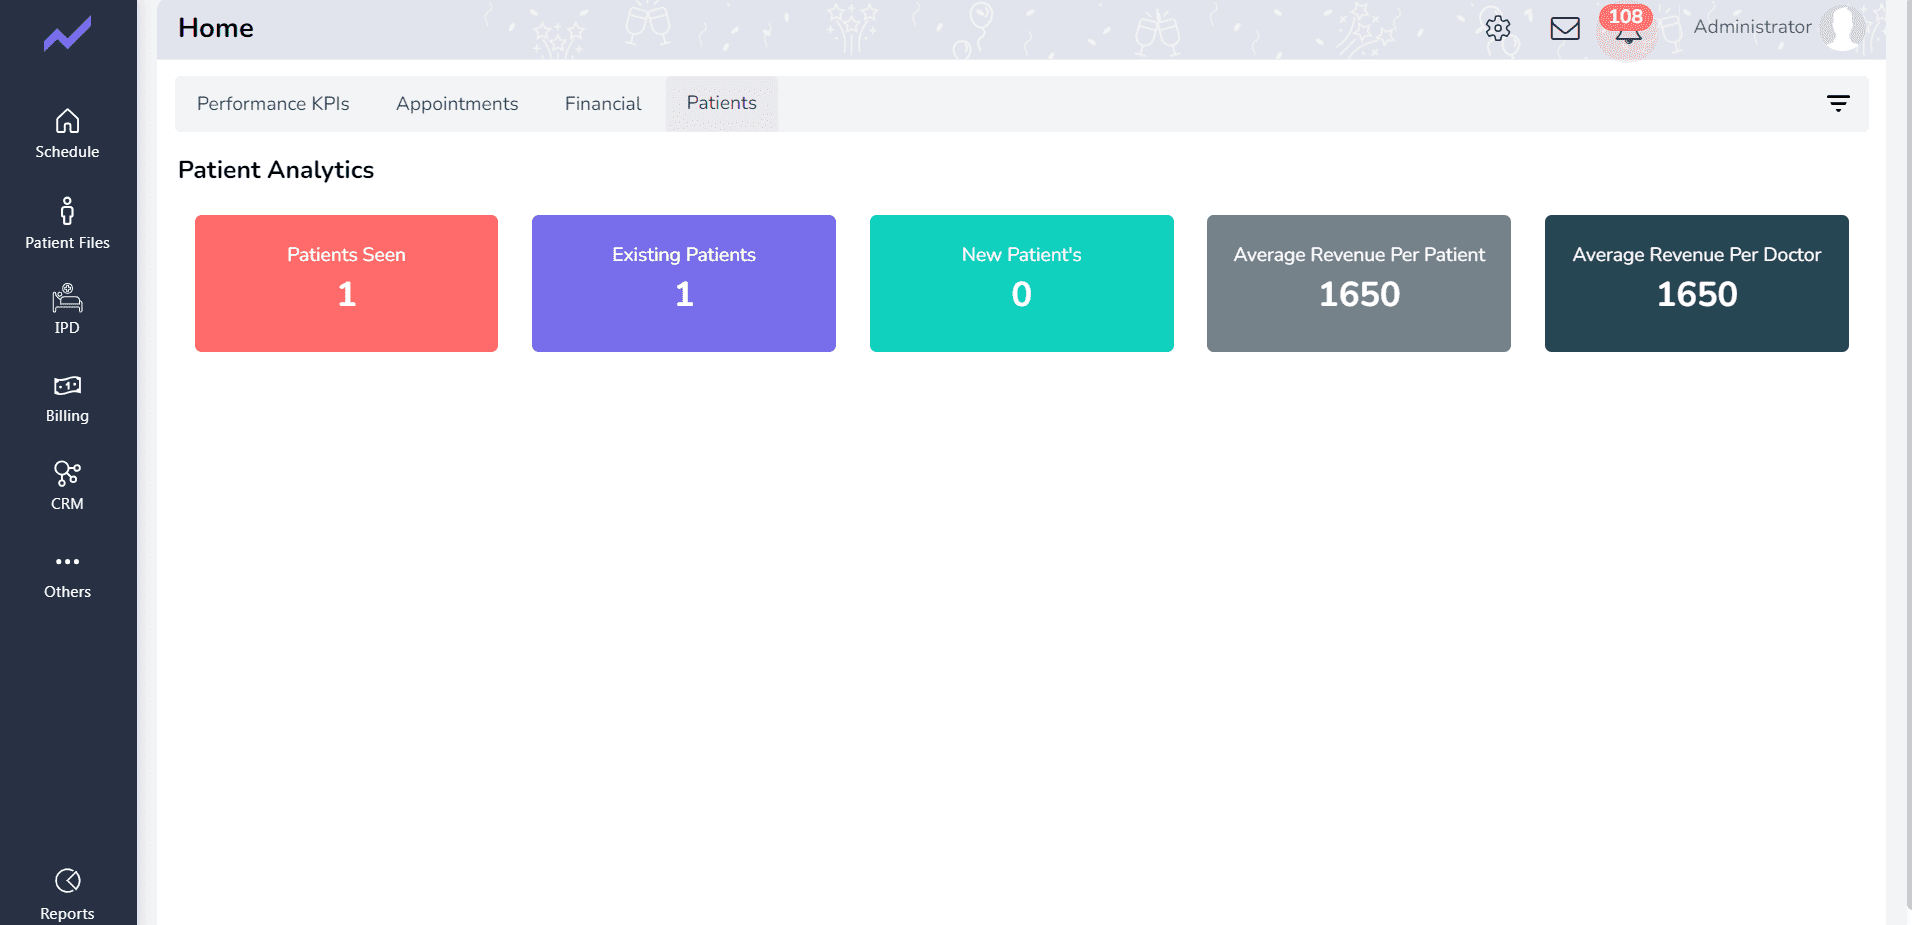
Fig: Analytics
- Initially, the admin navigates to the “Others” section and selects “Analytics” within the schedule screen.
- Upon clicking the “Analytics” option, a screen dedicated to analytics opens up.
- Within this analytics screen, various types of analytics are available for review.
- The admin specifically clicks on “Appointments,” which results in the display of all appointment data and associated graphs.
- Next, the admin clicks on “Financial,” and within this screen, they can access all billing and invoice information.
- Finally, the admin selects “Patients.” When they do so, the system presents information related to all patients, including new and existing patient records.


