Assigning Consent Form to Patient
After creating the consent forms, the next step is to assign a consent form to the patient.
To assign a consent form to a patient, start by navigating to the Schedule screen. Create an appointment for the patient by providing the necessary details. Once the appointment is successfully created, you can proceed to assign the relevant consent form to the patient for their procedure or treatment.
Go to the schedule screen.
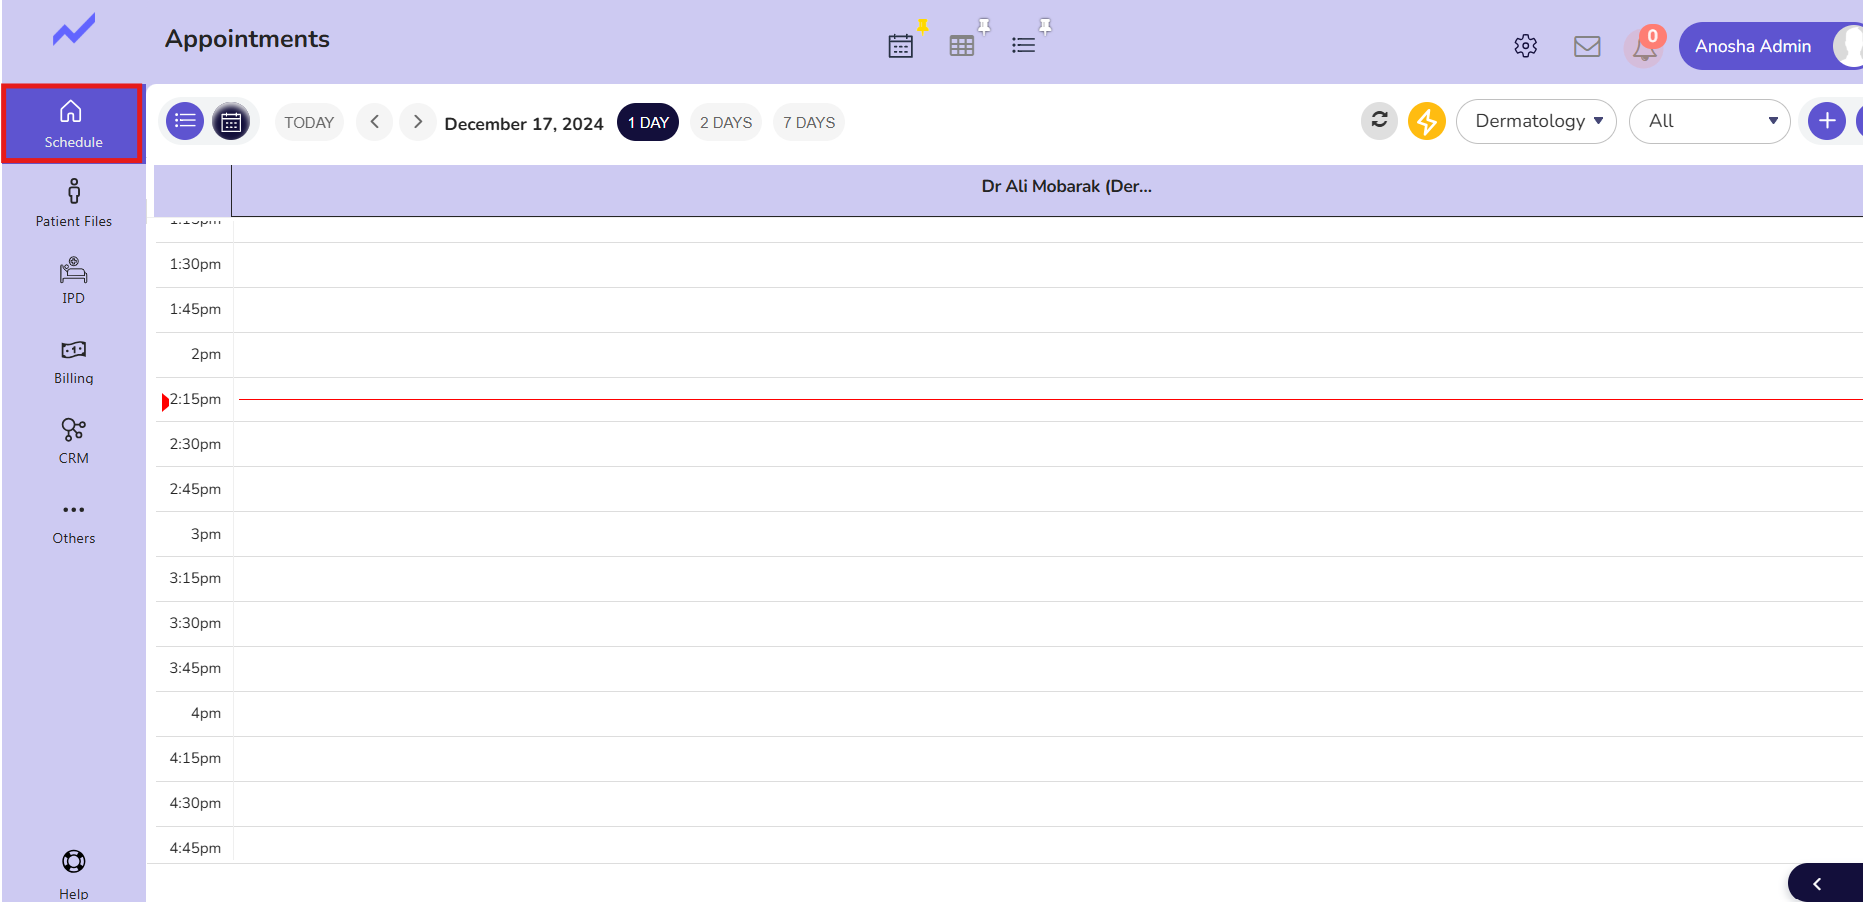
Click on any slot appointment detail screen will appear.
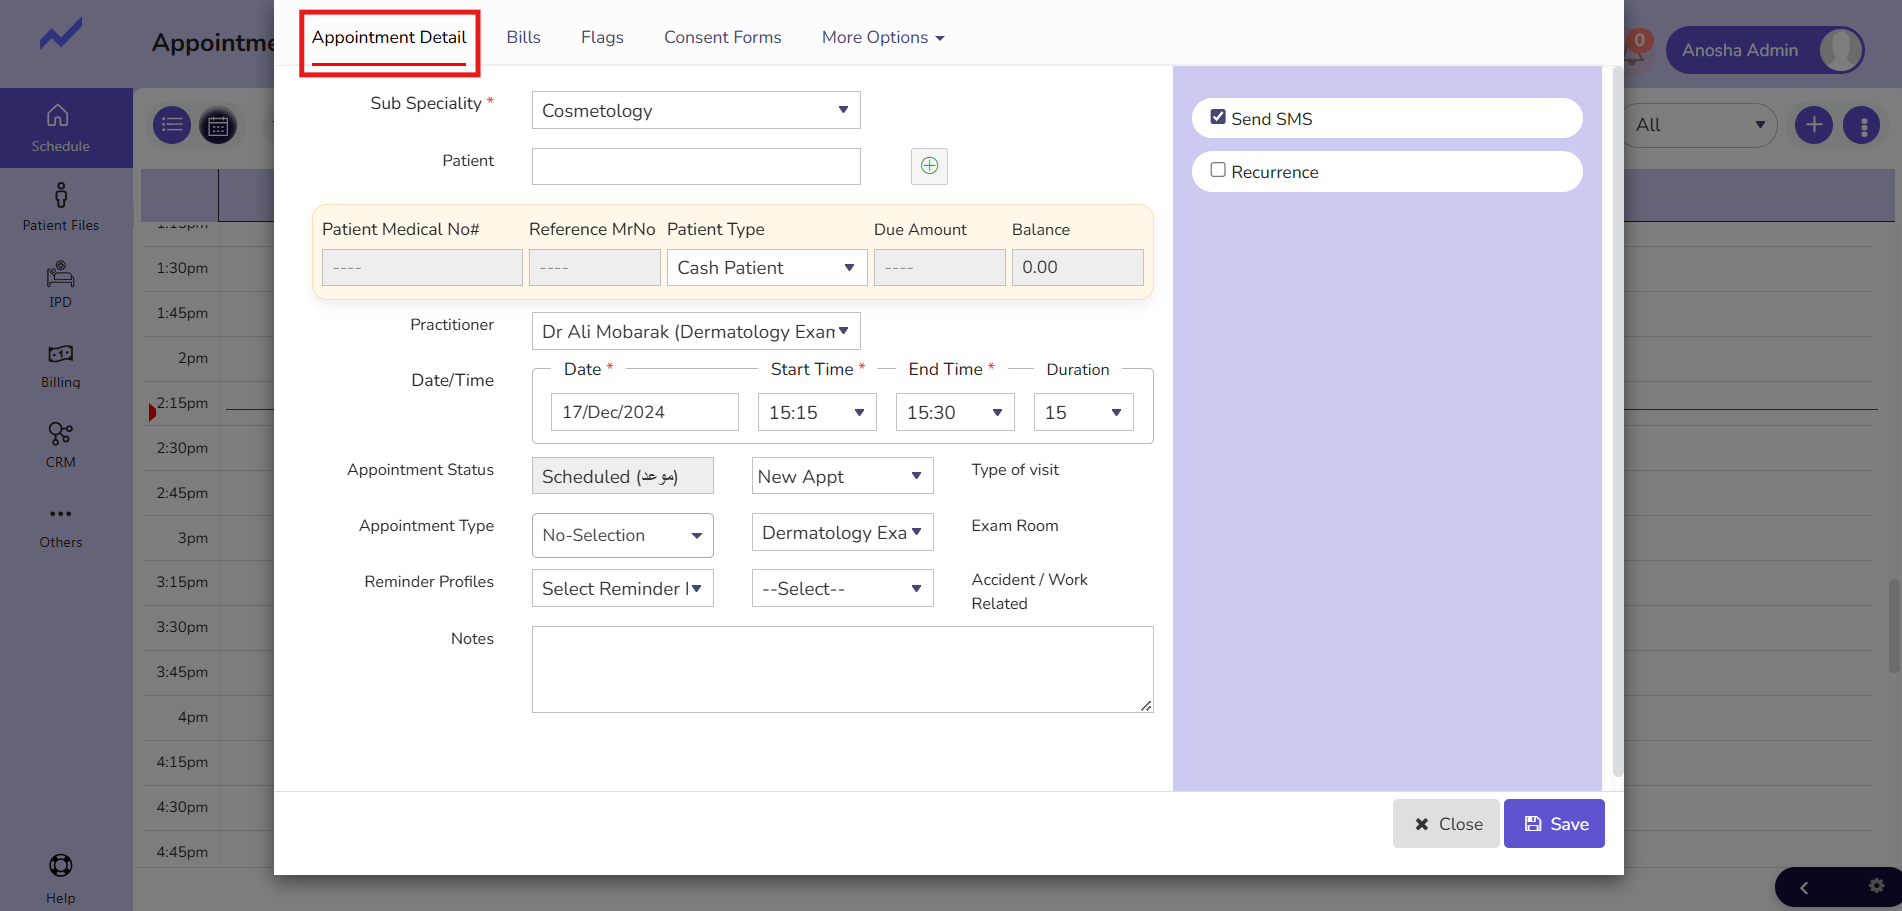
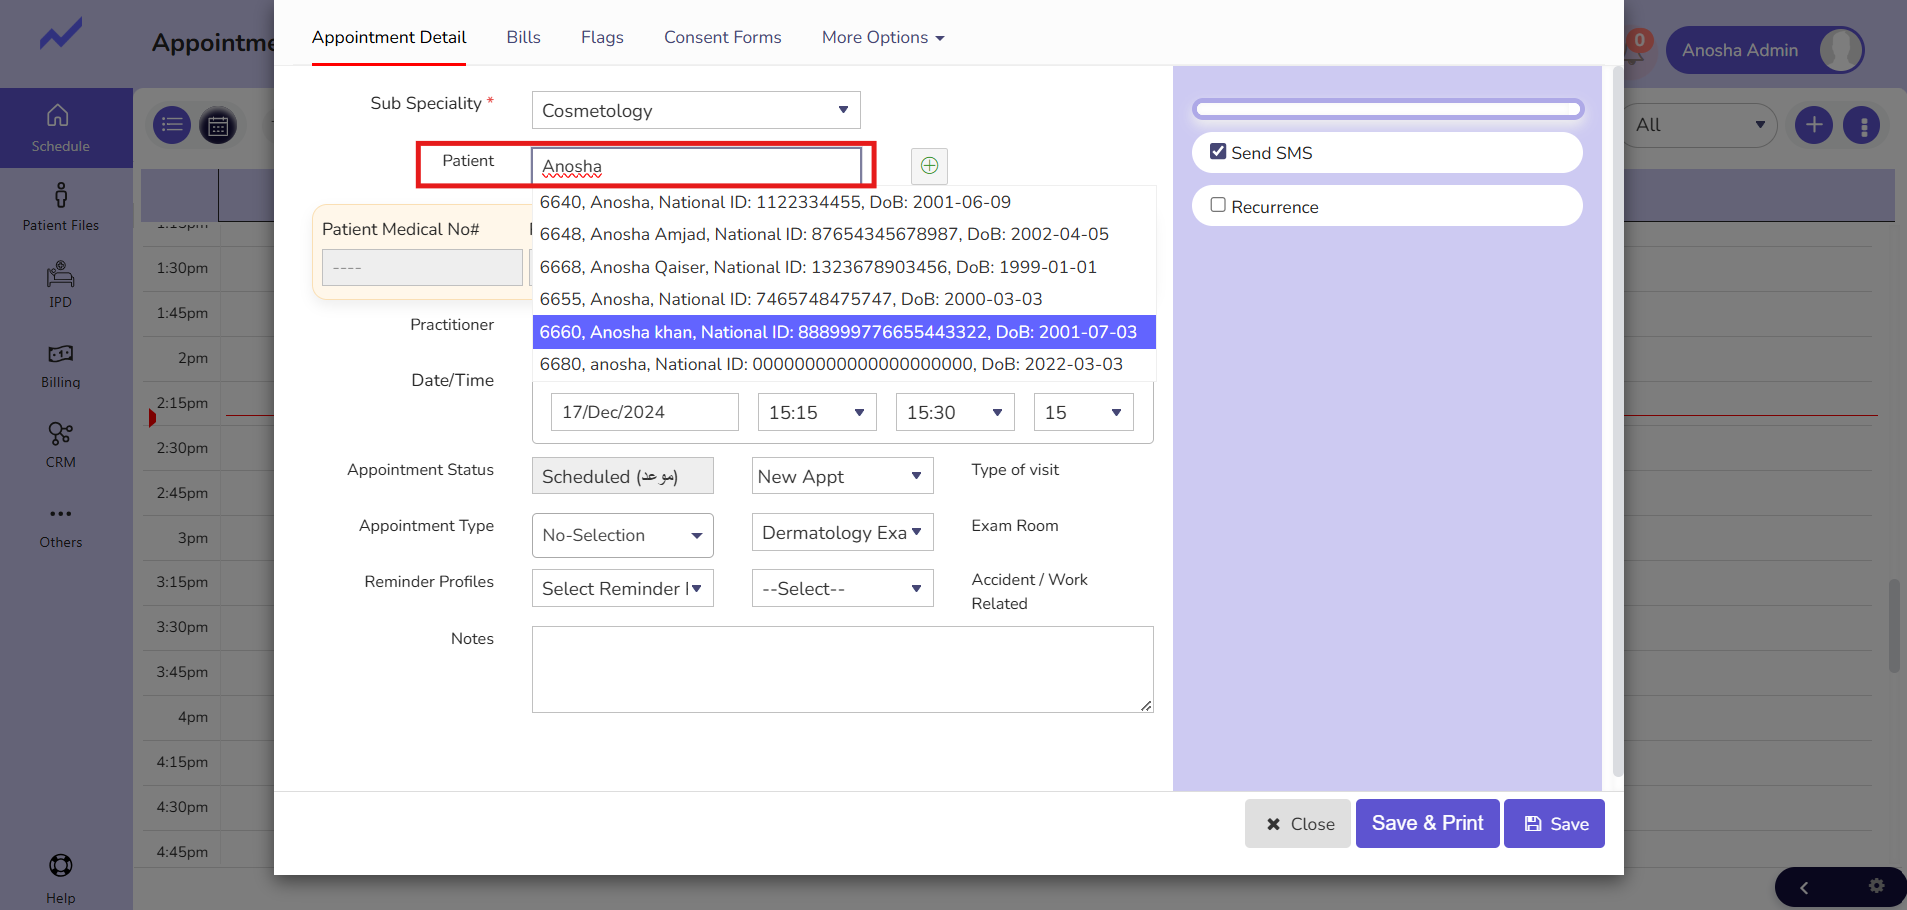
After that, select any patient name and create an appointment for that patient.
Click on the save button.
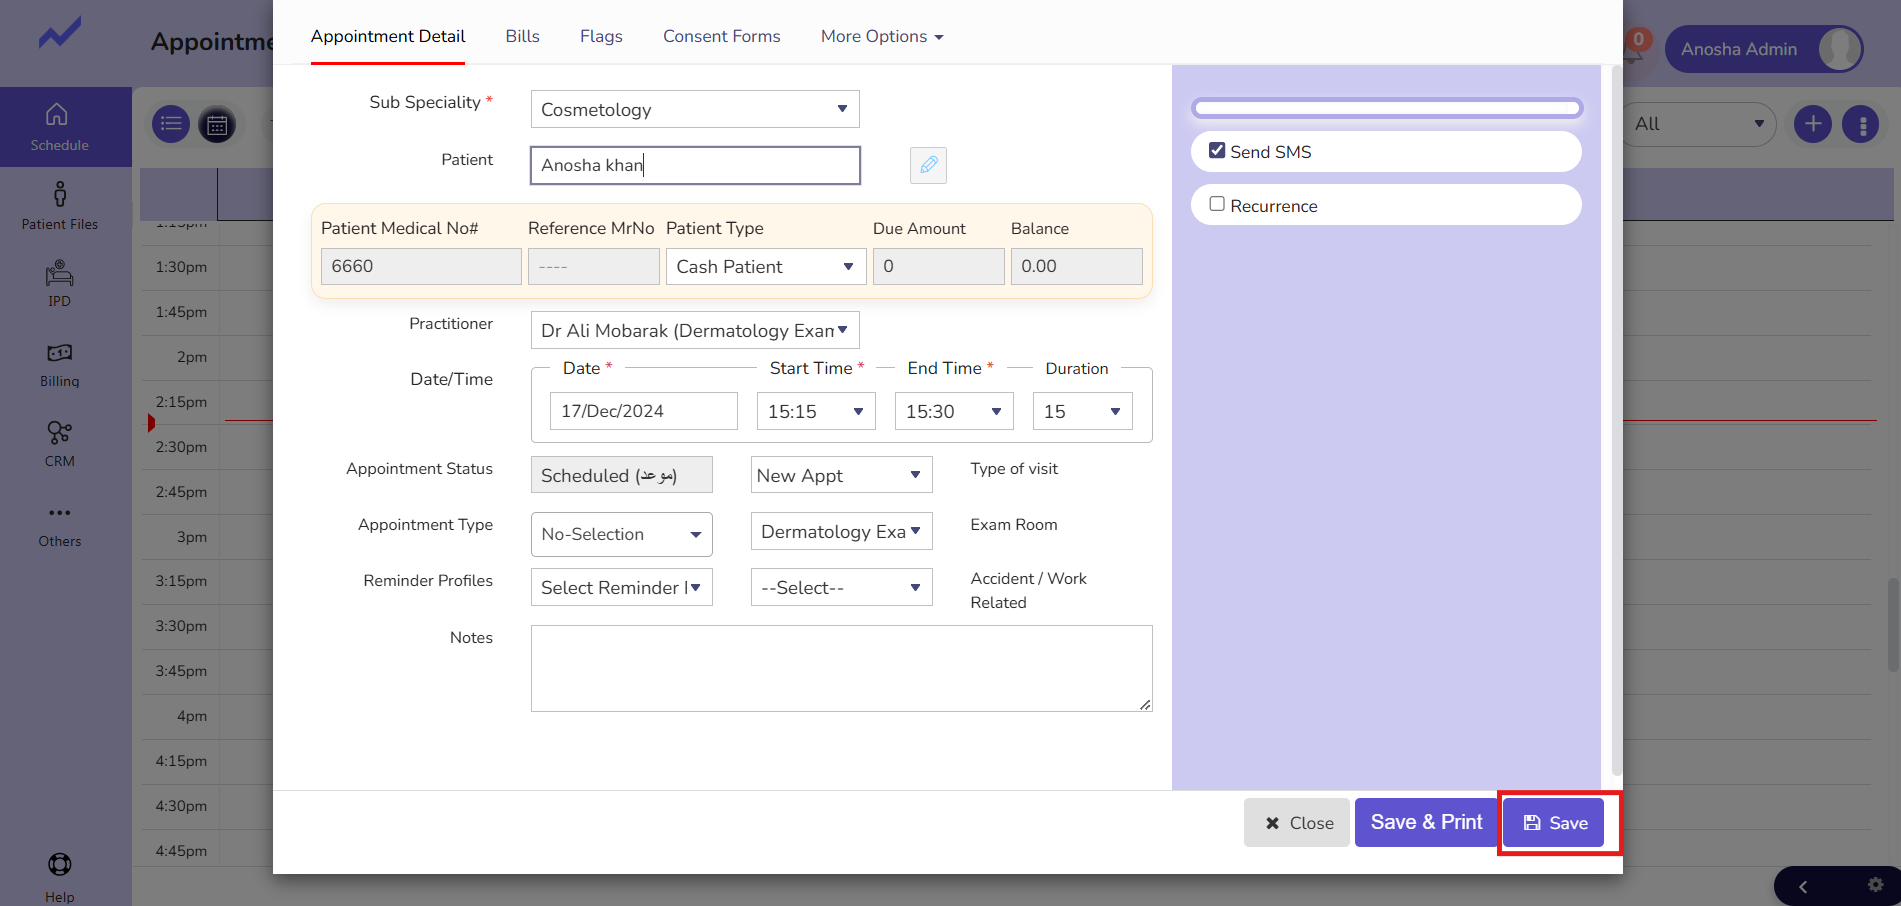
The appointment will be created for that patient.
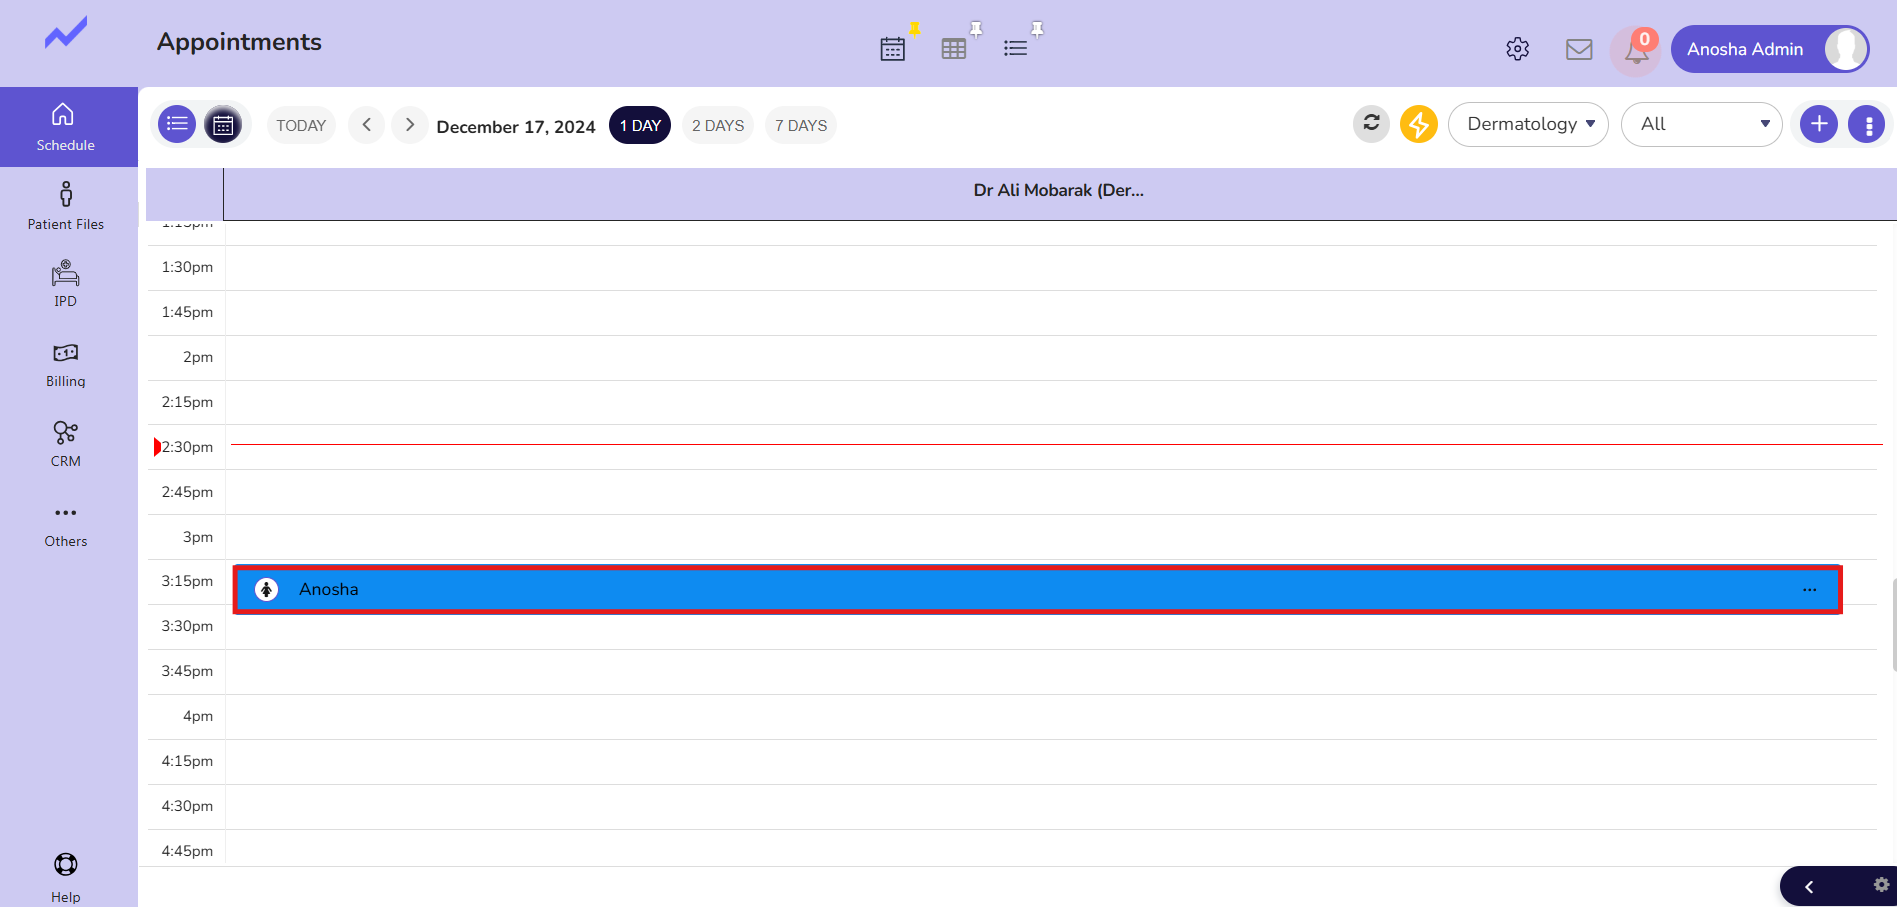
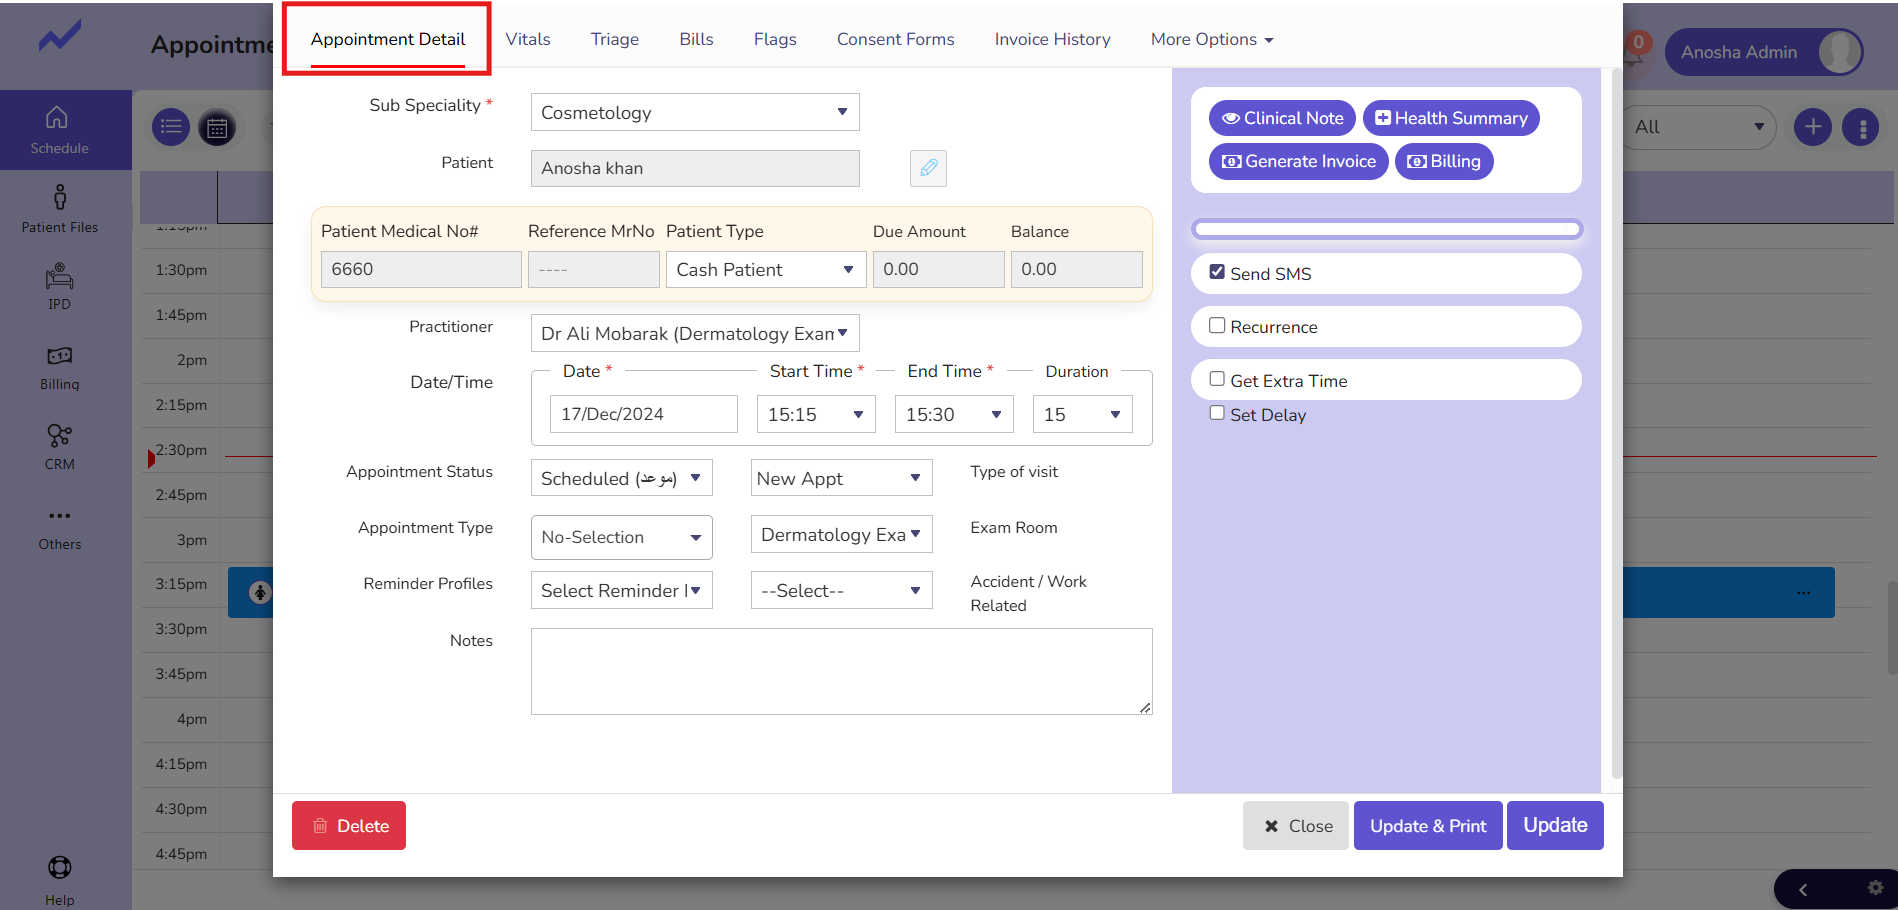
Now click on that patient’s appointment—>appointment detail screen will appear.
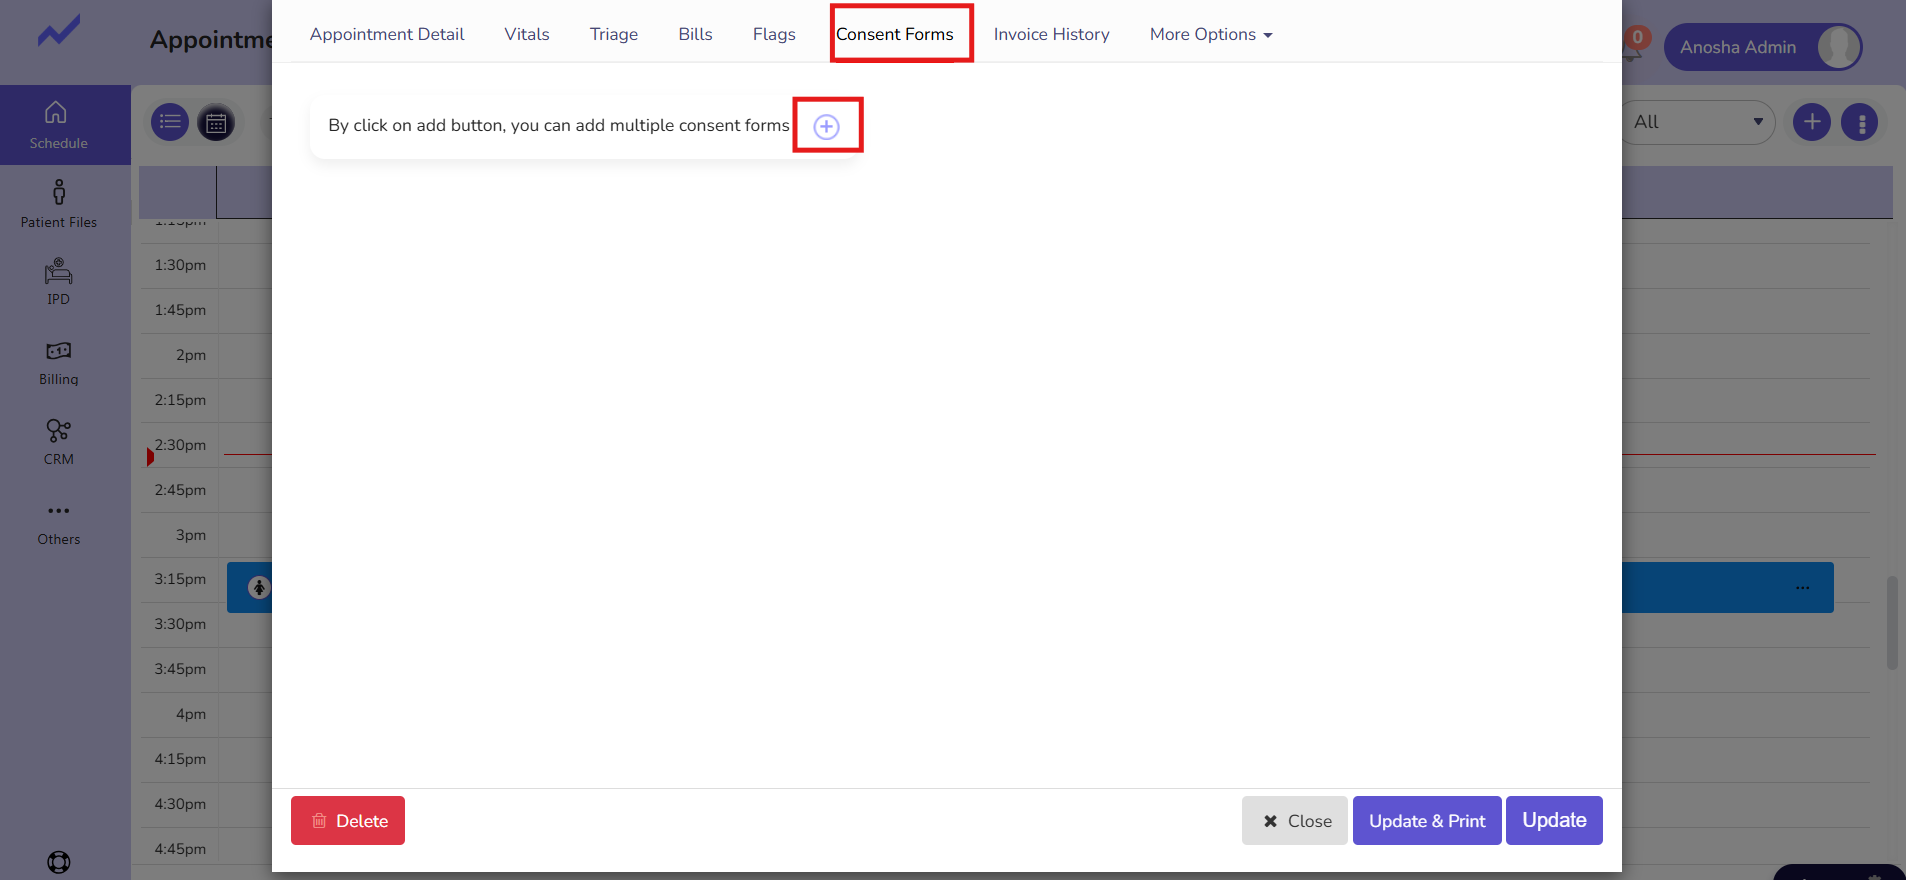
Click on Consent forms.
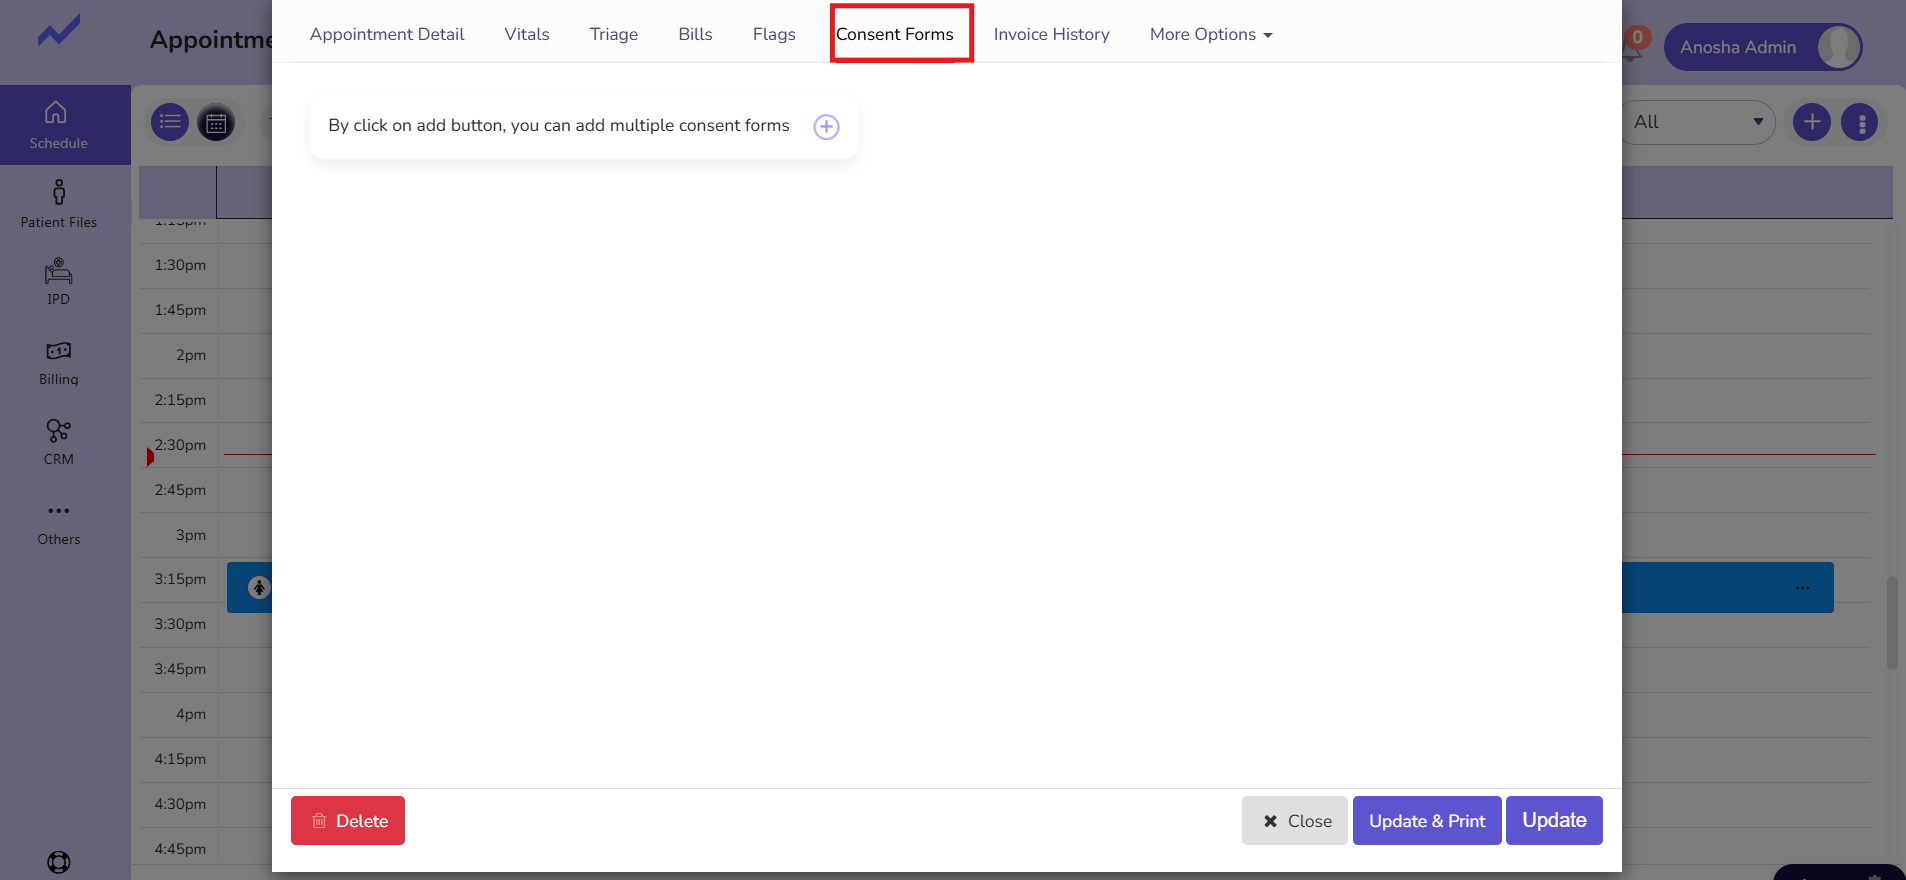
Click on the add icon to add the consent forms for this patient.
When you click on the add icon a new screen will appear that has all the consent forms.
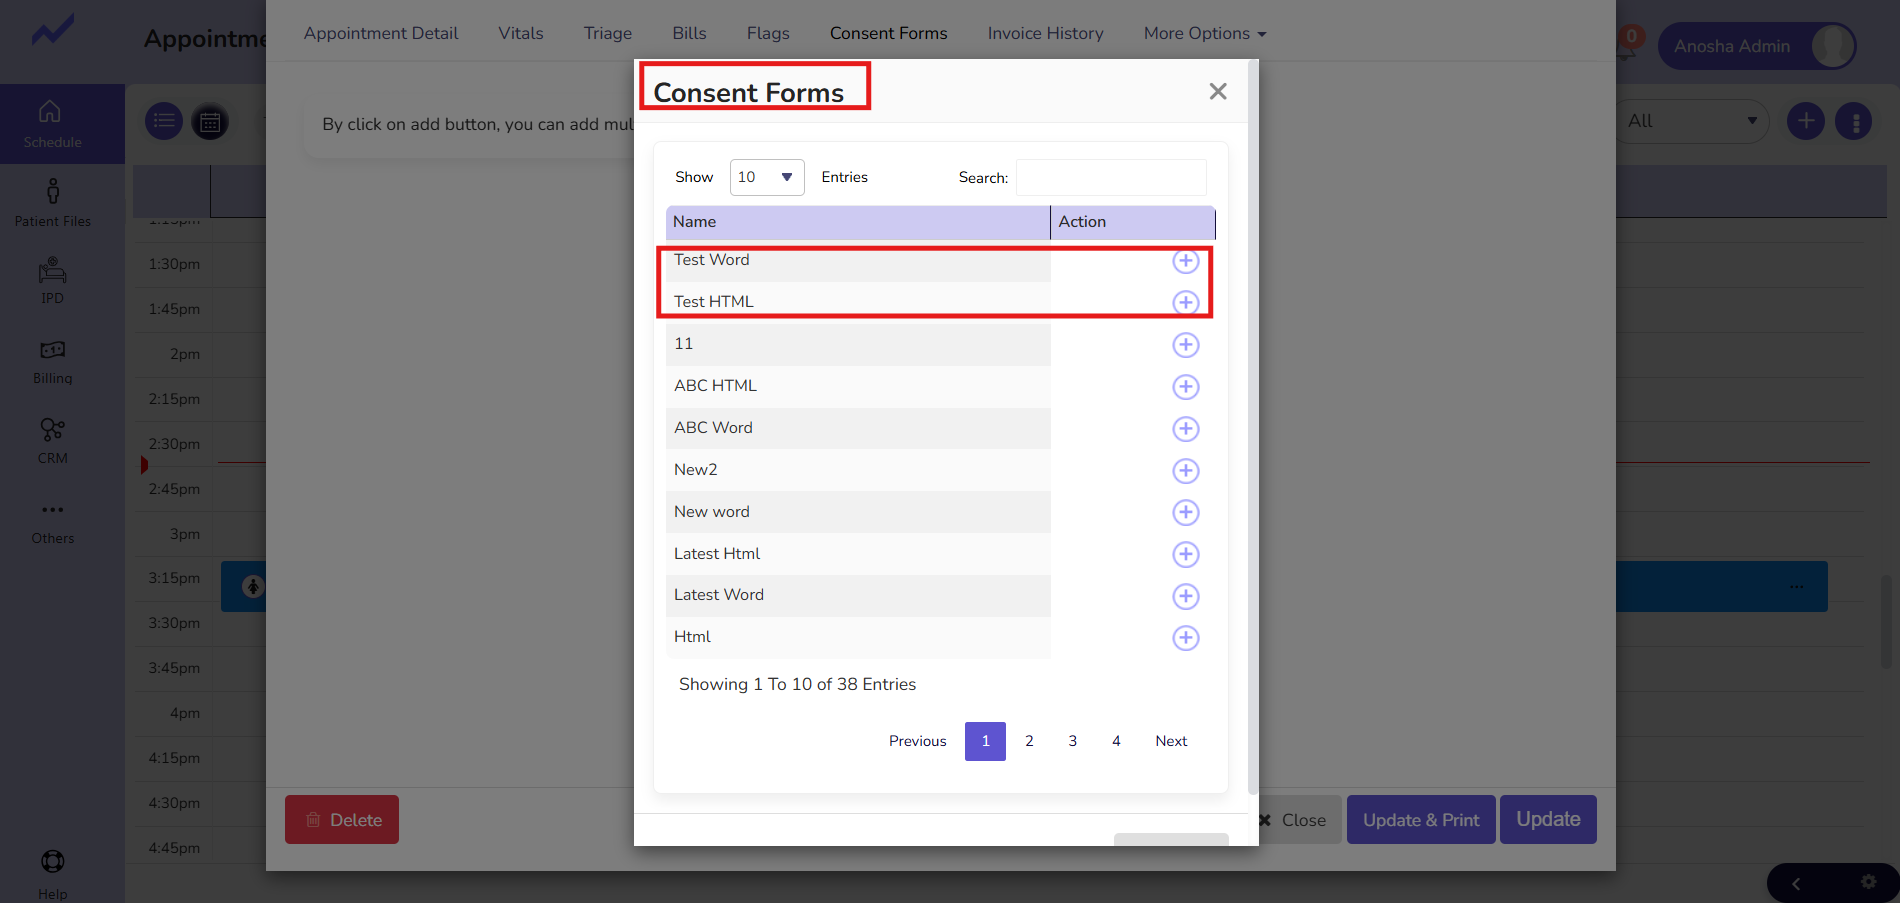
Here you can see the HTML and Word consent forms which I have added are showing here.
Just click on the ADD icon to assign a consent form to the patient.
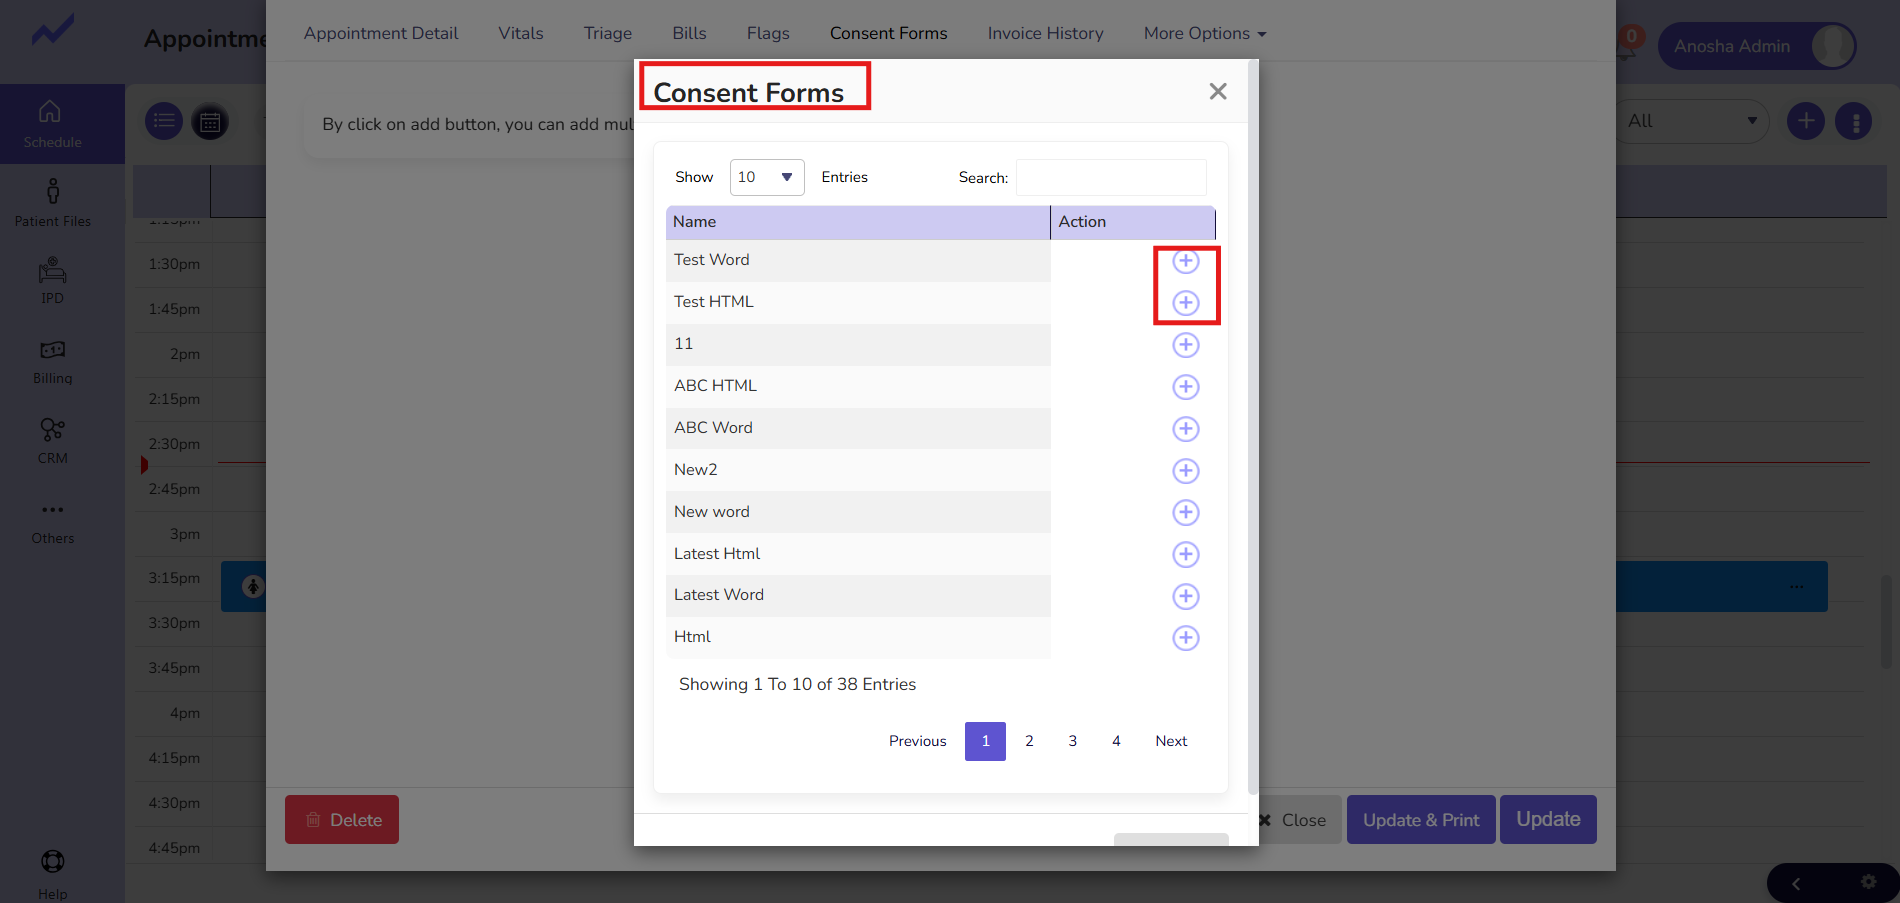
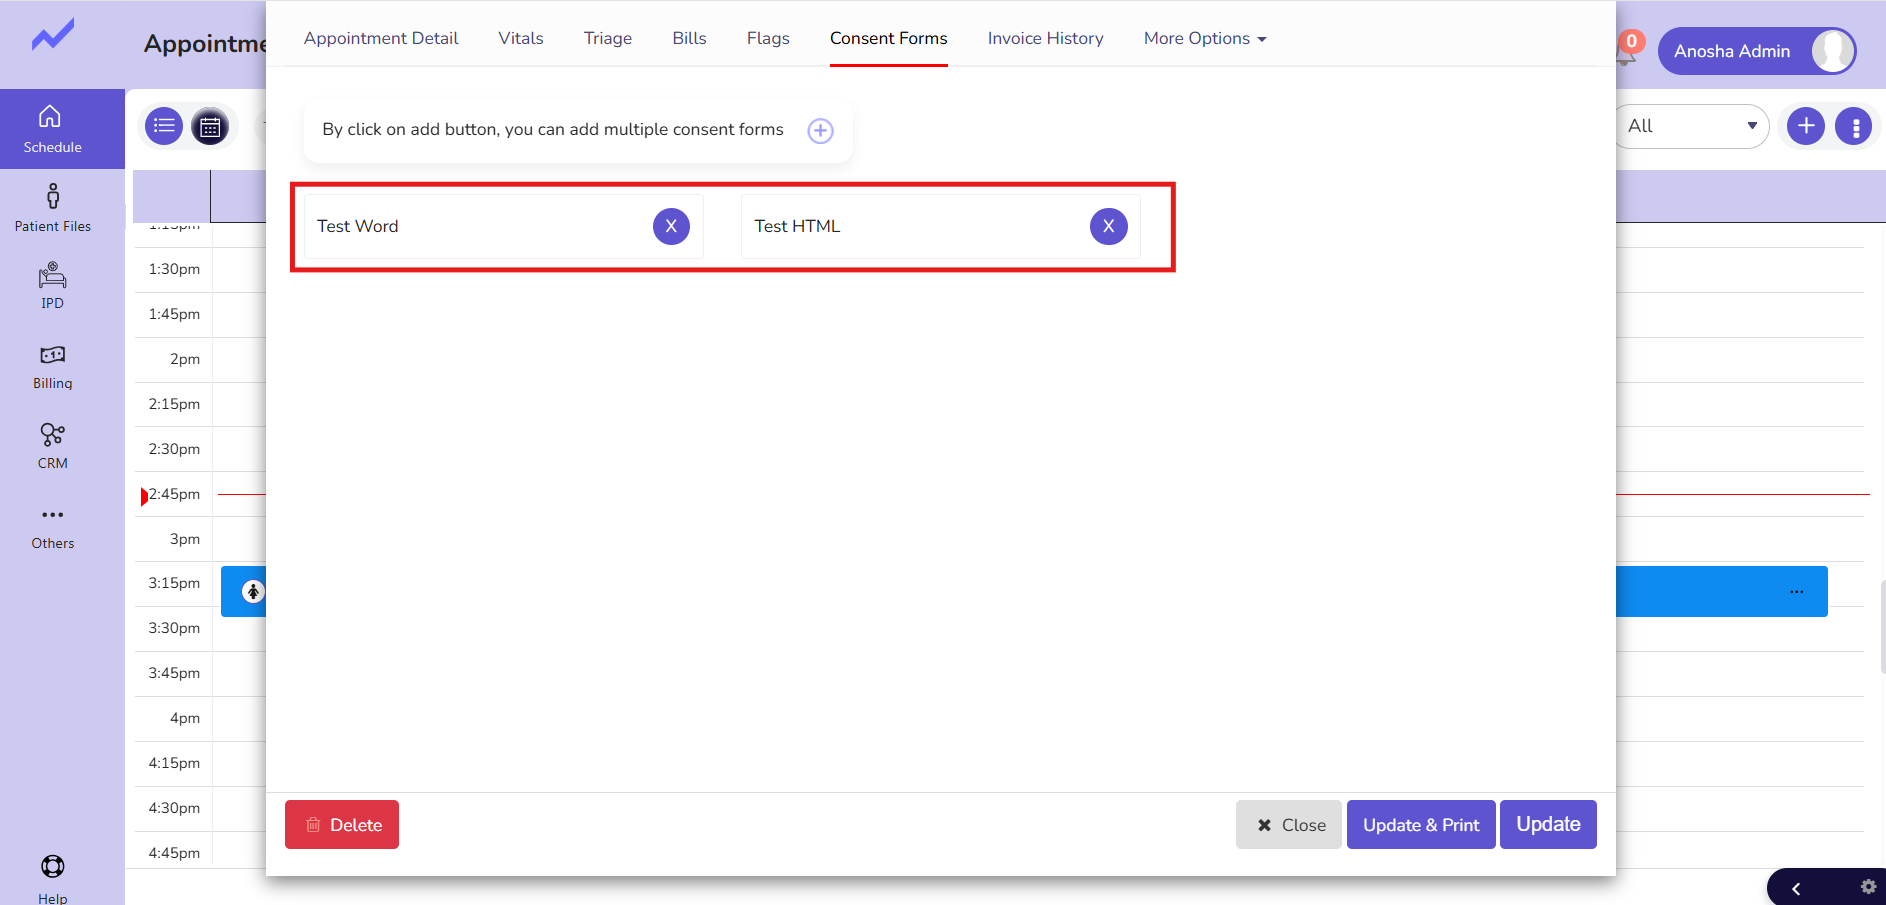
When you click on the Add icon the consent form will be added successfully.
Click on the Update button and update the appointment.
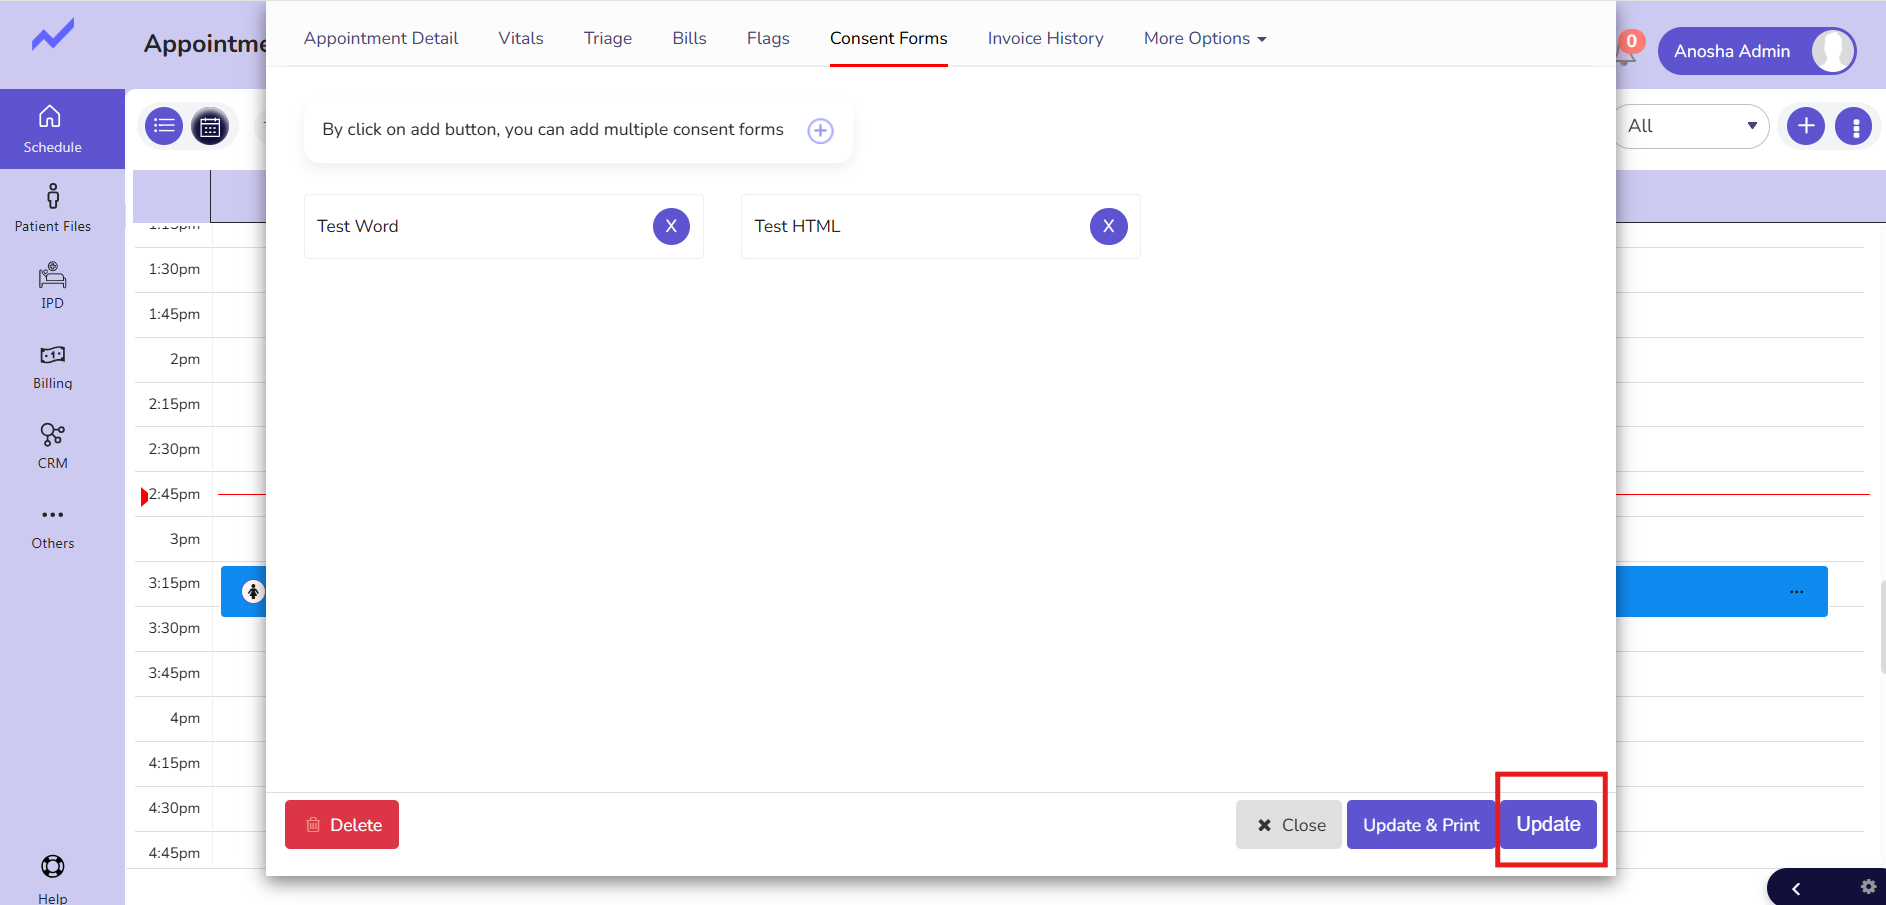
This is how we can assign consent forms to Patients in Cloudpital.


