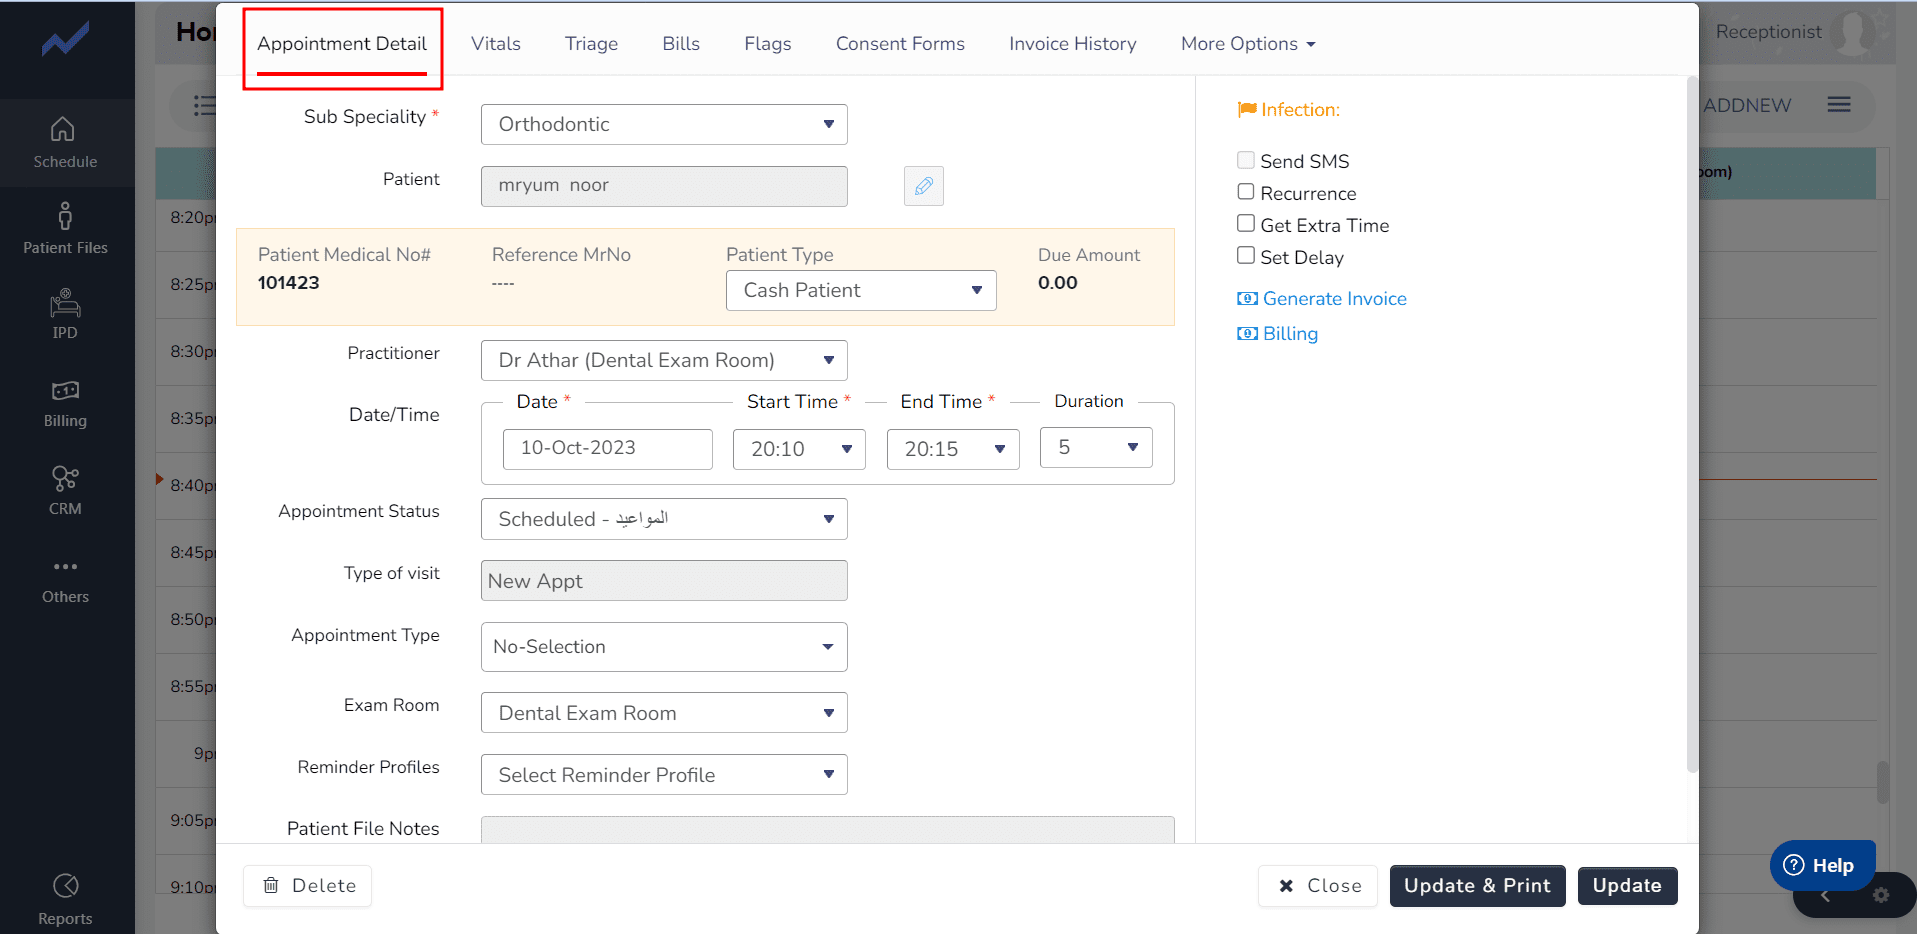
First to add flags to an appointment, the receptionist needs to click on the appointment . This will open up the Appointment Screen.

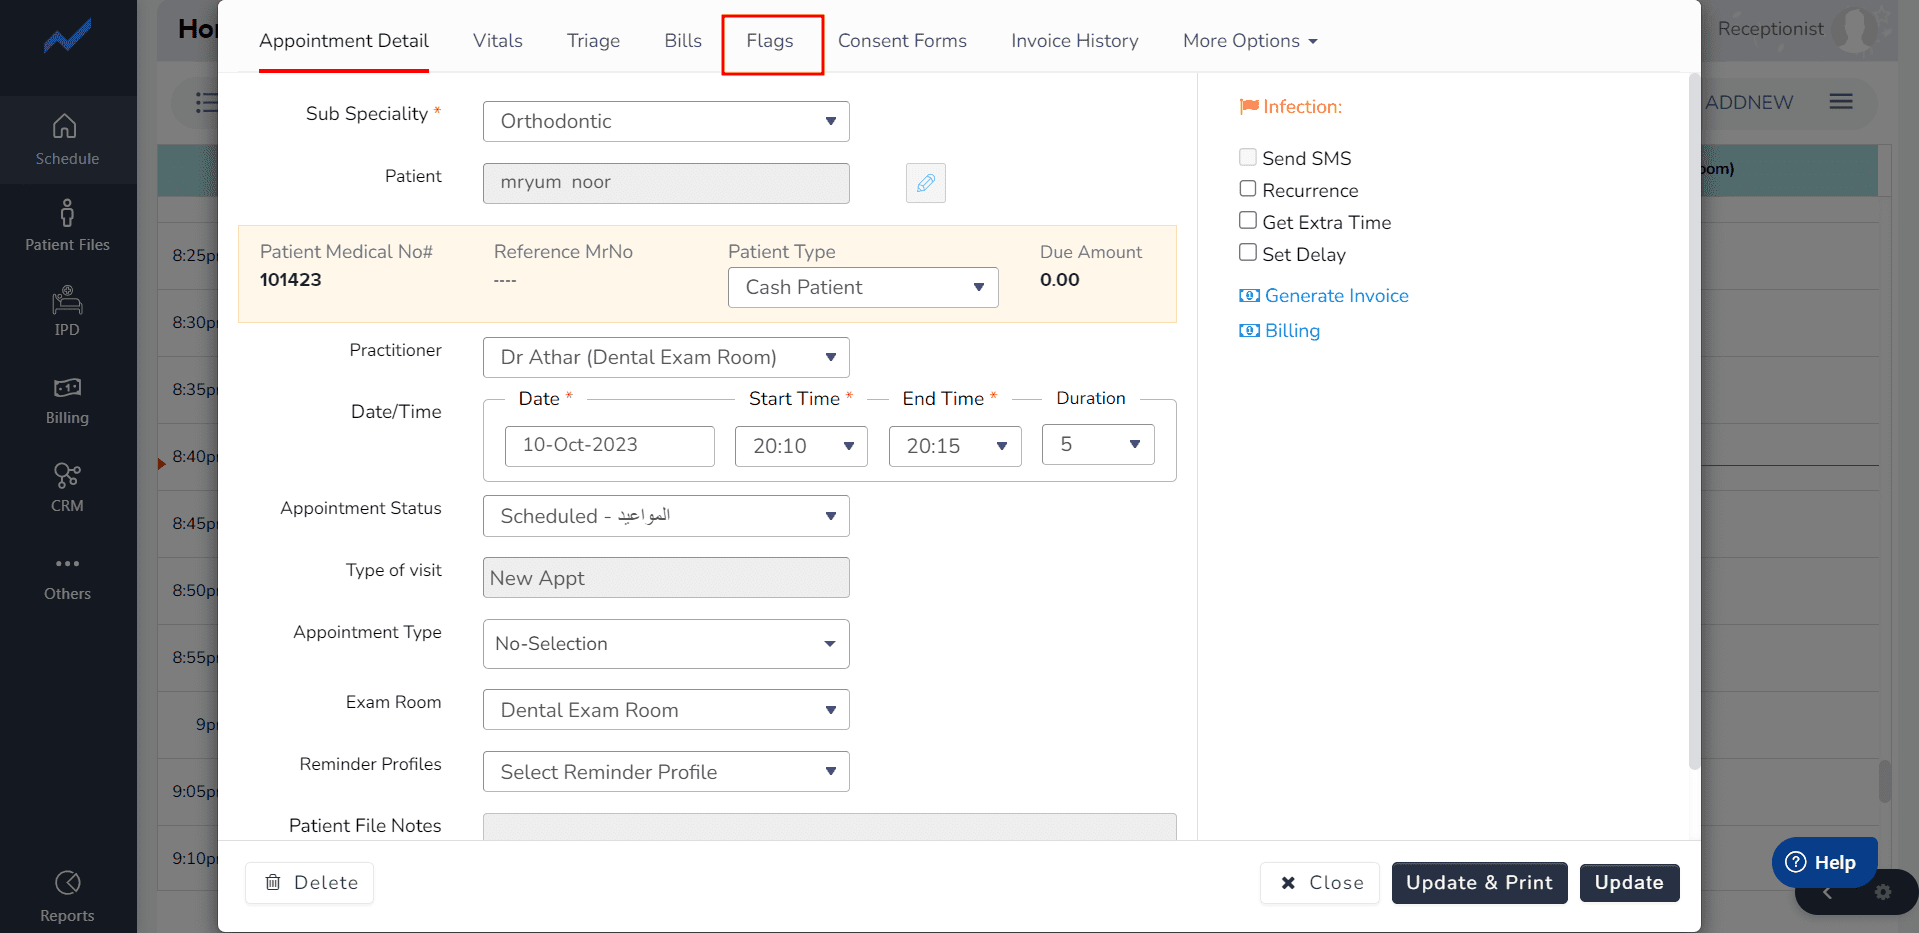
Once the Appointment Screen is open, the Receptionist should look for the Flags section. This is usually located near the top of the screen.

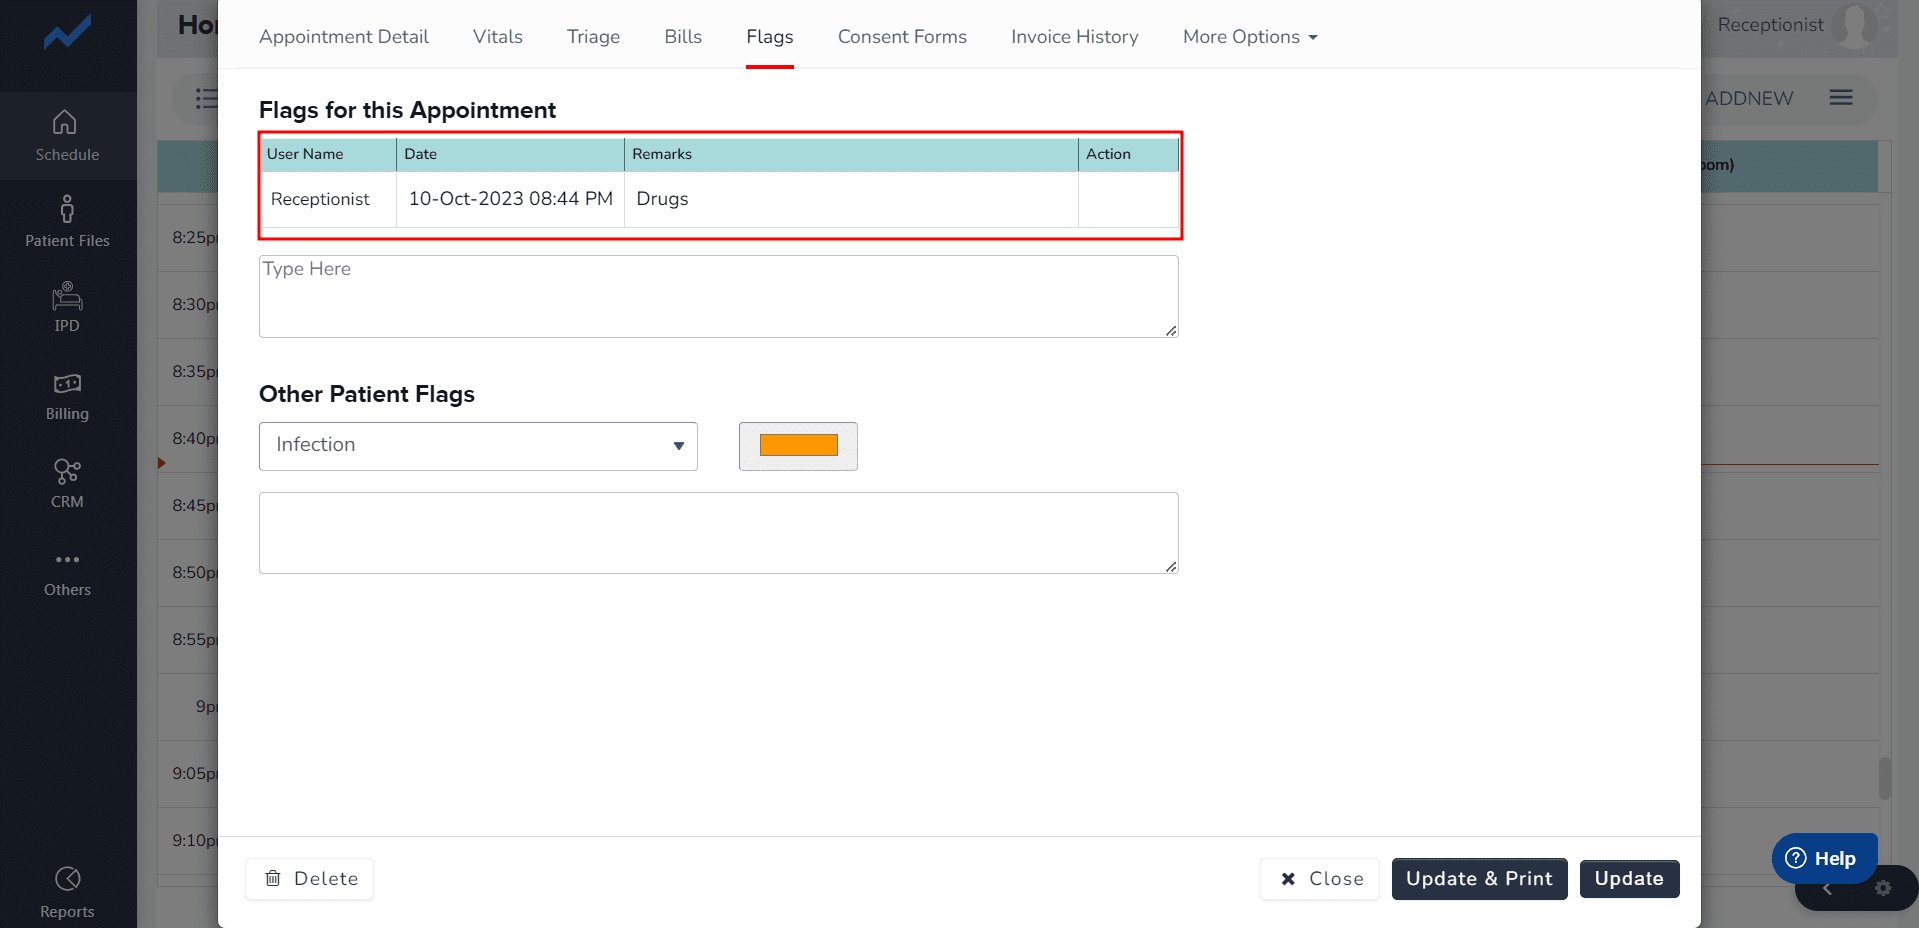
The Receptionist can write the flag according to the patient’s condition. Once the flag is written, the receptionist should click on the plus icon to add it to the appointment.

If there are Other Flags that need to be added for the patient, the receptionist can do so by clicking on the dropdown menu again and selecting the appropriate flag. These flags will also be added to the appointment.

Once all the necessary flags have been added, the receptionist should saved it.
Fig: Flags
- Initially, the Receptionist begins by selecting the “Patient Appointment” option.
- Upon clicking, the Appointment screen becomes accessible.
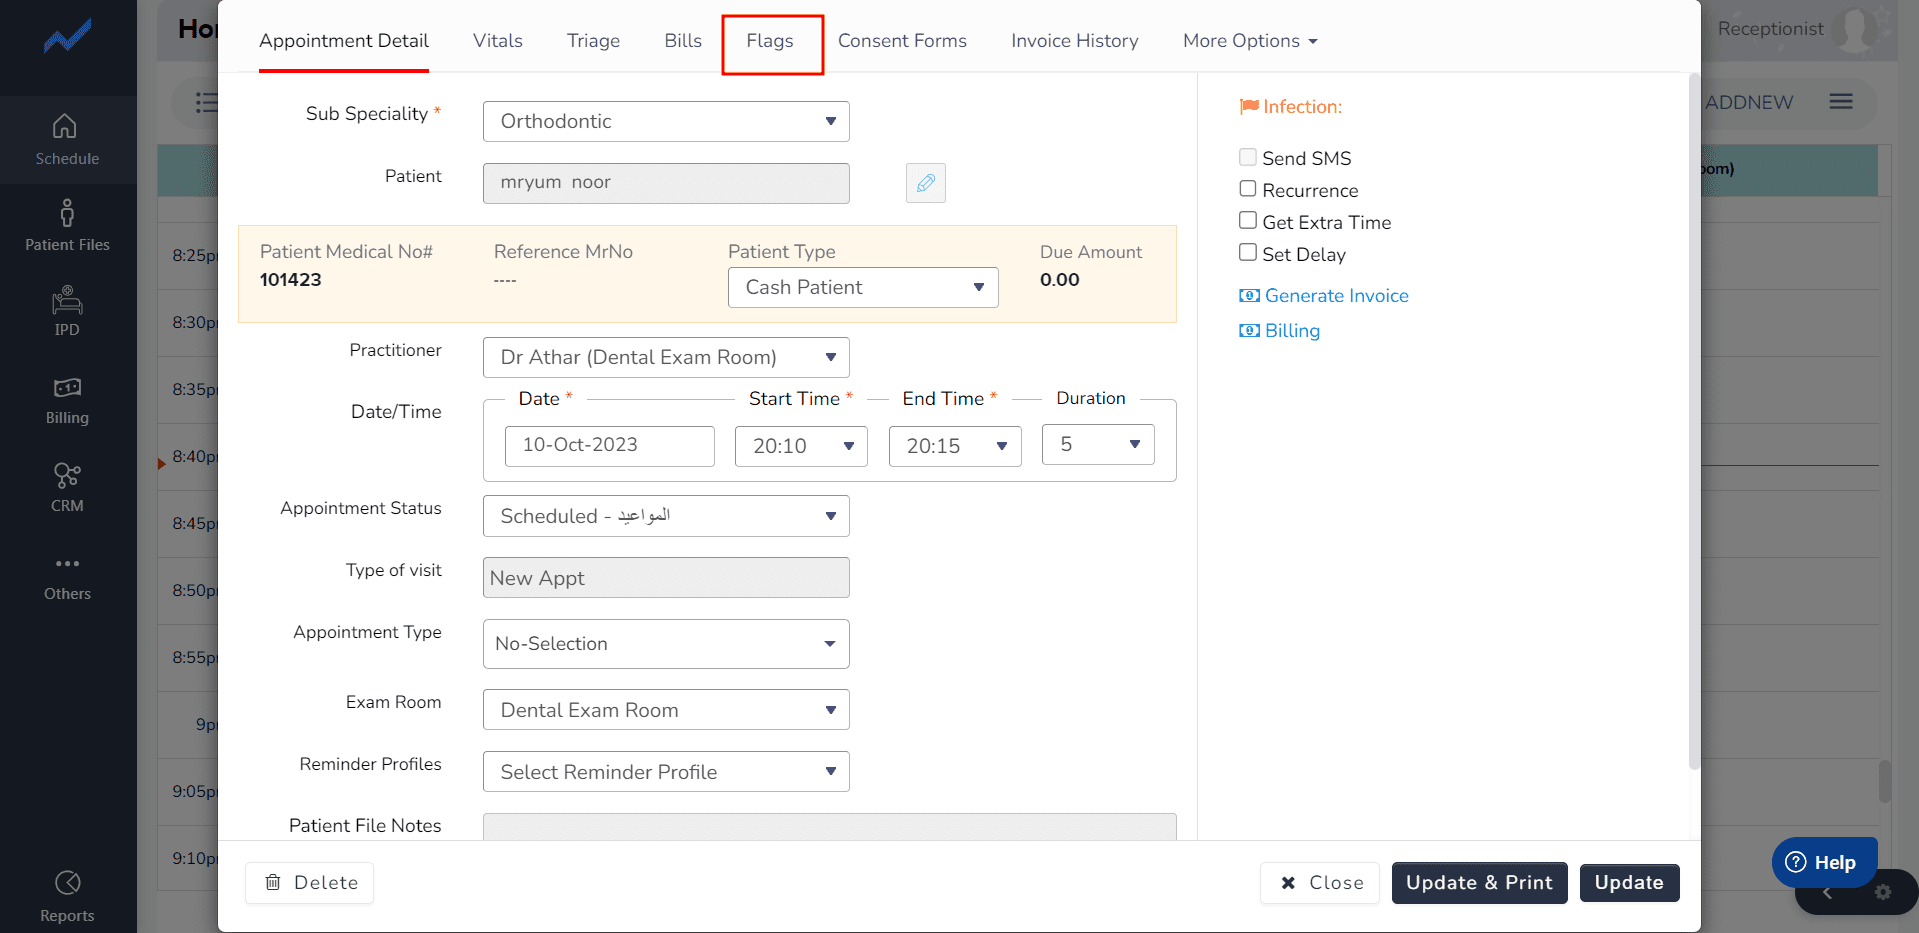
- Within this screen, the receptionist can click on “Flags” to add specific flags for the appointment.
- The receptionist proceeds to write the flag according to the patient’s condition and adds it using the plus icon.
- Once added, the flag is displayed in the form of a row, providing a visual indicator of its presence.
- If necessary, the receptionist can also add additional patient flags to a dropdown menu.
- To preserve these changes, the receptionist saves the information.


