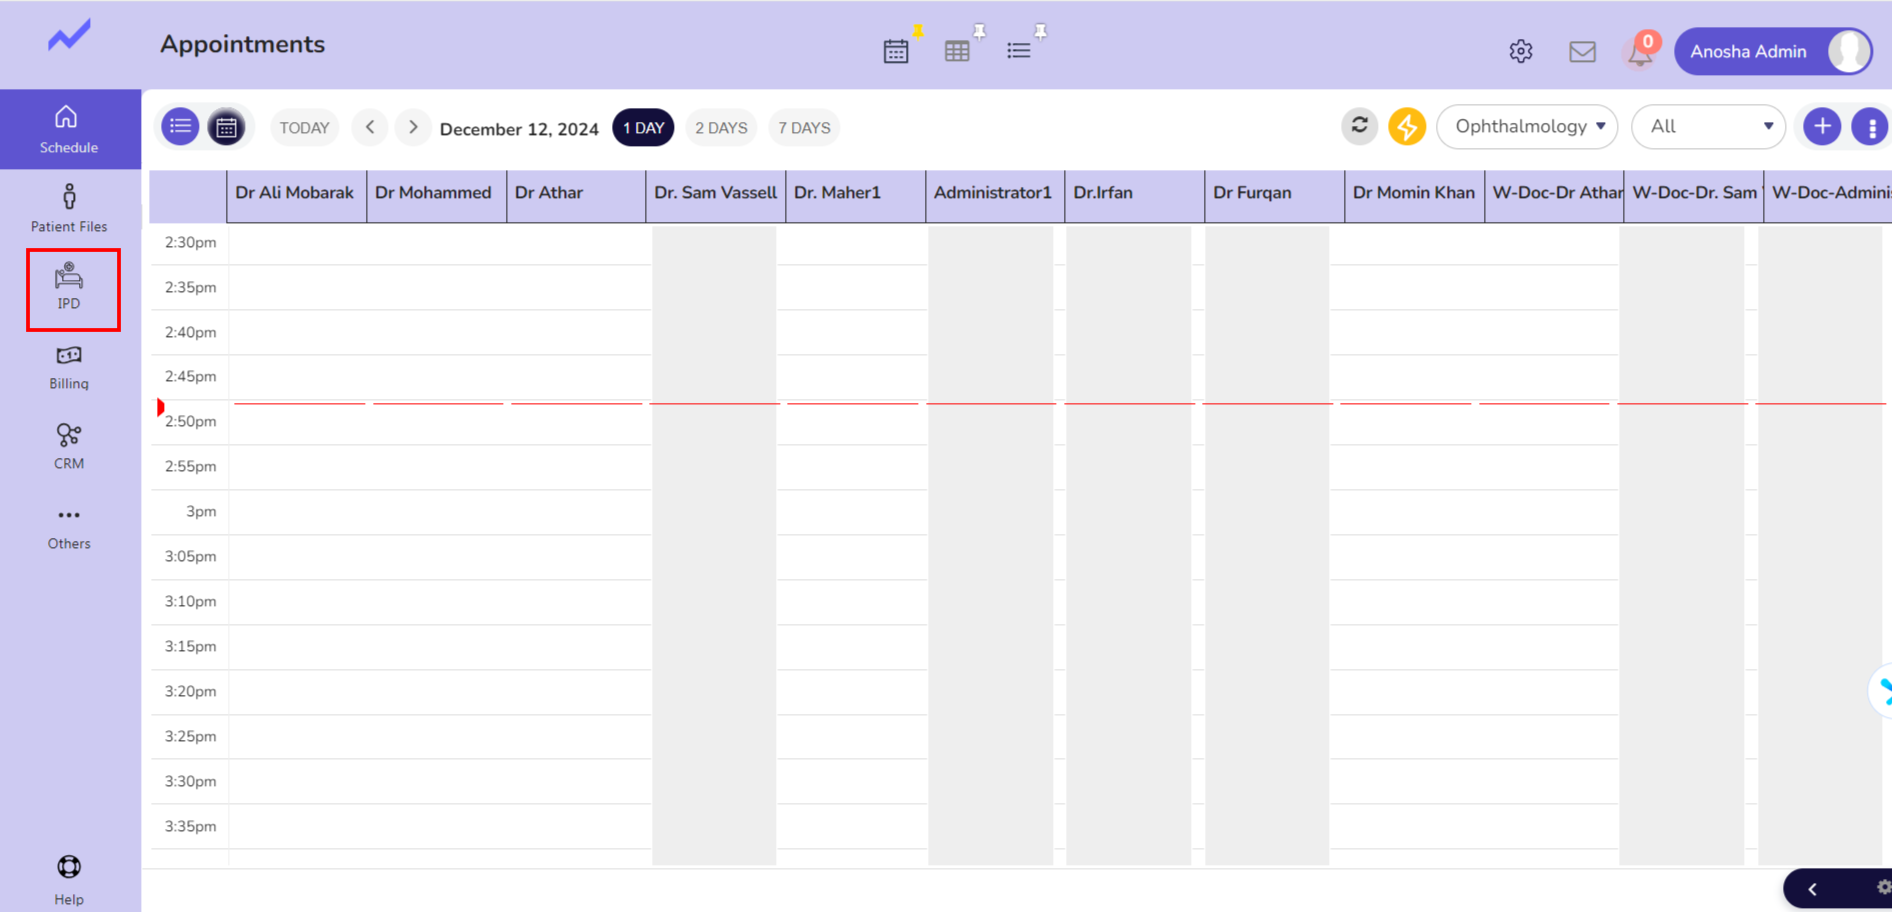
From the main Schedule screen, click on IPD.
This will navigate you to the IPD screen.

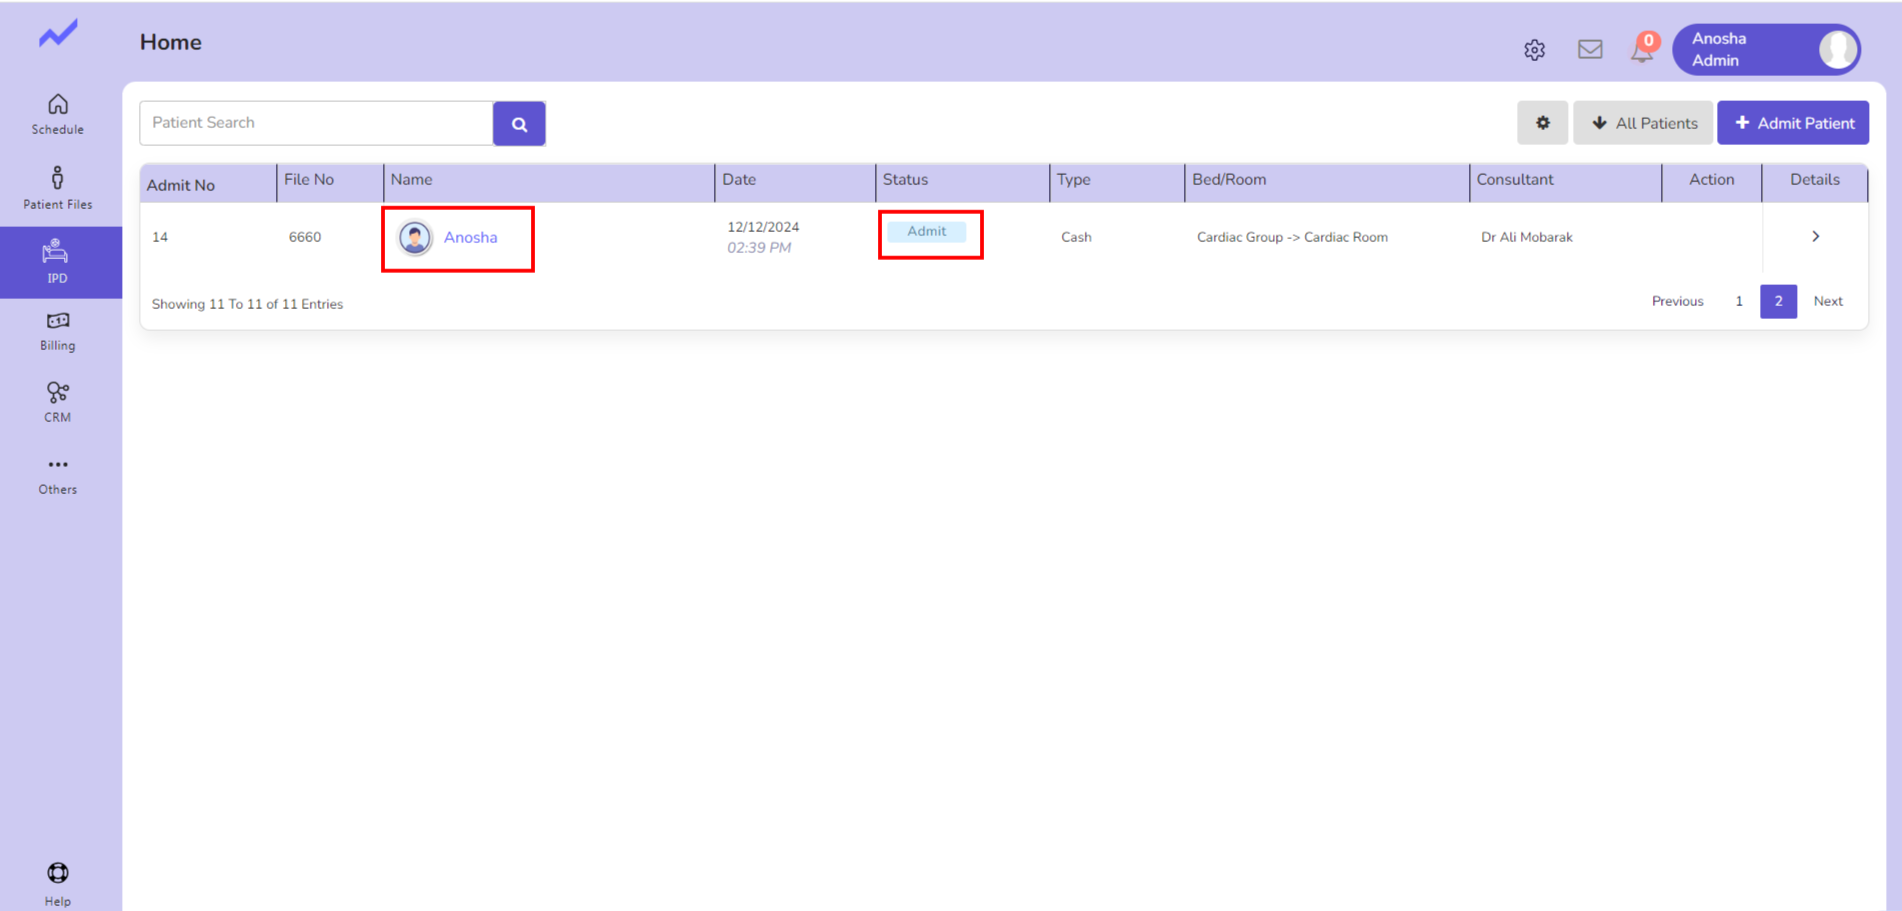
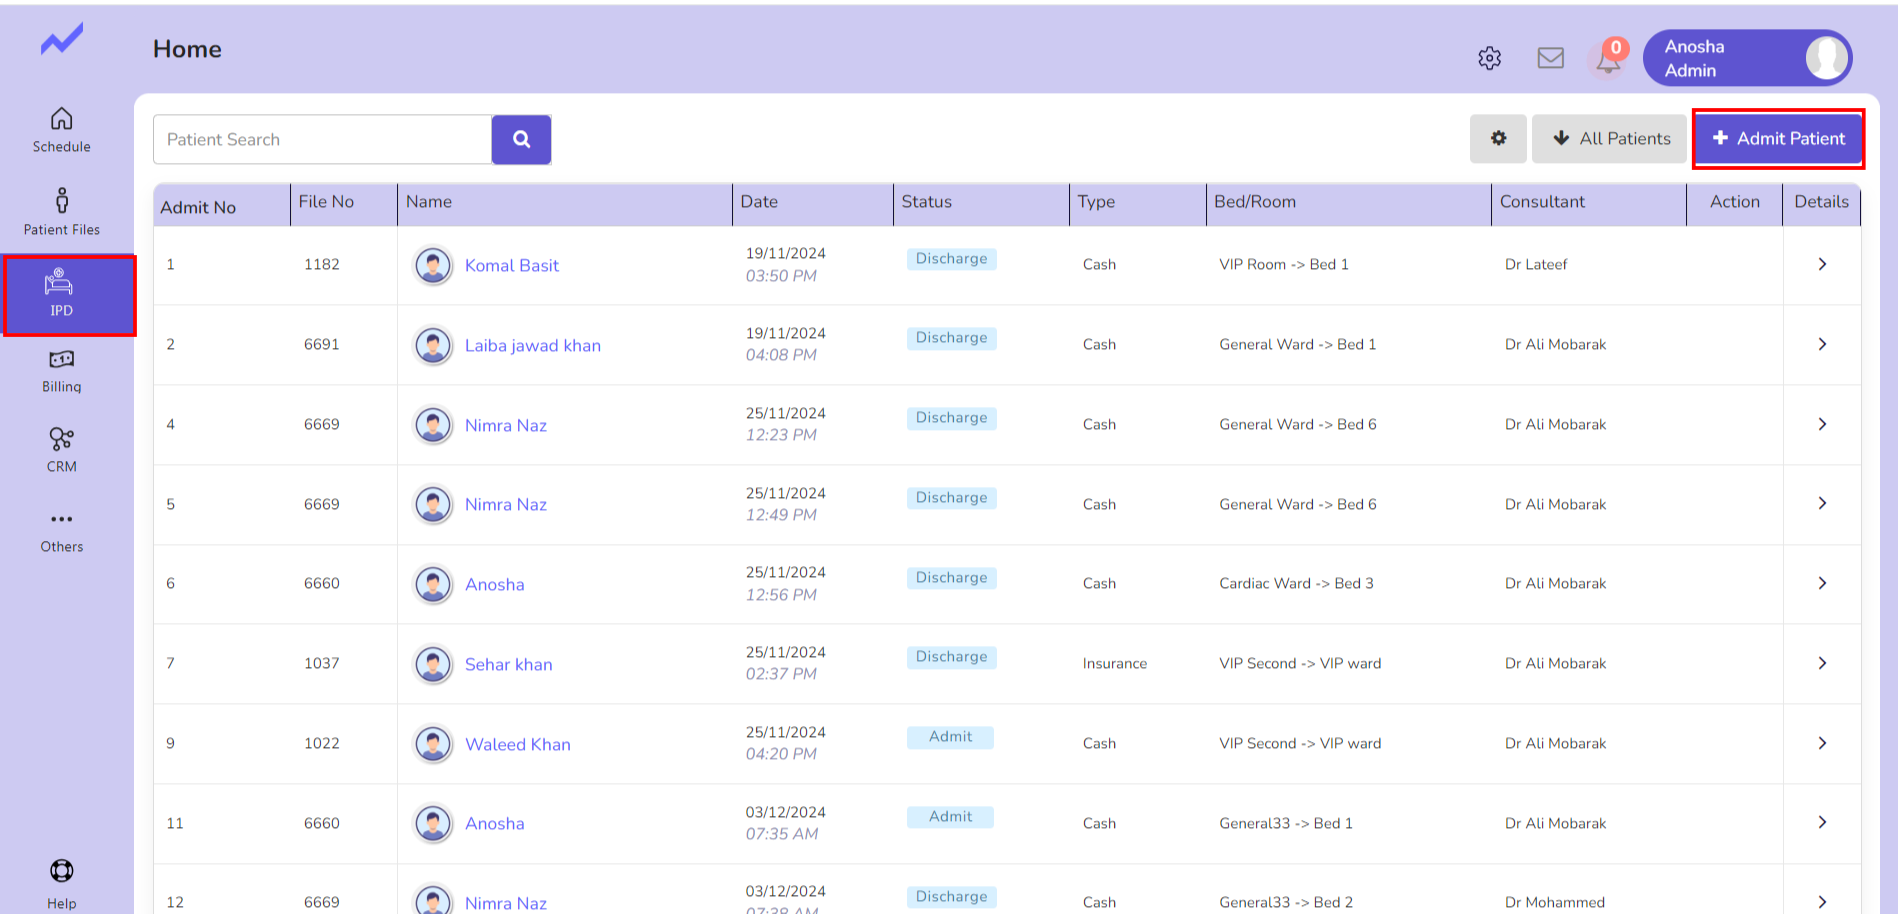
The list above displays all admitted patients. When you admit a new patient, their details will automatically appear in this list.
Admit the Patient:
- First, you need to admit the patient.
- Click on the Admit Patient button on the IPD screen.
When you click Admit Patient, a new window titled Admit Indoor Patients will appear.
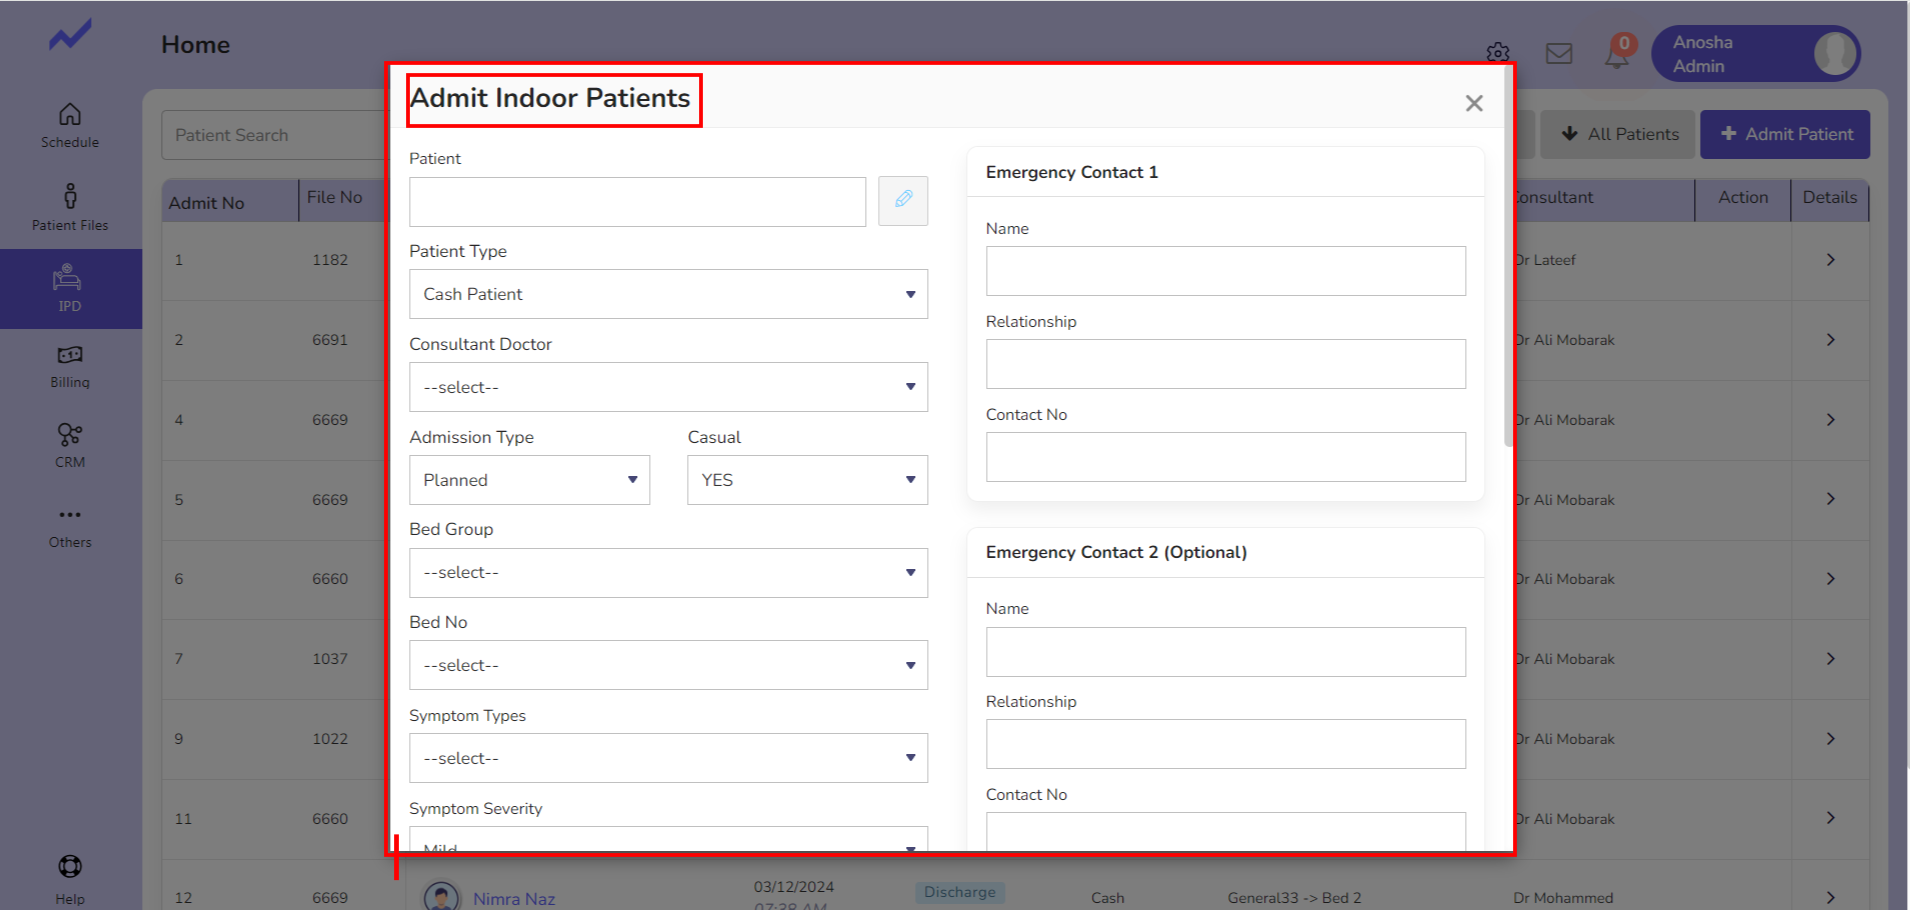
There are different fields you need to fill to admit a patient. Some fields are mandatory and must be filled to proceed with the admission, while others are optional.
Enter the Patient’s name First
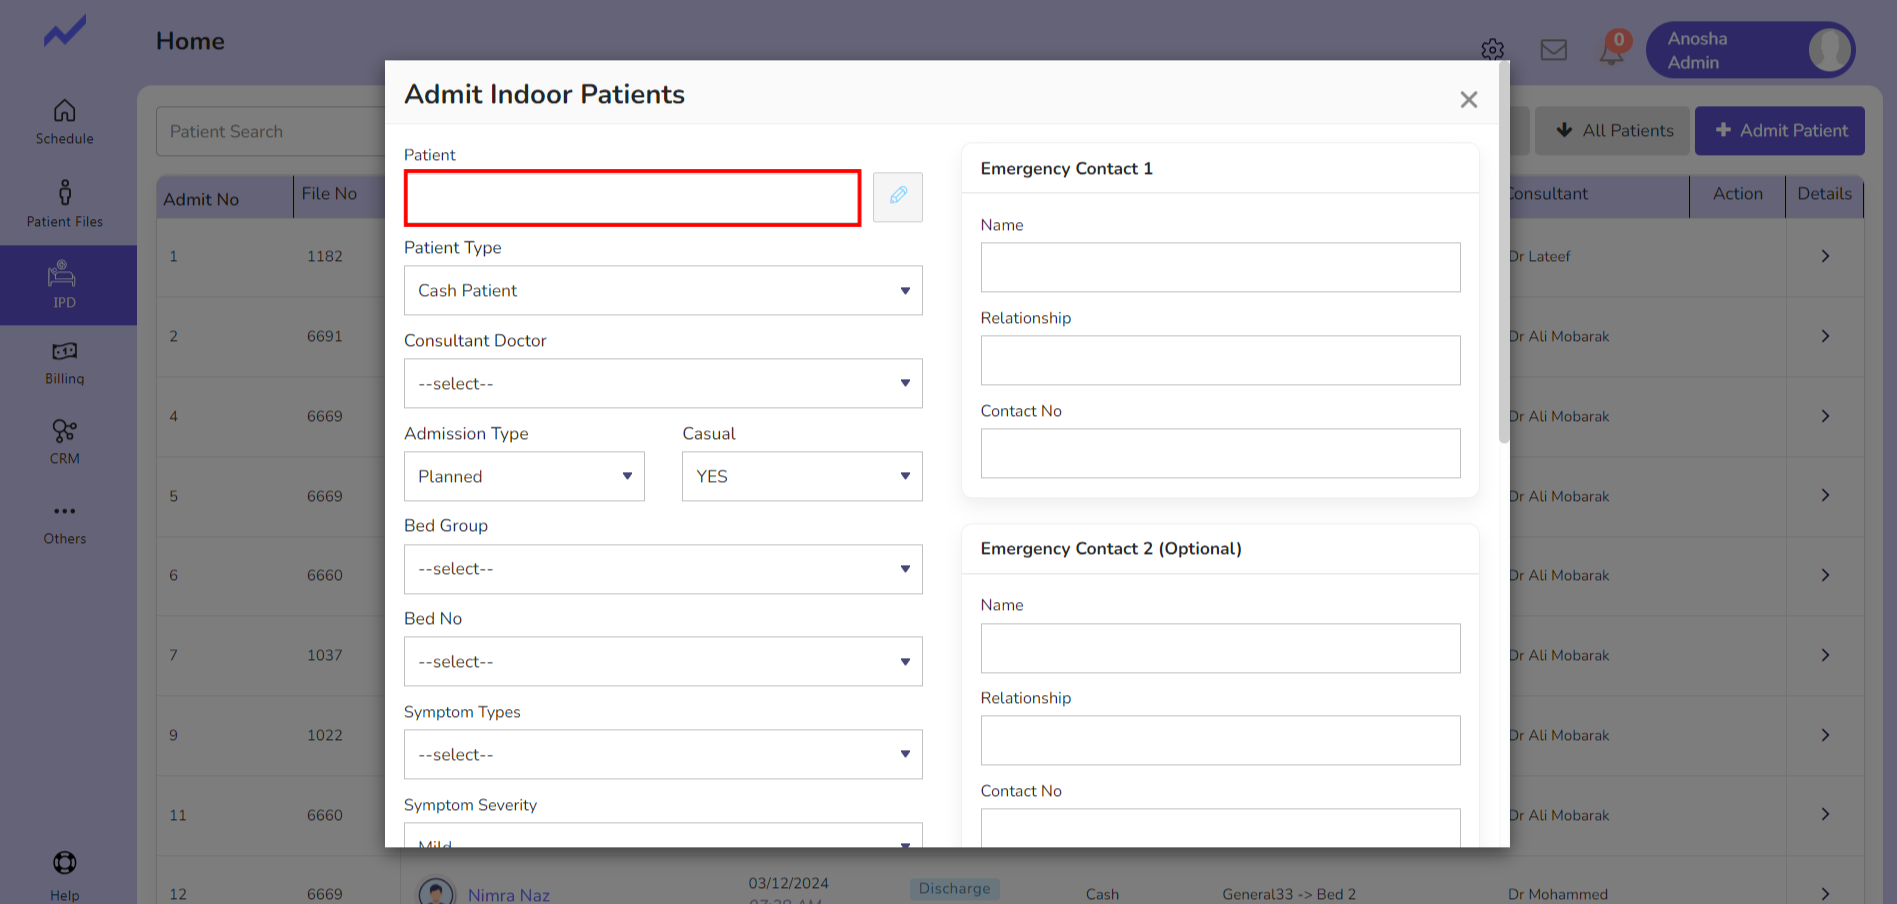
After entering the patient’s name, you need to fill in the other required fields.
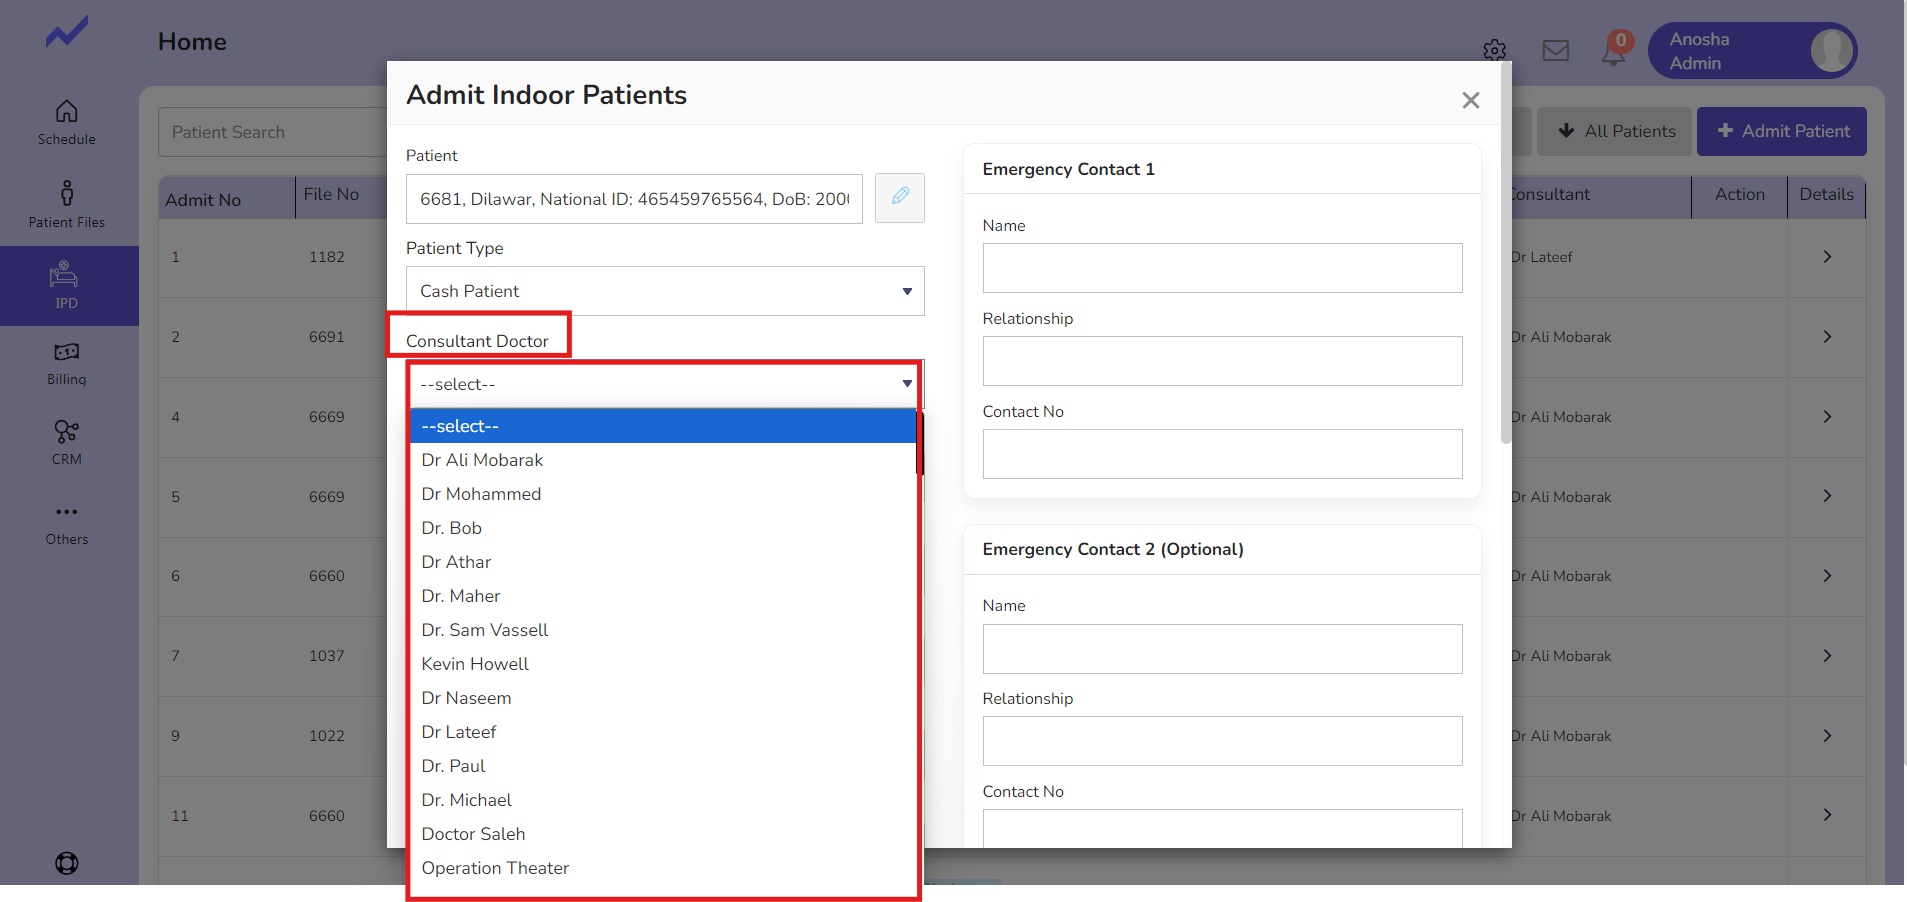
From the Patient Type drop-down, select the type of patient.

From the Consultant Doctor drop-down, select the doctor assigned to the patient.
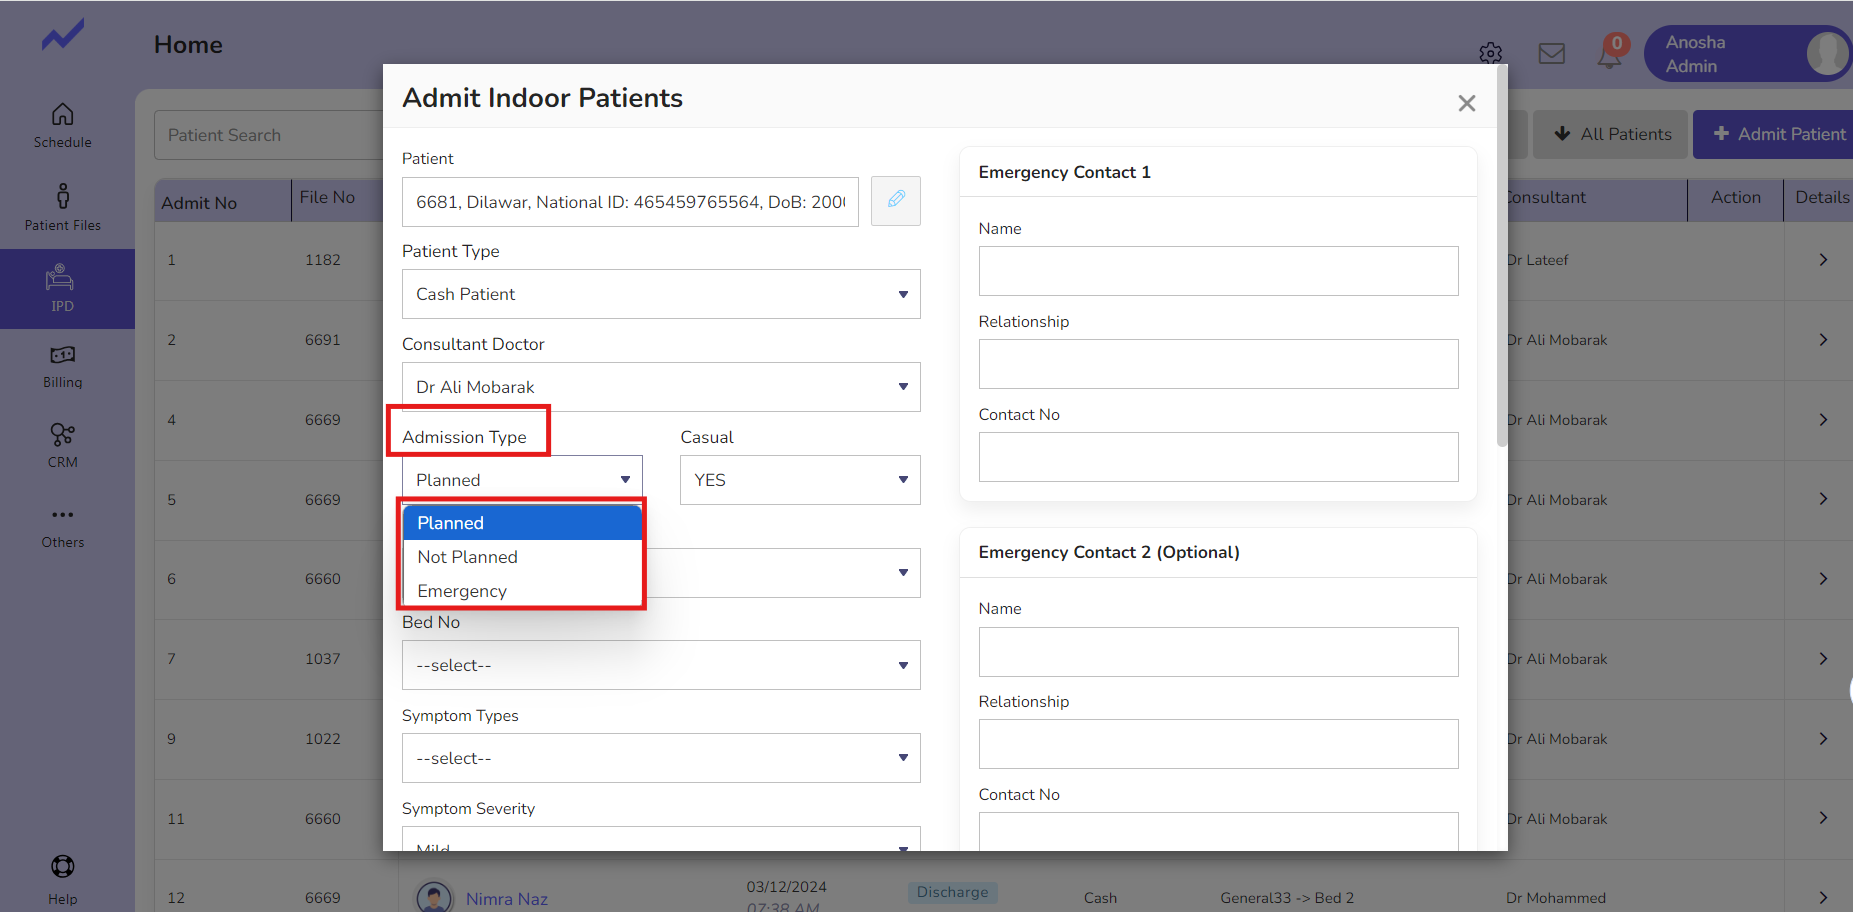
Select Admission type from the Admission Type Drop-down.
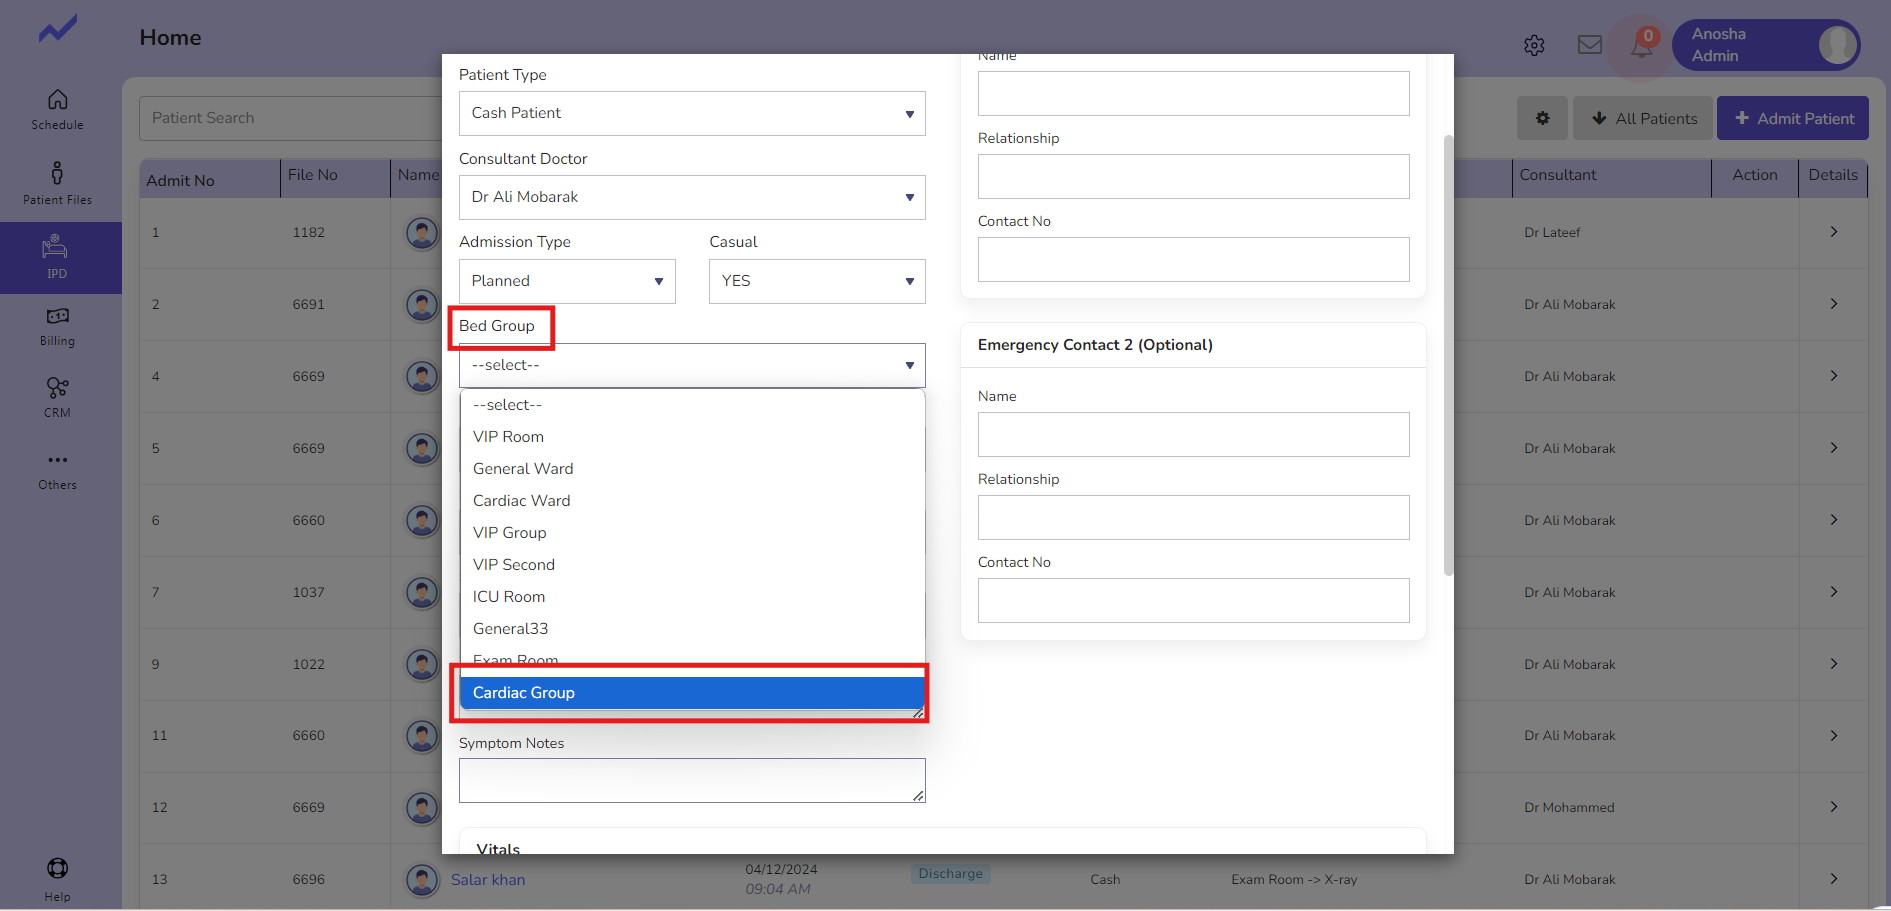
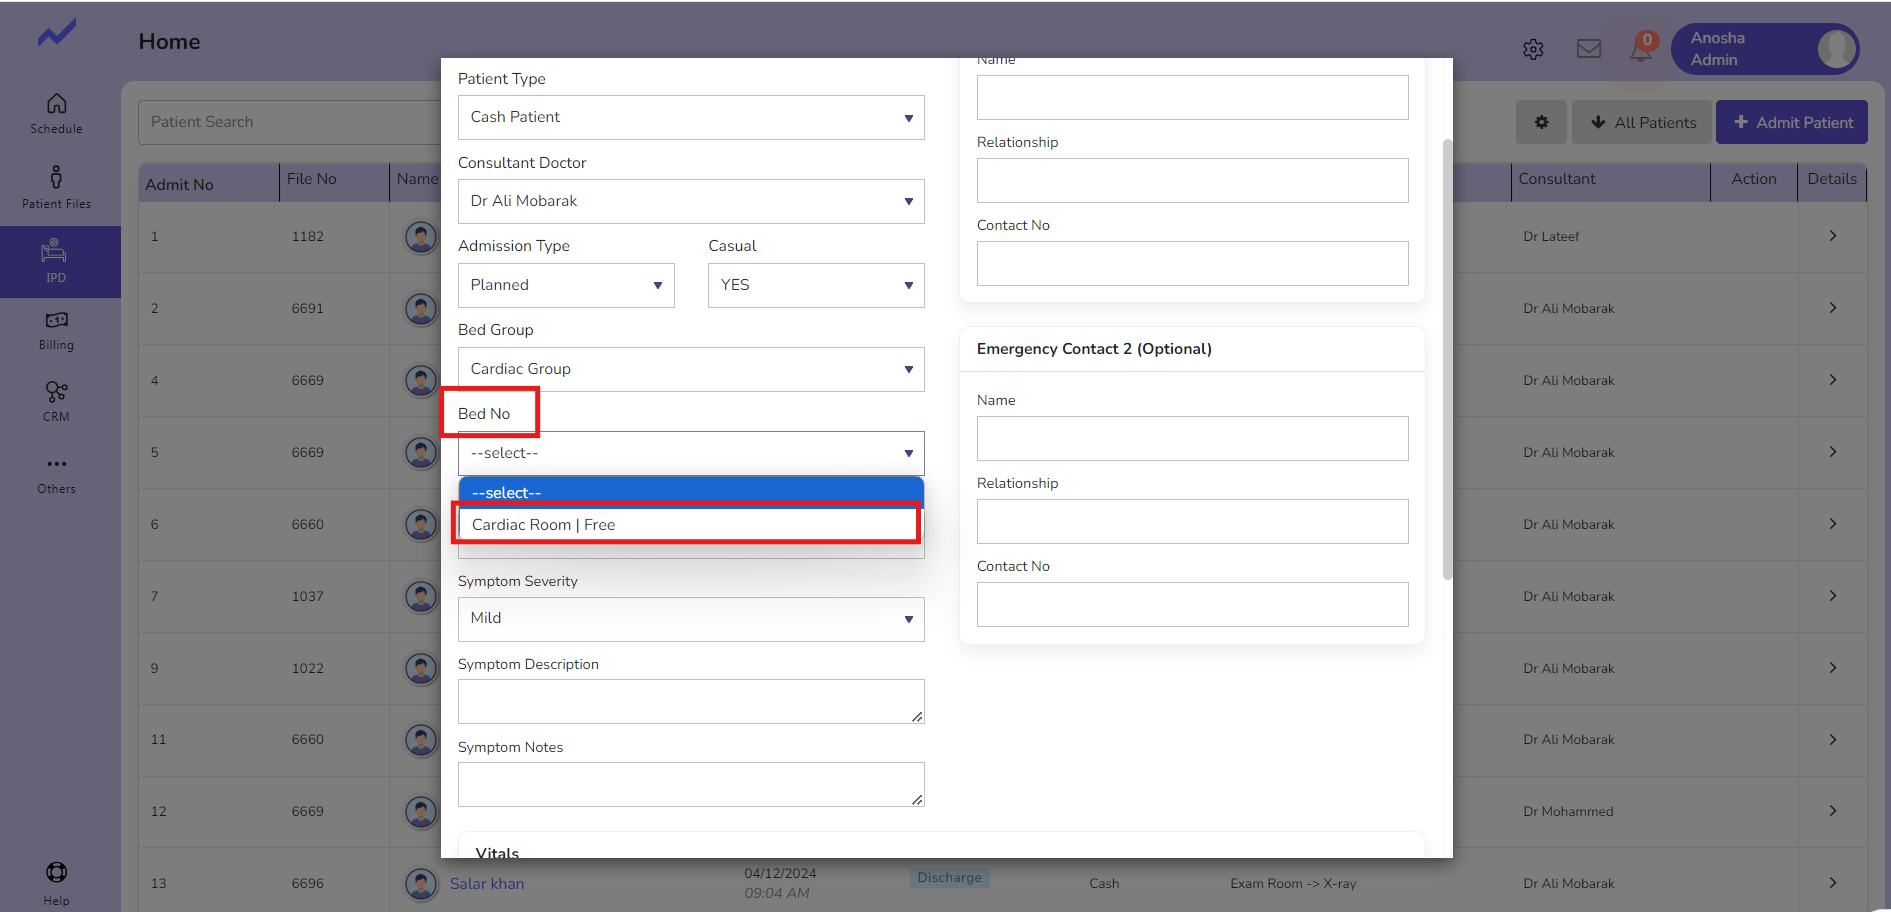
Bed Group and Bed Number Fields
The Bed Group represents a ward or a section that contains multiple beds, while the Bed Number specifies a particular bed within the group. These fields are interconnected and must be selected during the admission process.
Key Points:
- Adding Bed Groups and Bed Numbers:
- Bed Groups and Bed Numbers can be added from the IPD Module Settings.
- Ensure that the bed details are correctly configured before assigning them to patients.
- Bed Allocation and Status Management:
- A bed’s status can be either Free or Allocated:
- Free: The bed is available and can be assigned to a new patient.
- Allocated: The bed is already assigned to a patient and cannot be reused until it is freed.
- When a bed is allocated to a patient, its status automatically changes from Free to Allocated.
- A single bed can only be allocated to one patient at a time.
- A bed’s status can be either Free or Allocated:
- During Patient Admission:
- Select the appropriate Bed Group from the drop-down.
- Then, choose an available Bed Number within that group to assign to the patient.
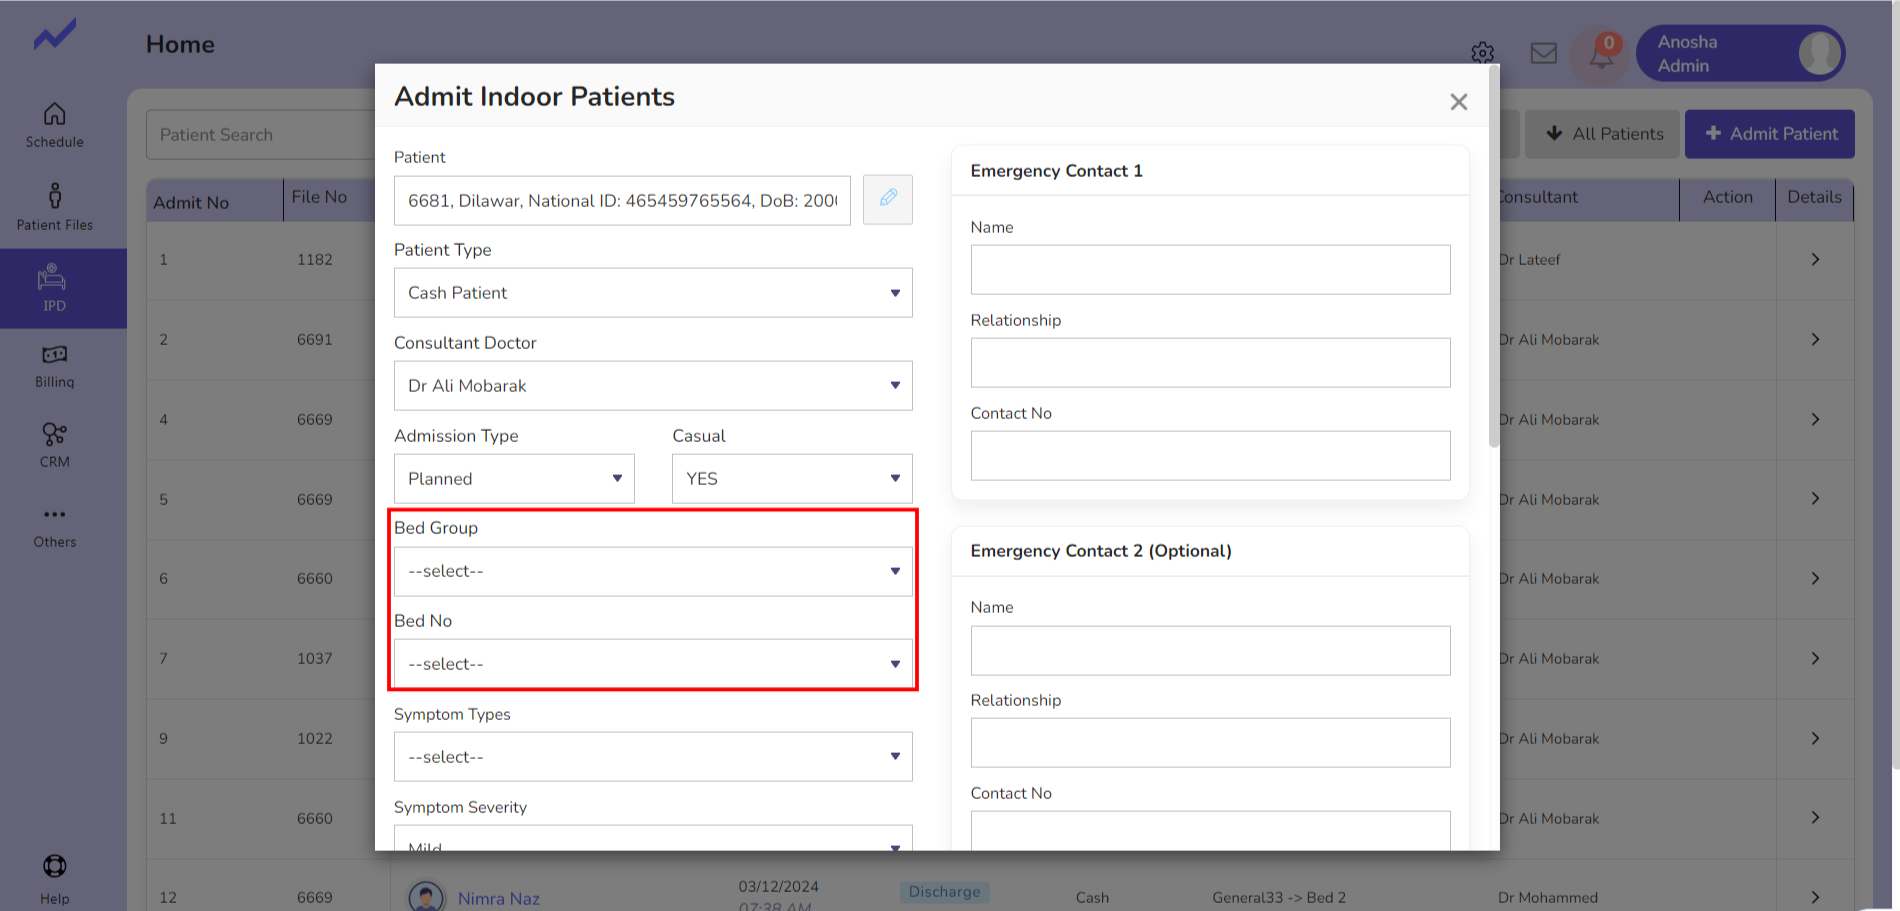
Only the bed No which is free will appear in the drop-down and once you allocate this to any patient its status will change from free to Allocated.
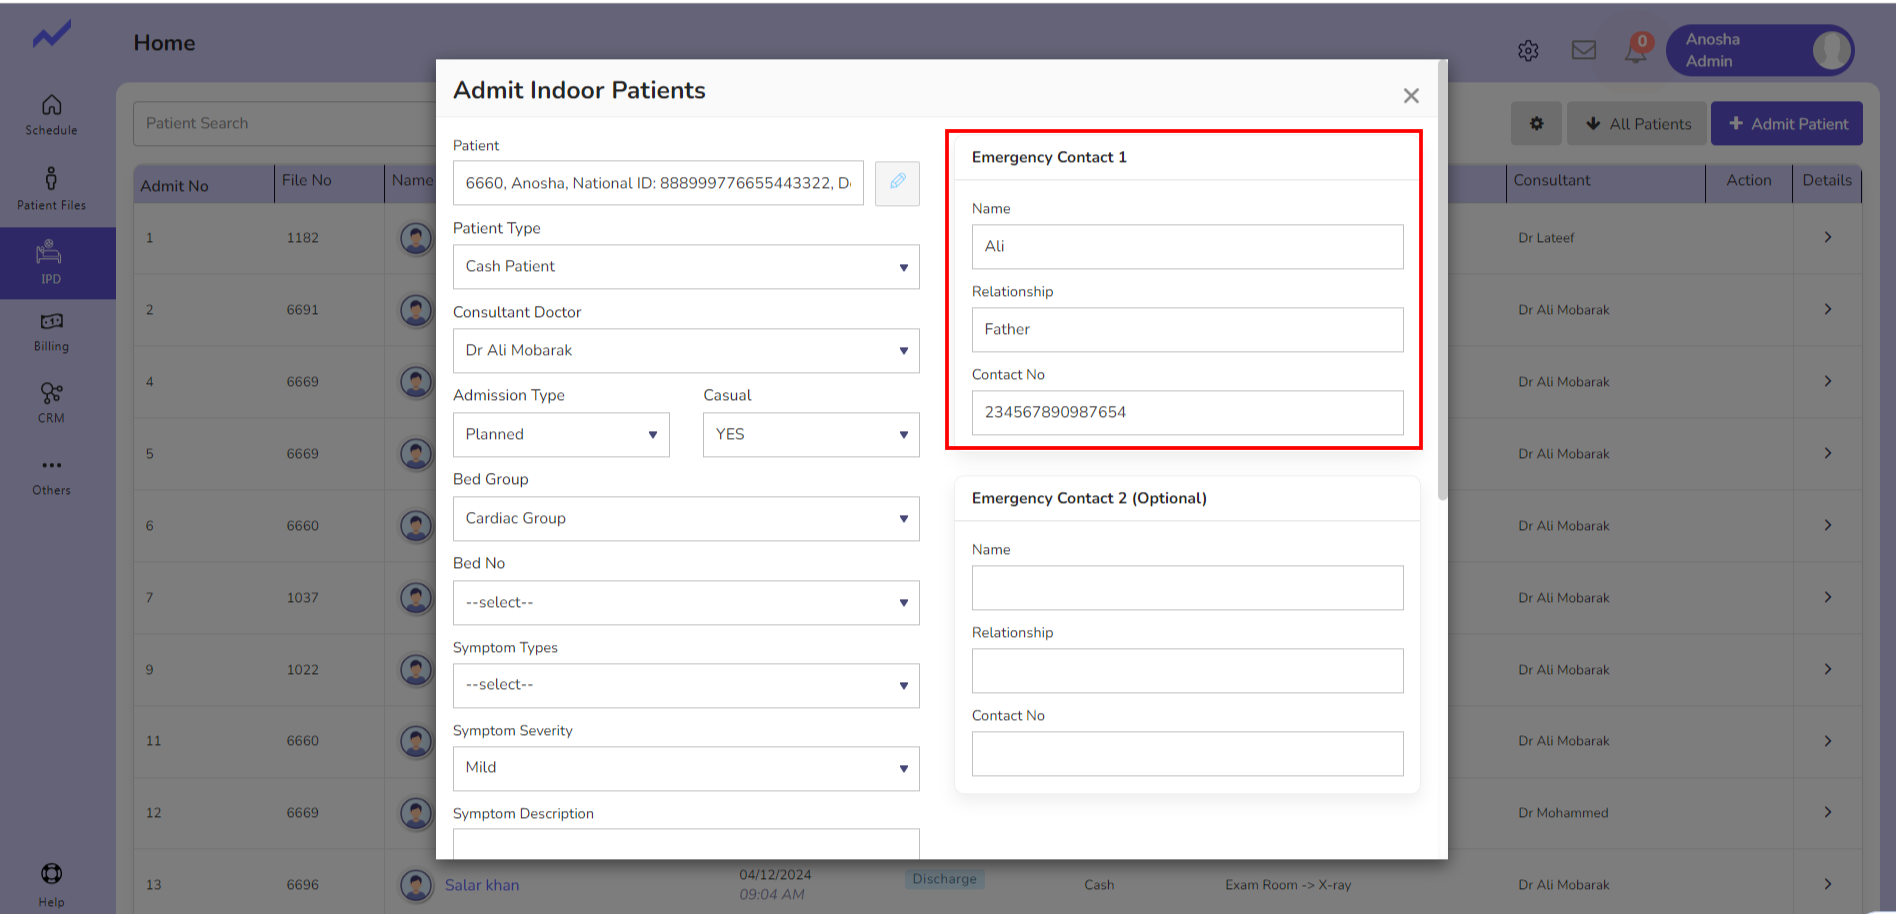
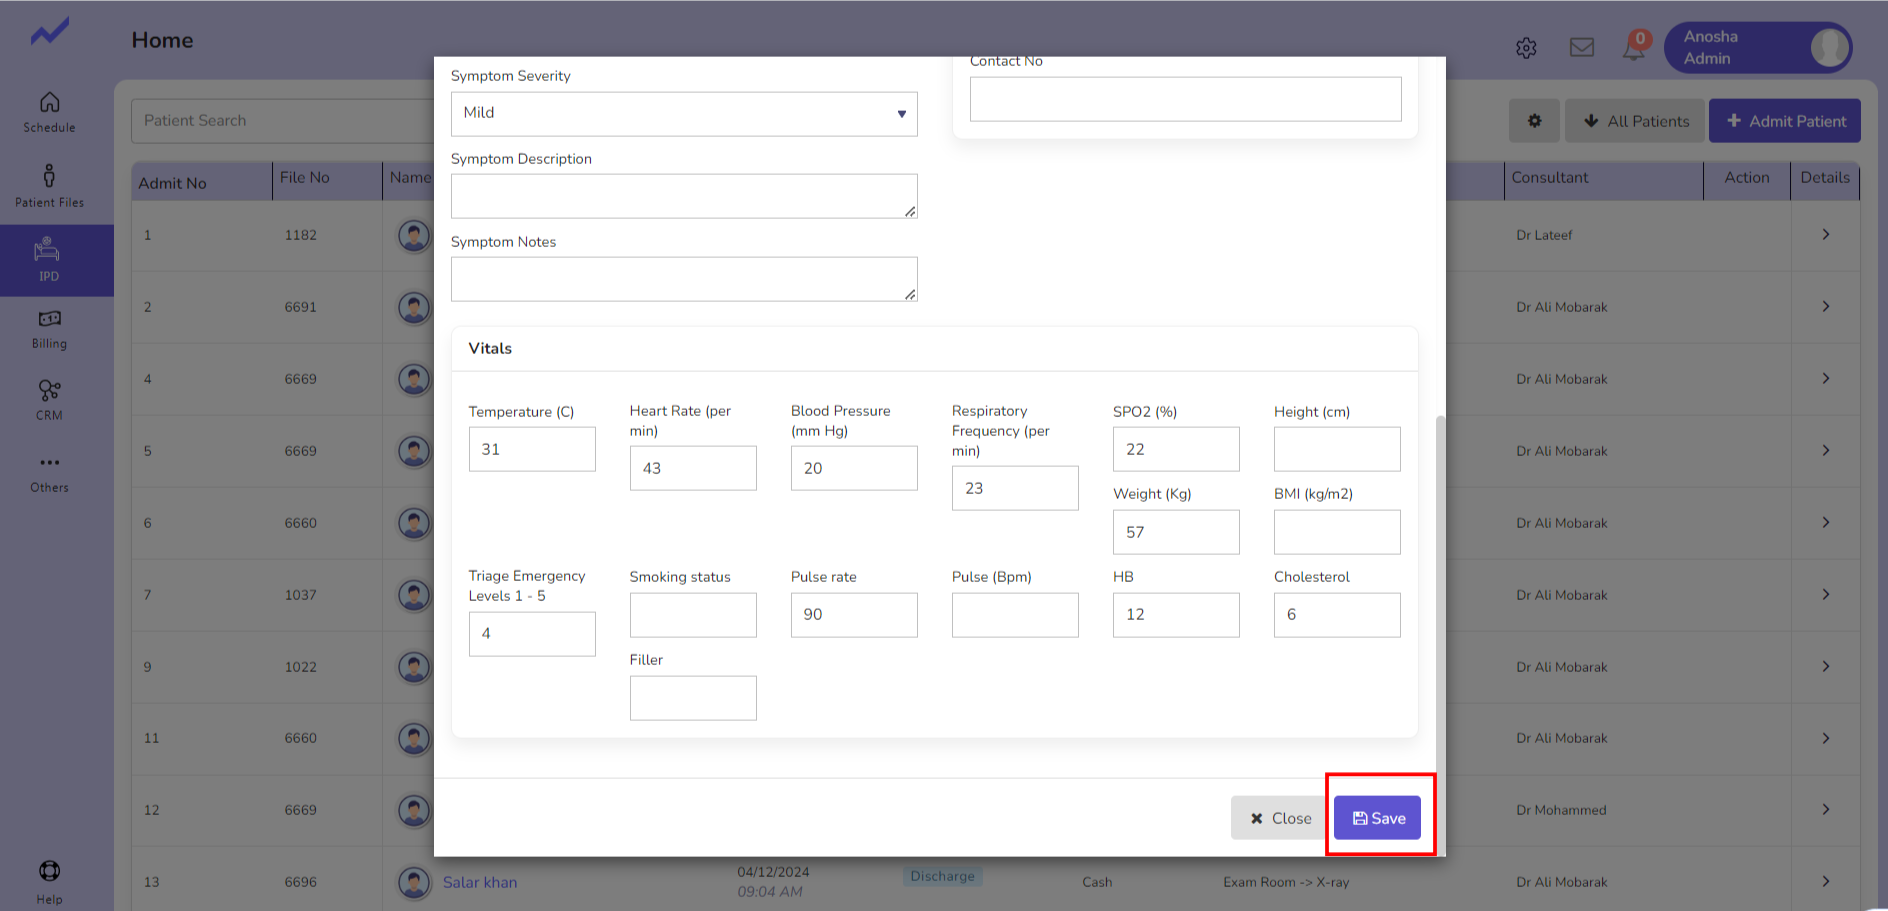
Enter the emergency contact information.
After filling in all the required fields, scroll down to the Vitals section for the patient.
These fields are not mandatory. If there is a need to record the patient’s vitals, fill out these fields as necessary.
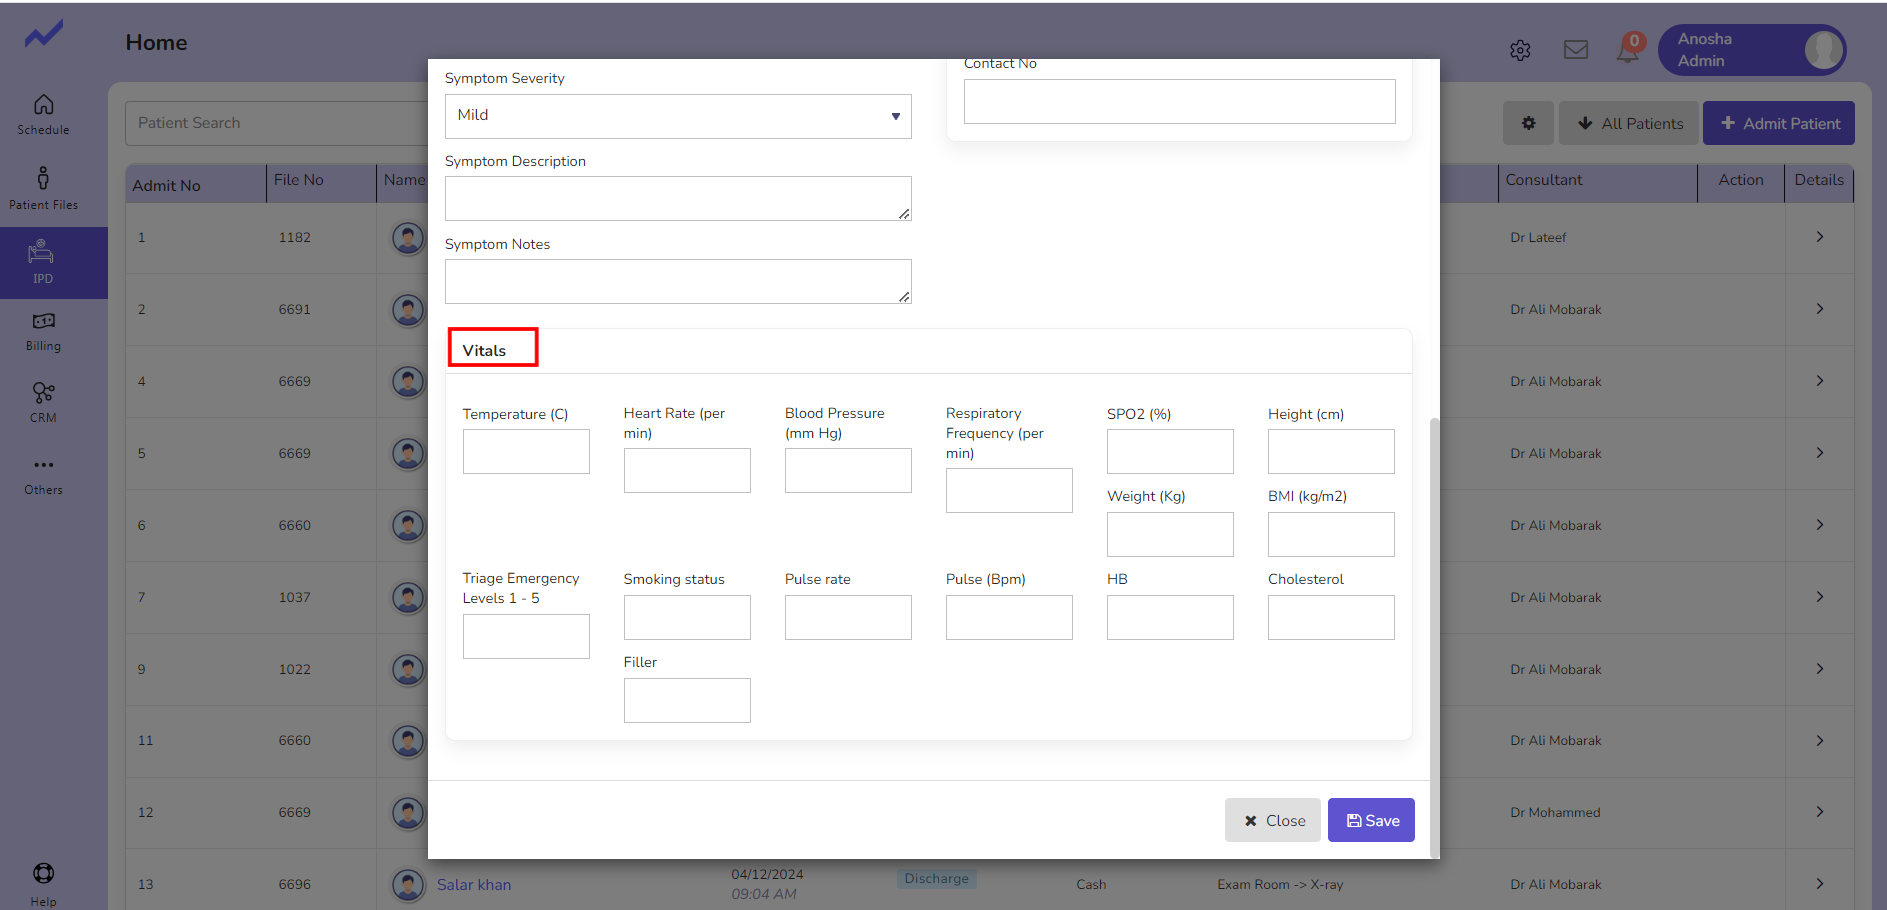
After Filling in the vitals click on the save button.
When you click on the save button a message will appear (patient admitted successfully).
The recently admitted patient will appear at the bottom of the list.