Debit note posting of JV works in Cloudpital is a simple process that can be done in a few easy steps. Here’s how to do it:
Step1:Login to Cloudpital
To start the process, first click on the Billing in the schedule screen.
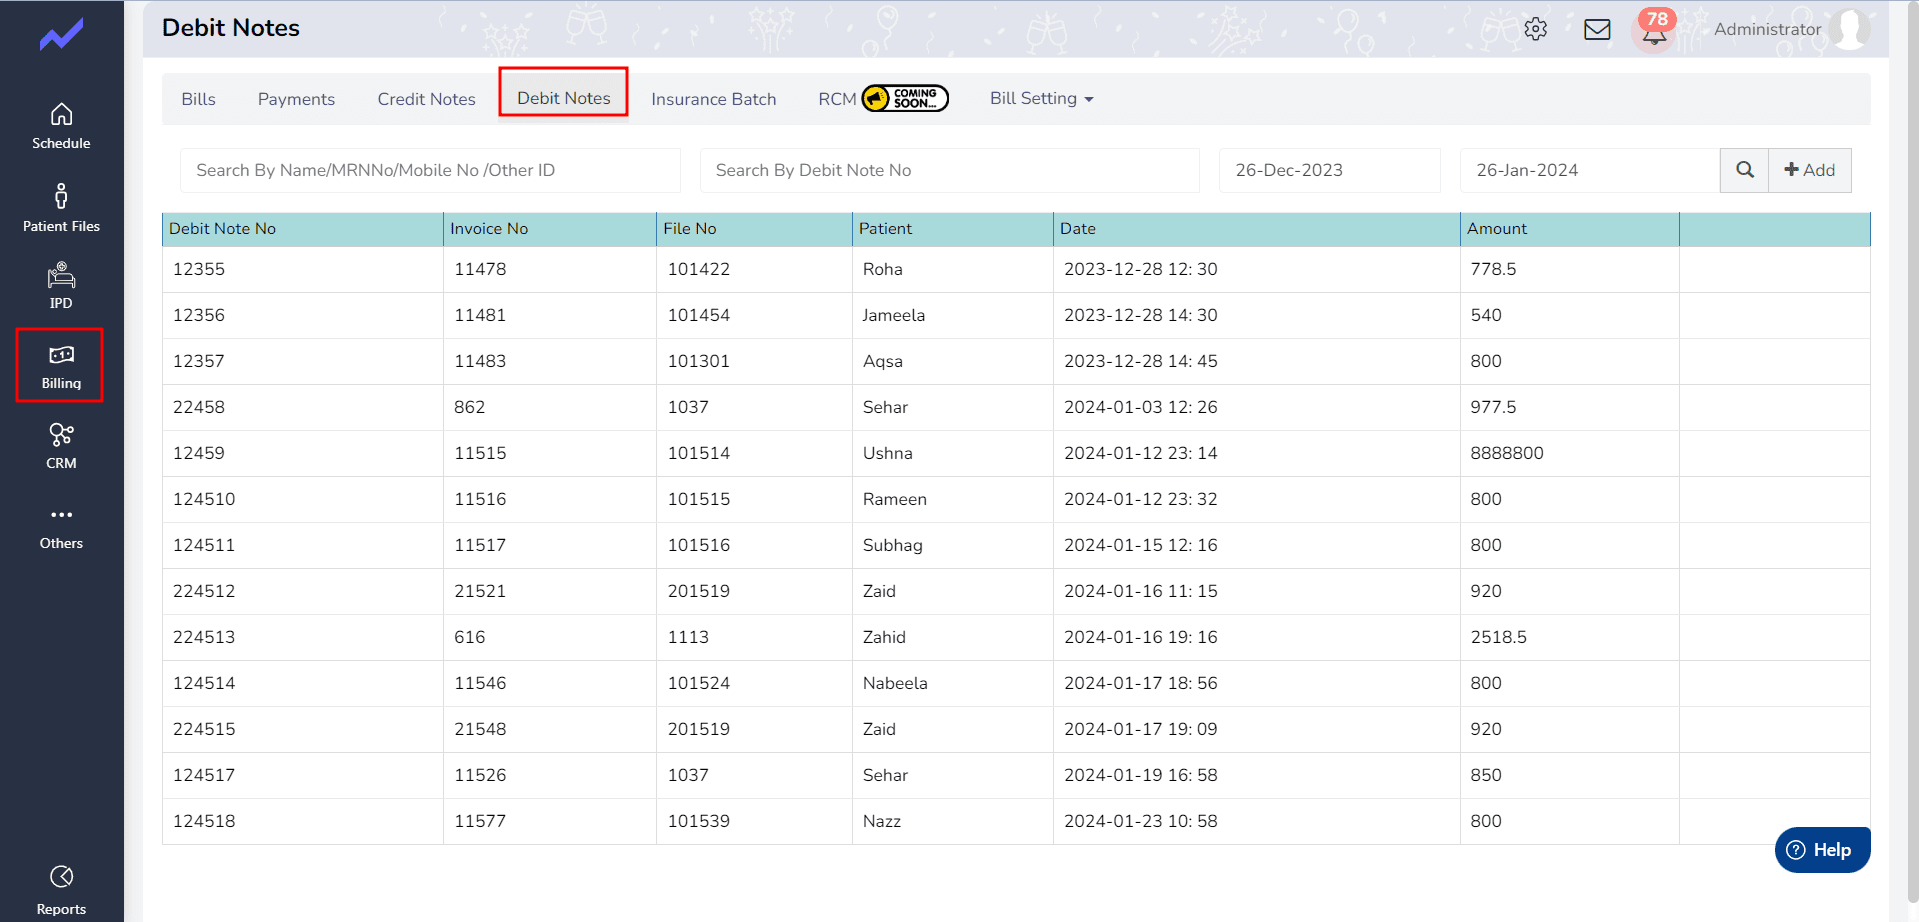
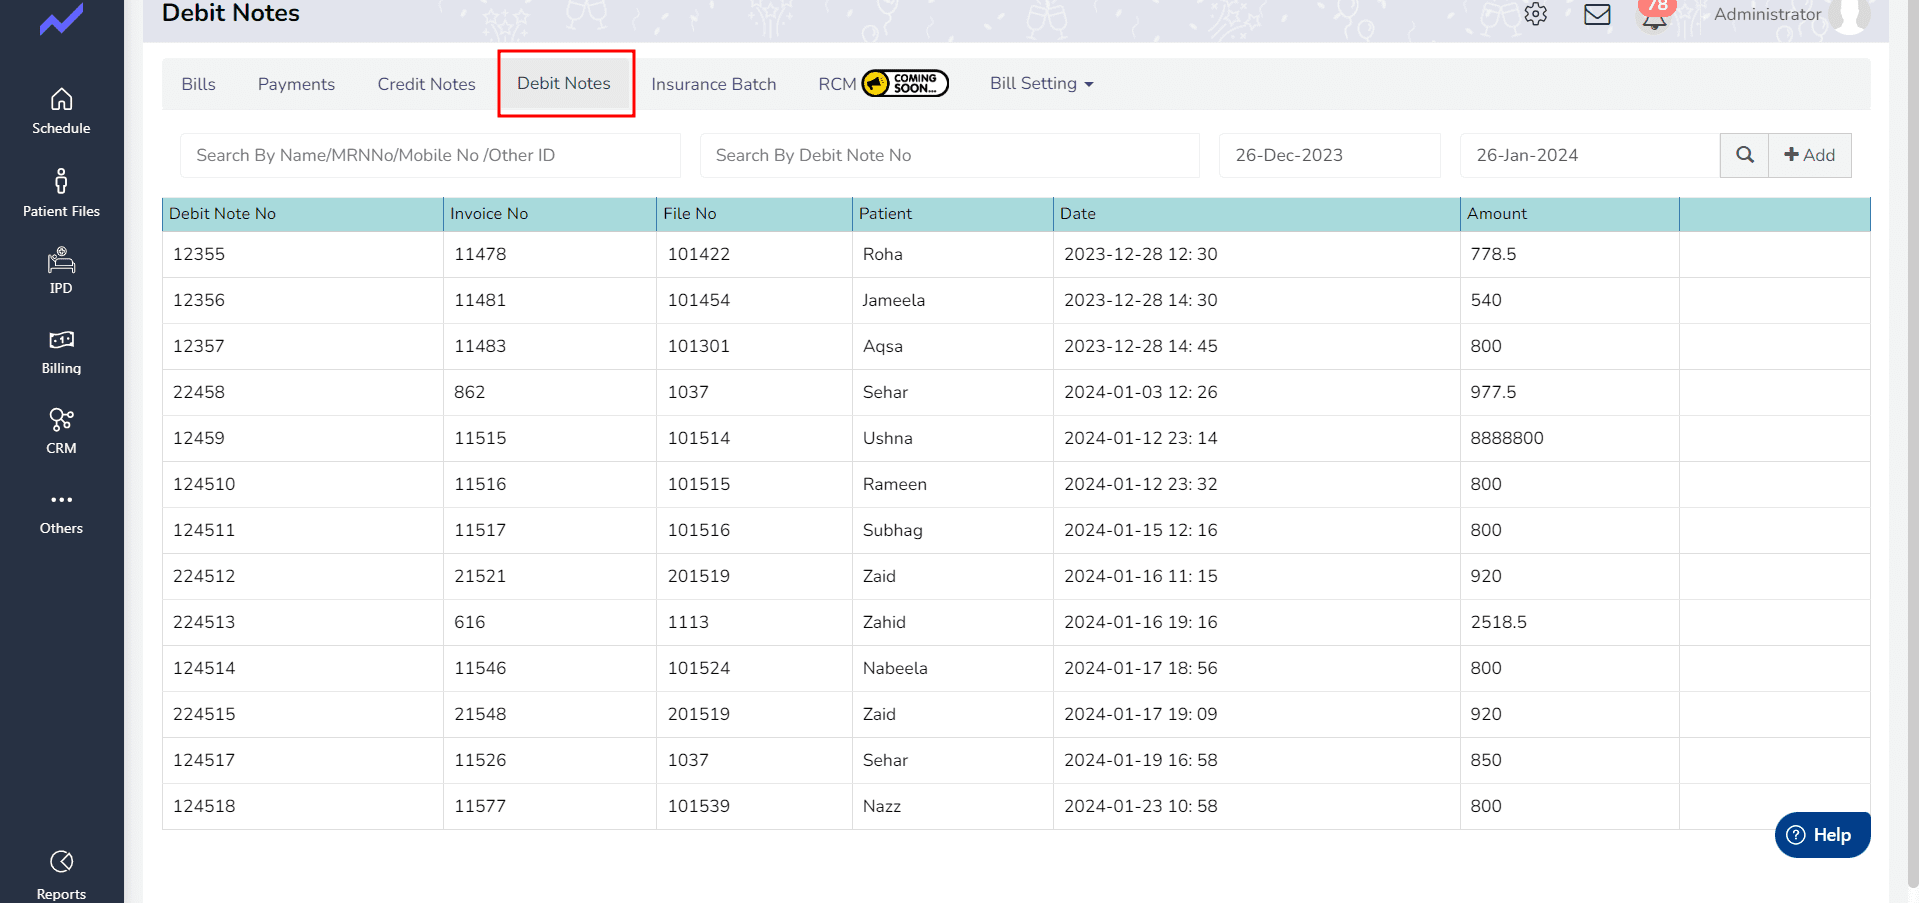
Step 2: Click on the “Debit Note” .
This will open up a new window where you can enter the details of the debit note.
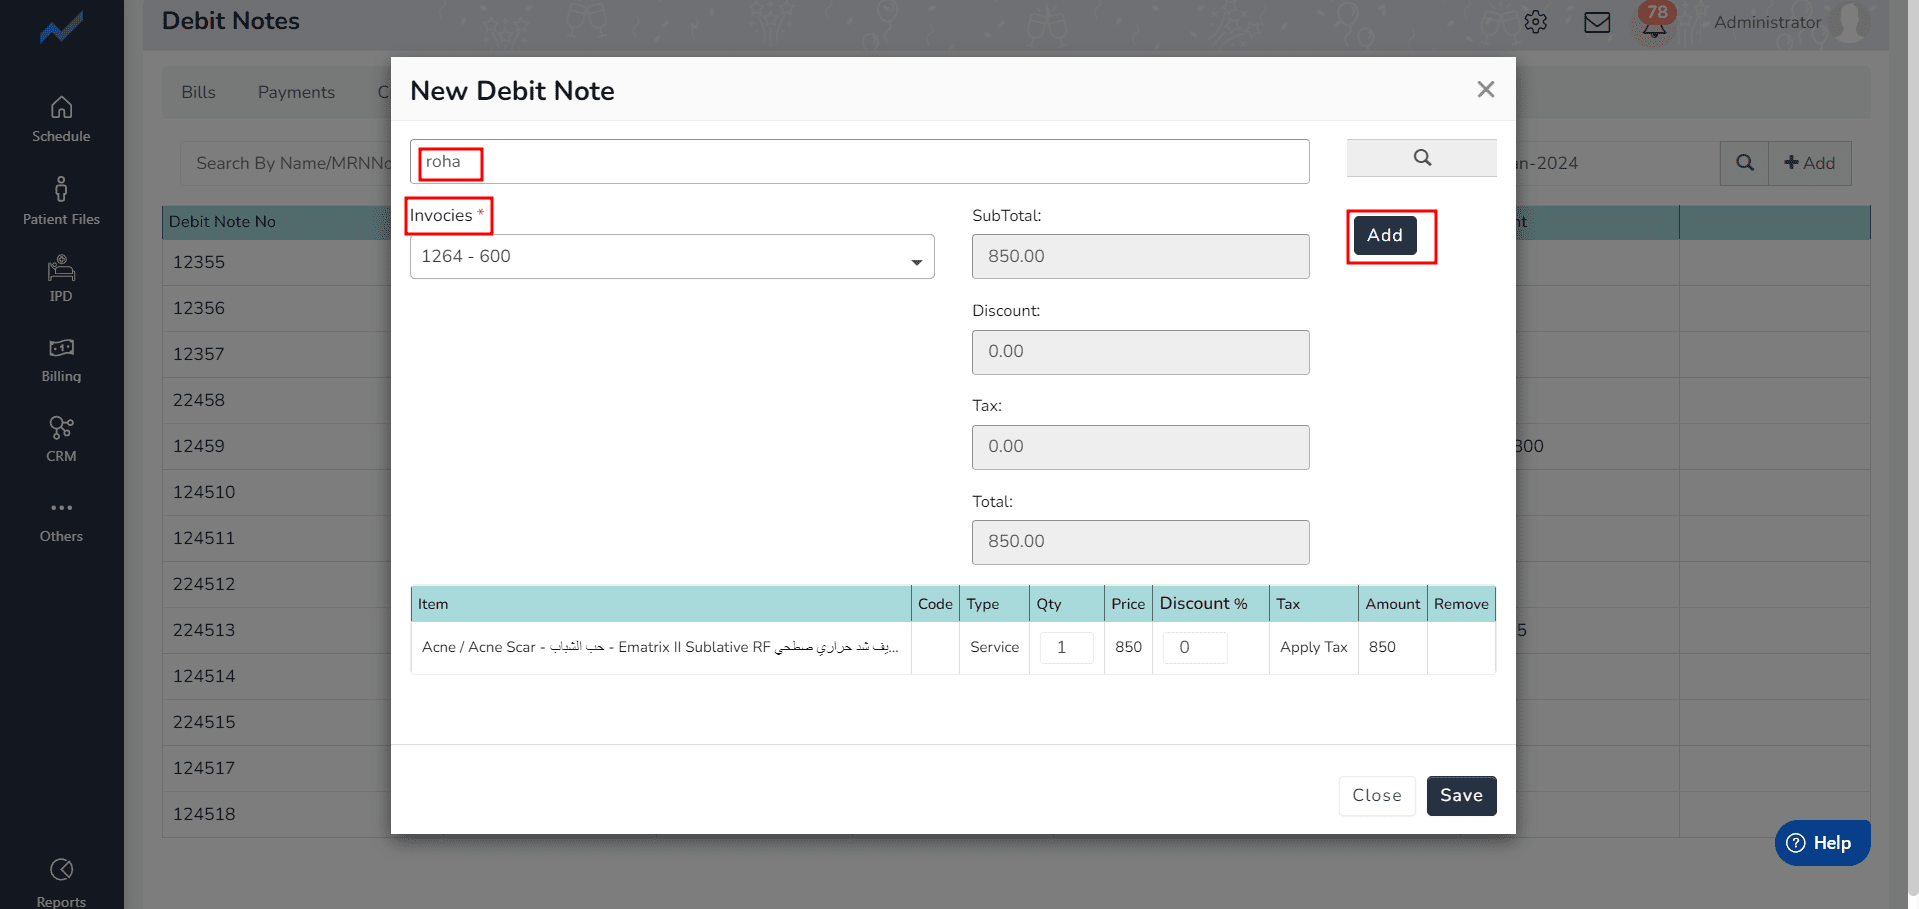
Step 3: Enter the details of the debit note
In the debit note window, enter the details of the debit note, such as the Name and Invoices. You can also add any relevant Information.
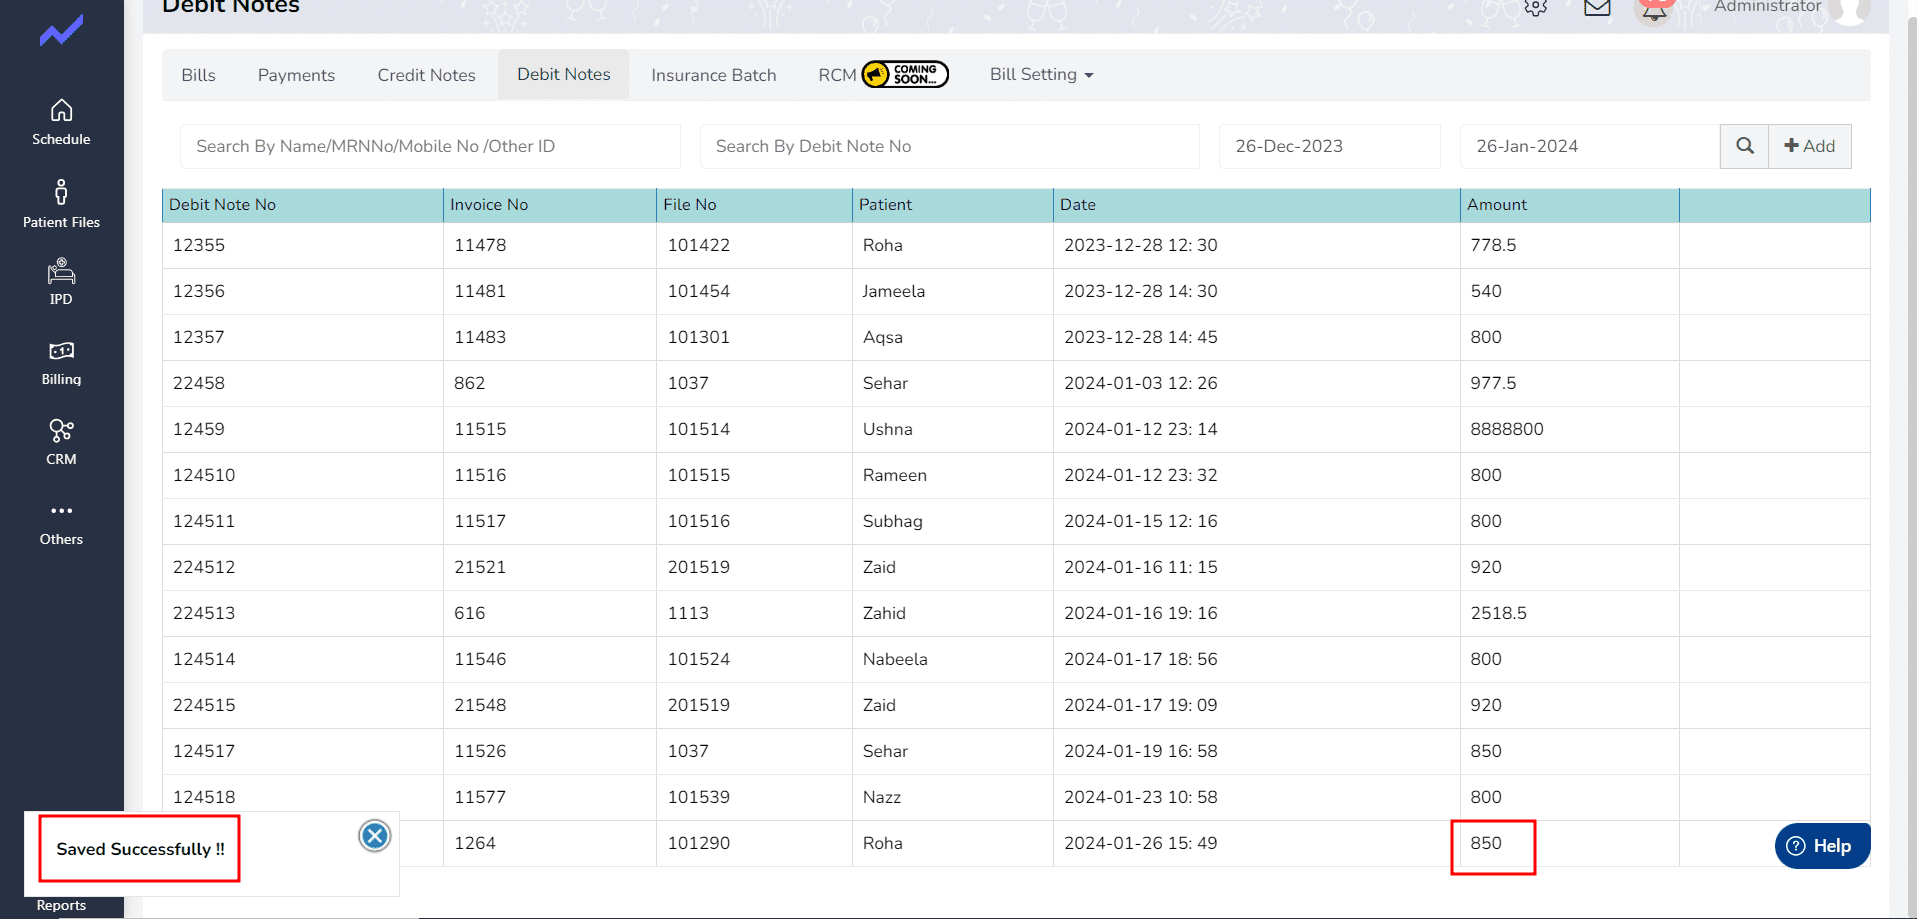
Step 4: Save the debit note
Once you’ve entered all the details, click on the “Save” button to save the debit note. The debit note will now be posted to the JV.
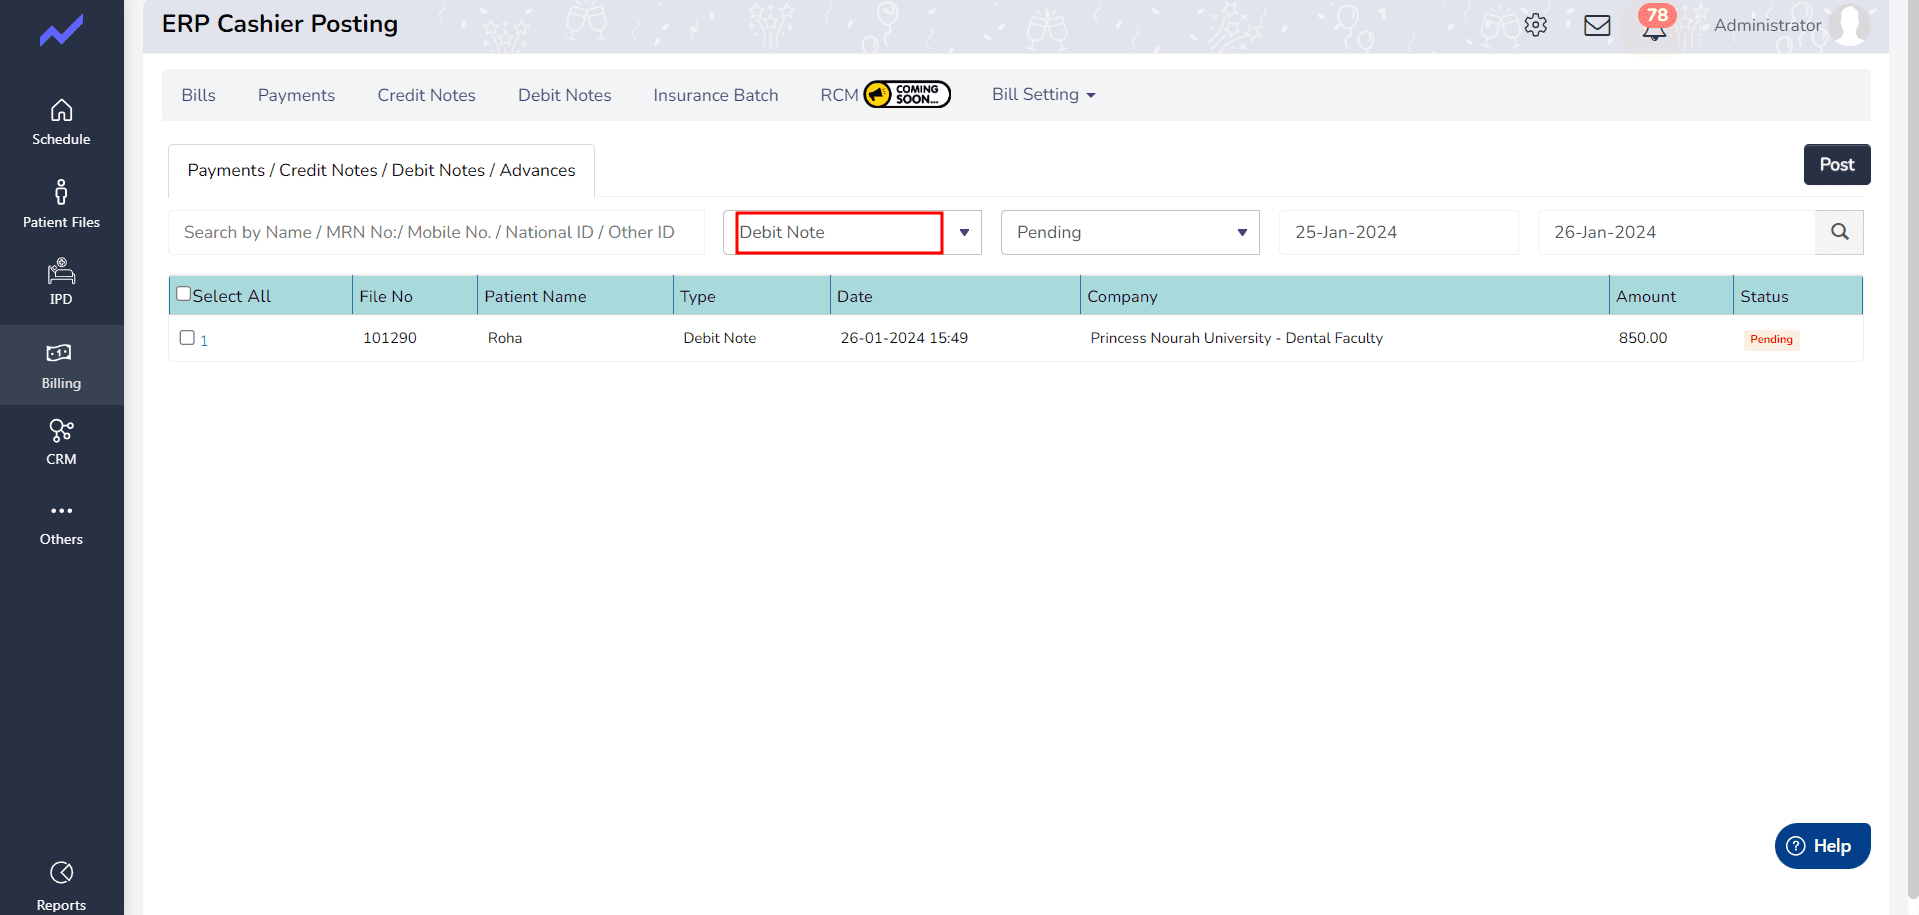
Step 5: Navigate to the ERP cashier posting module
In this screen status is pending select it and click on post to change the status
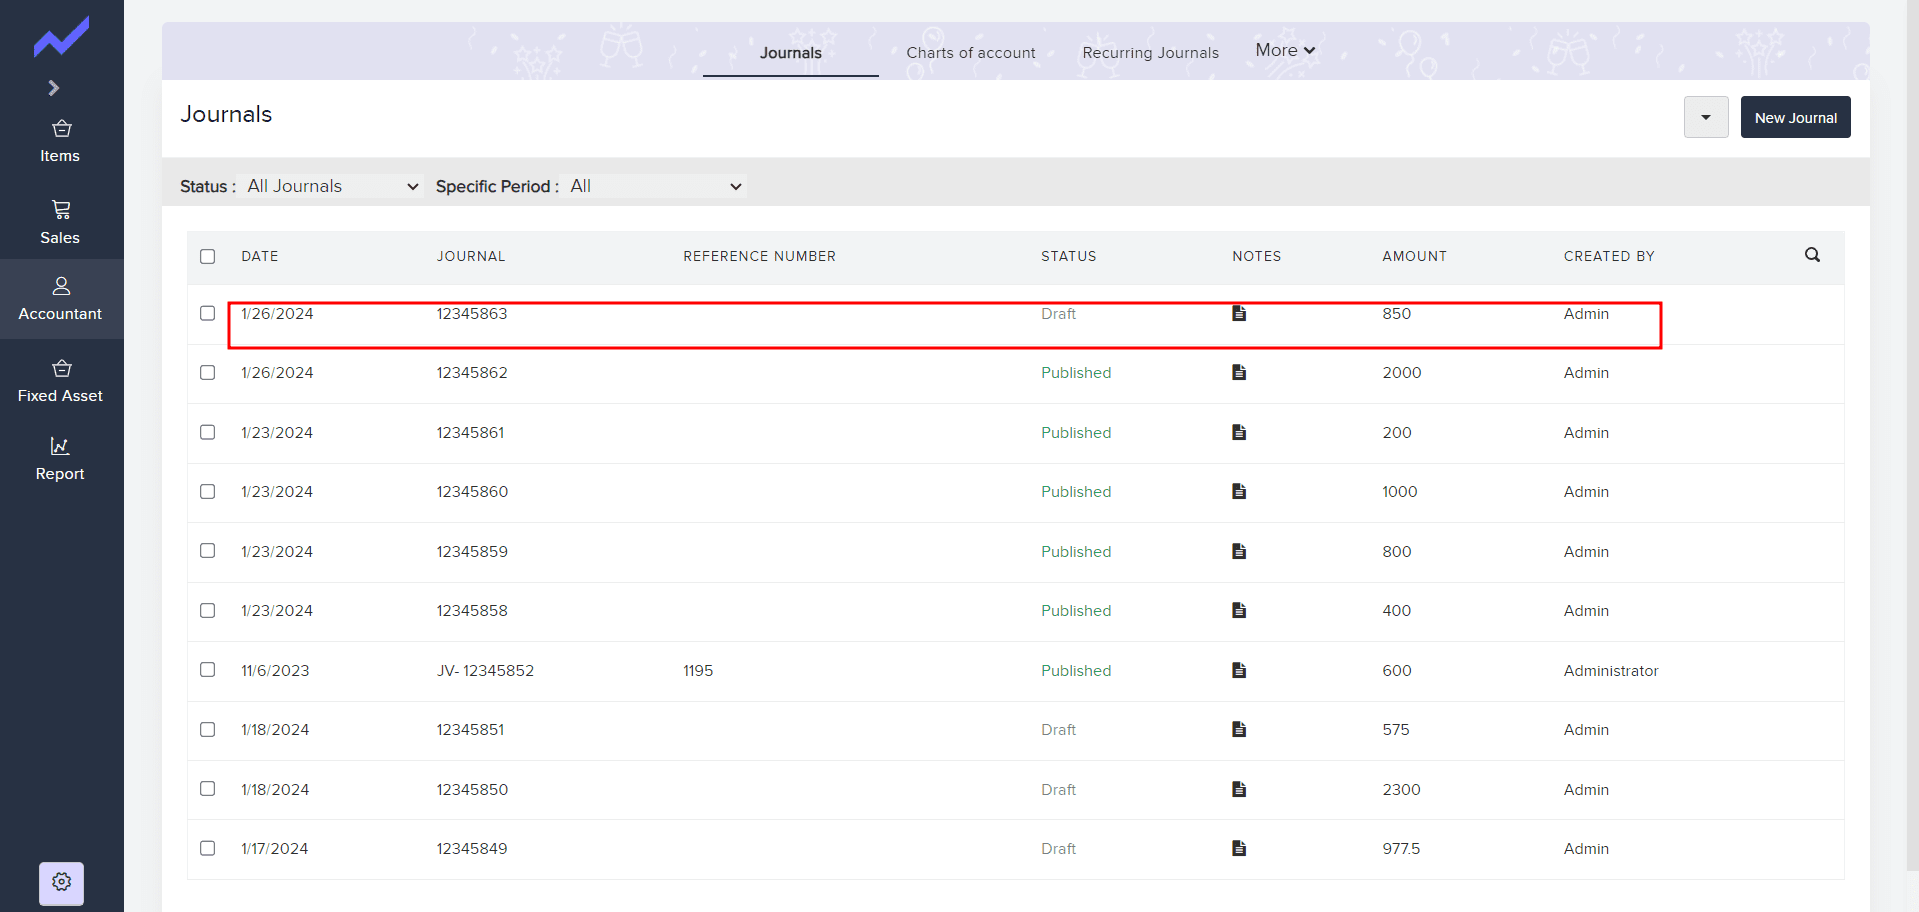
Step 6: Select the JV for which you want to post a debit note
You can do this by clicking on the “Select JV” status and click click on publish its published.
In conclusion, posting a debit note to a JV in Cloudpital is a straightforward process that can be done in just a few steps.


