Credit note posting of JV works in Cloudpital is a simple process that can be completed in just a few steps. Here’s how to do it:
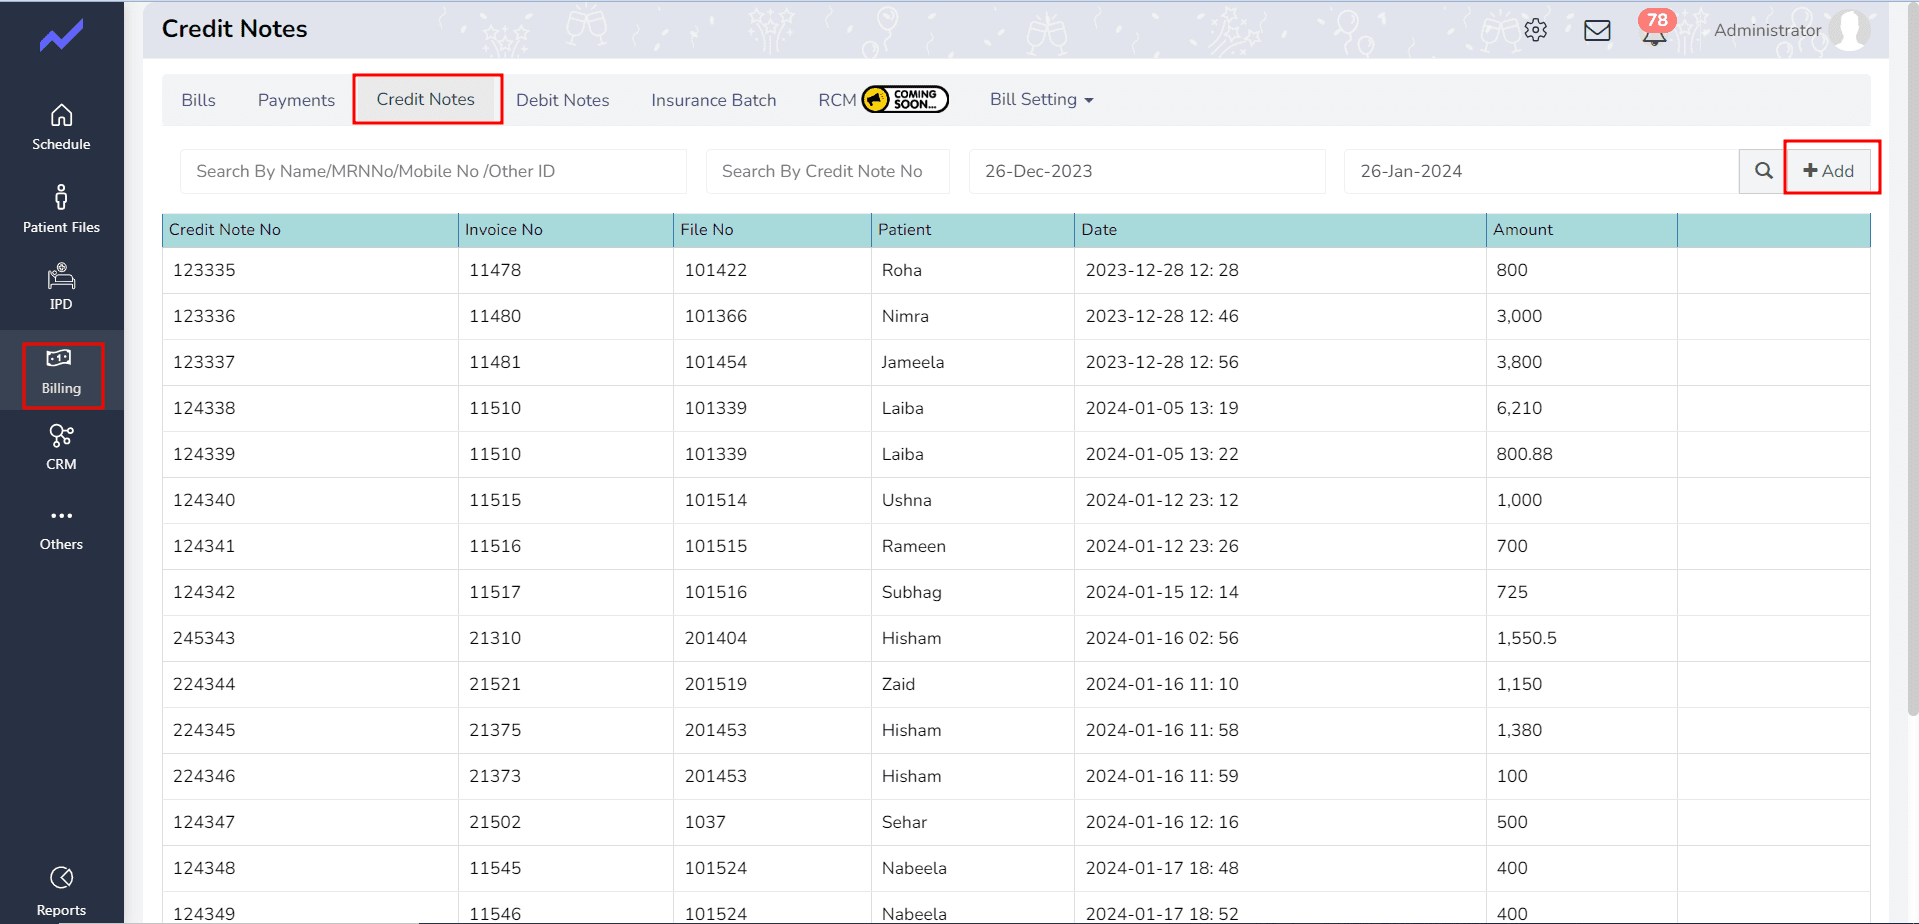
- First click on Billing => Credit Notes => Plus Add
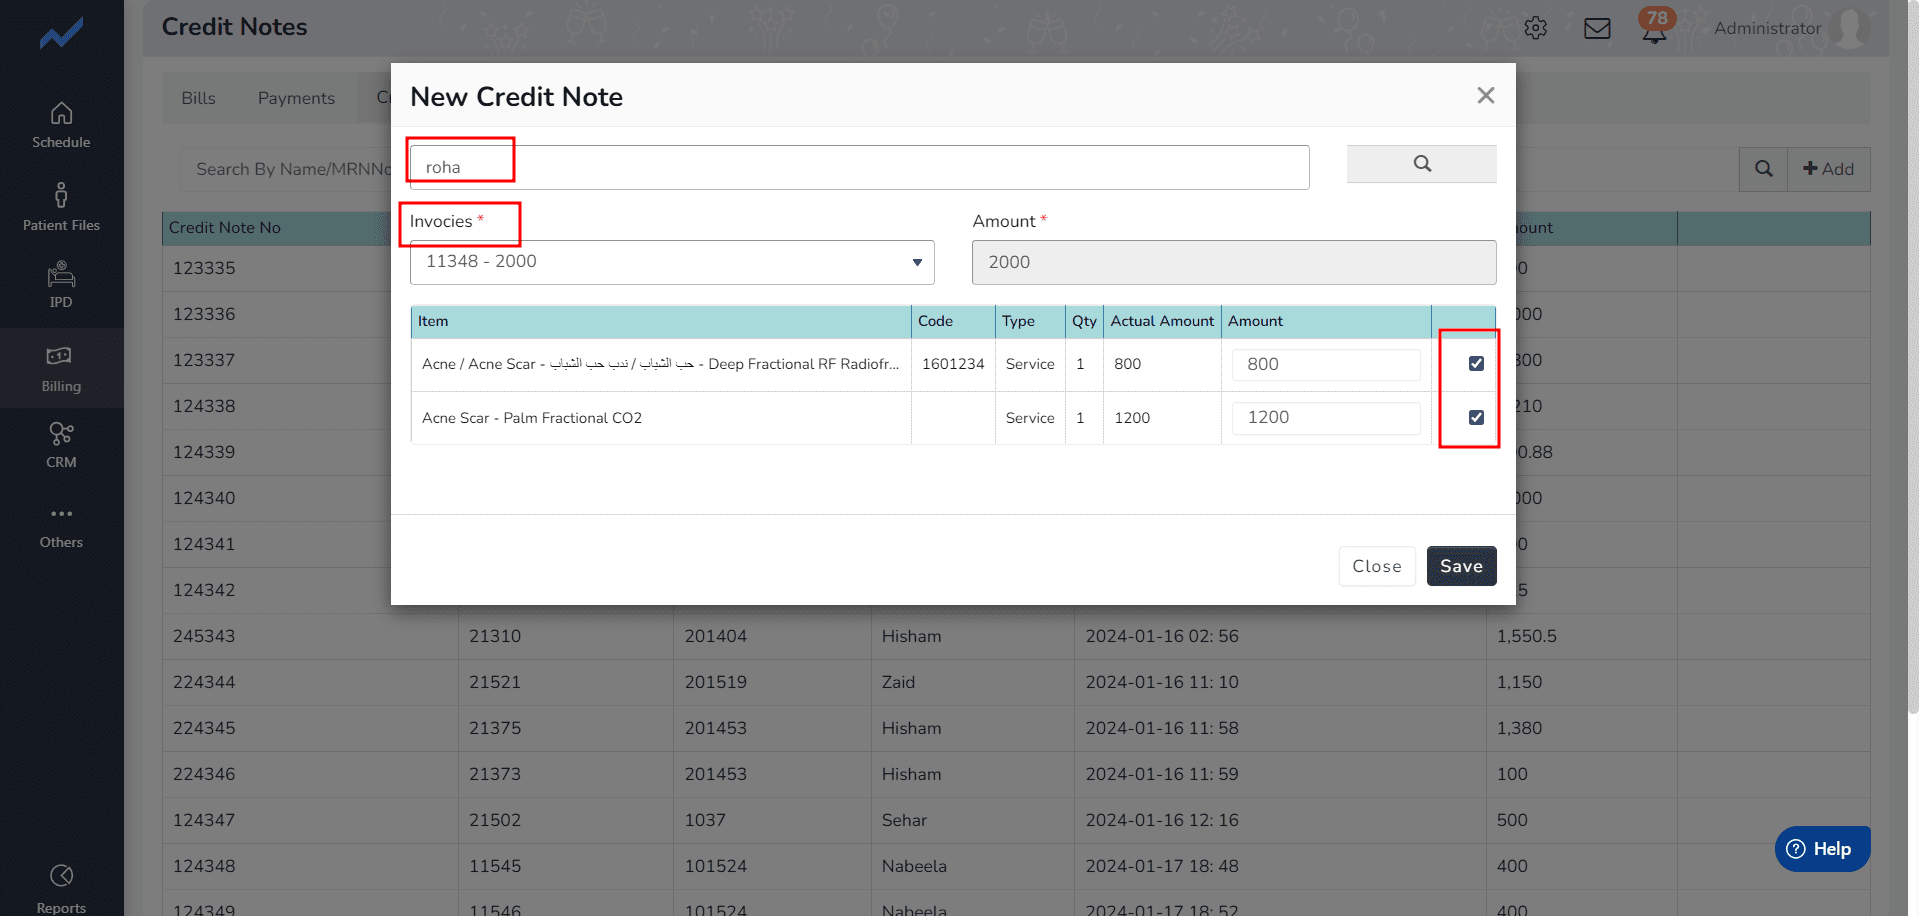
- Enter the details of the credit note, including the Name, invoice for the credit, and any other relevant information.
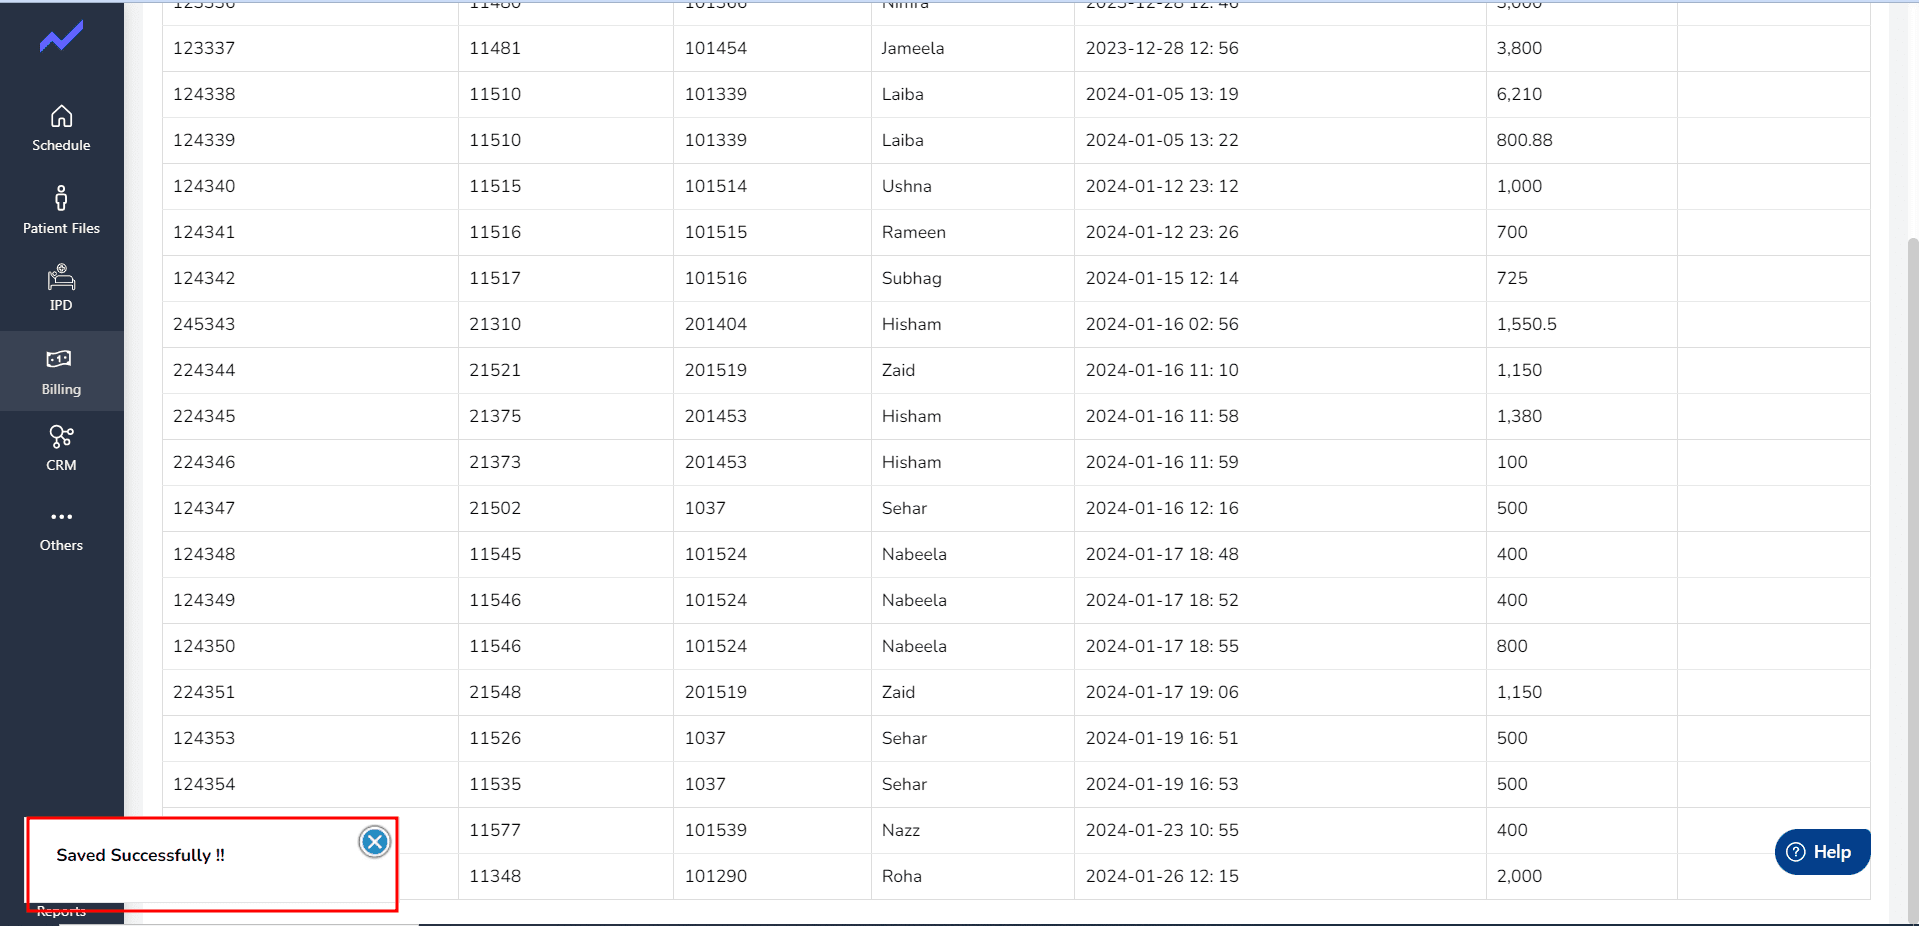
- The credit you added will show in the row of the main screen of Credit notes.
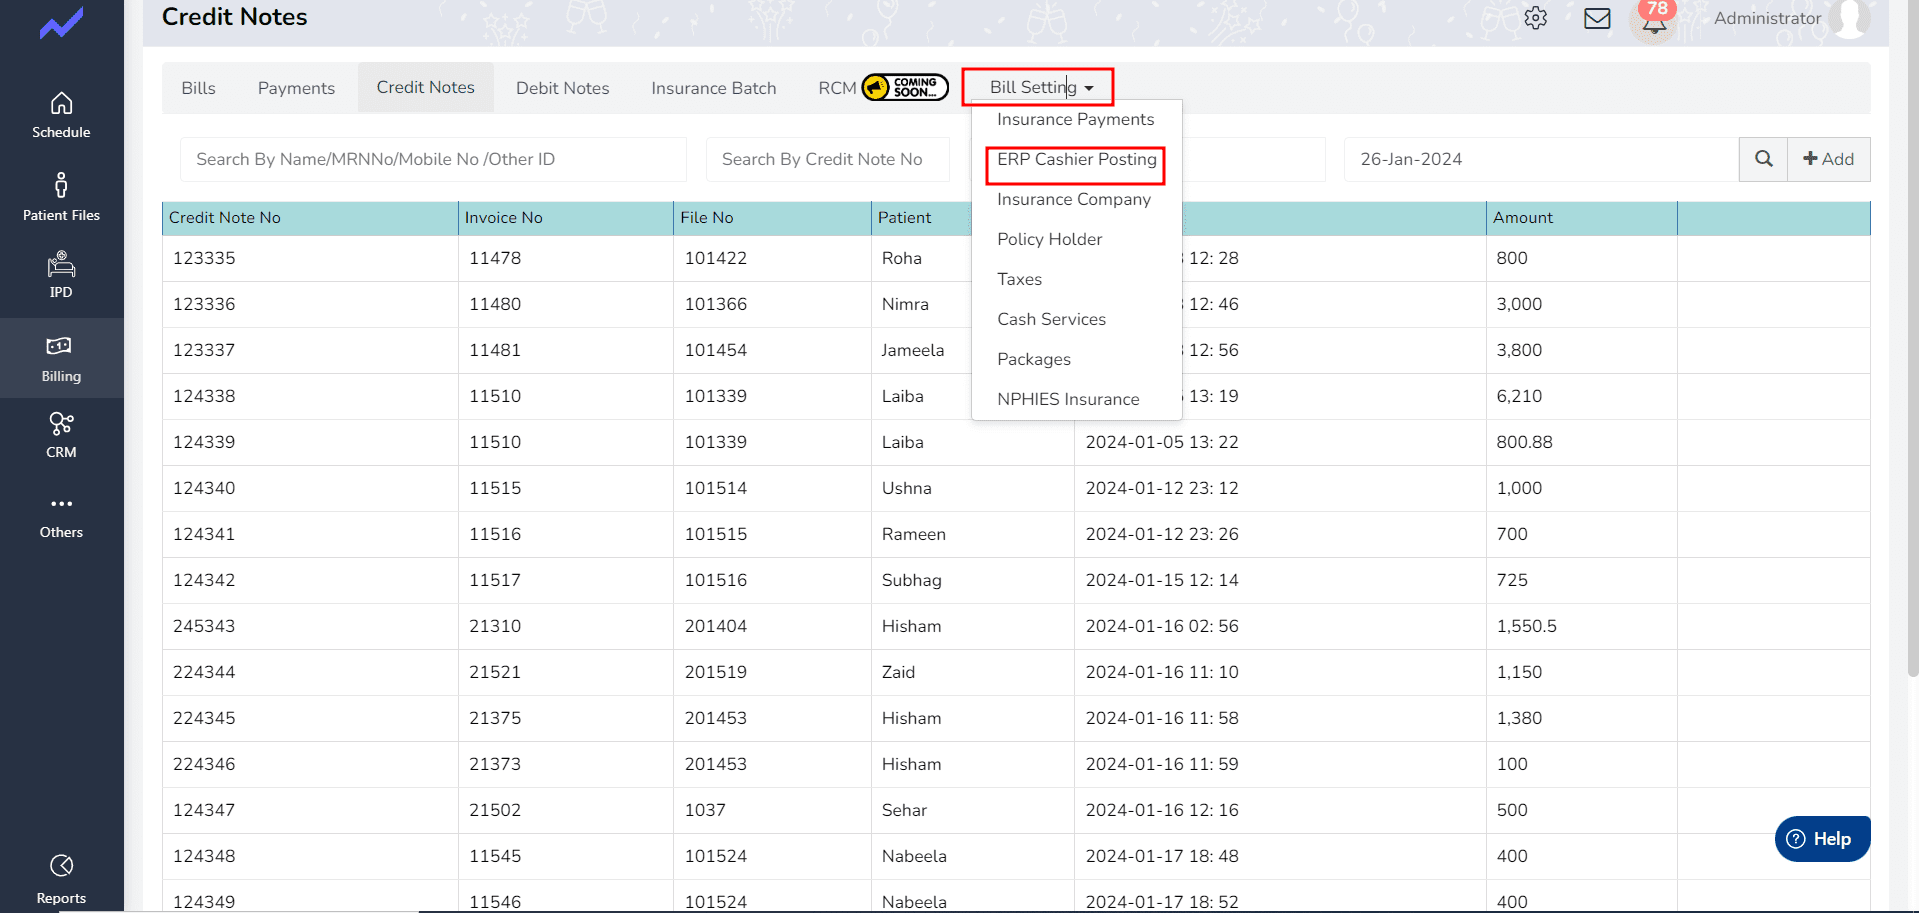
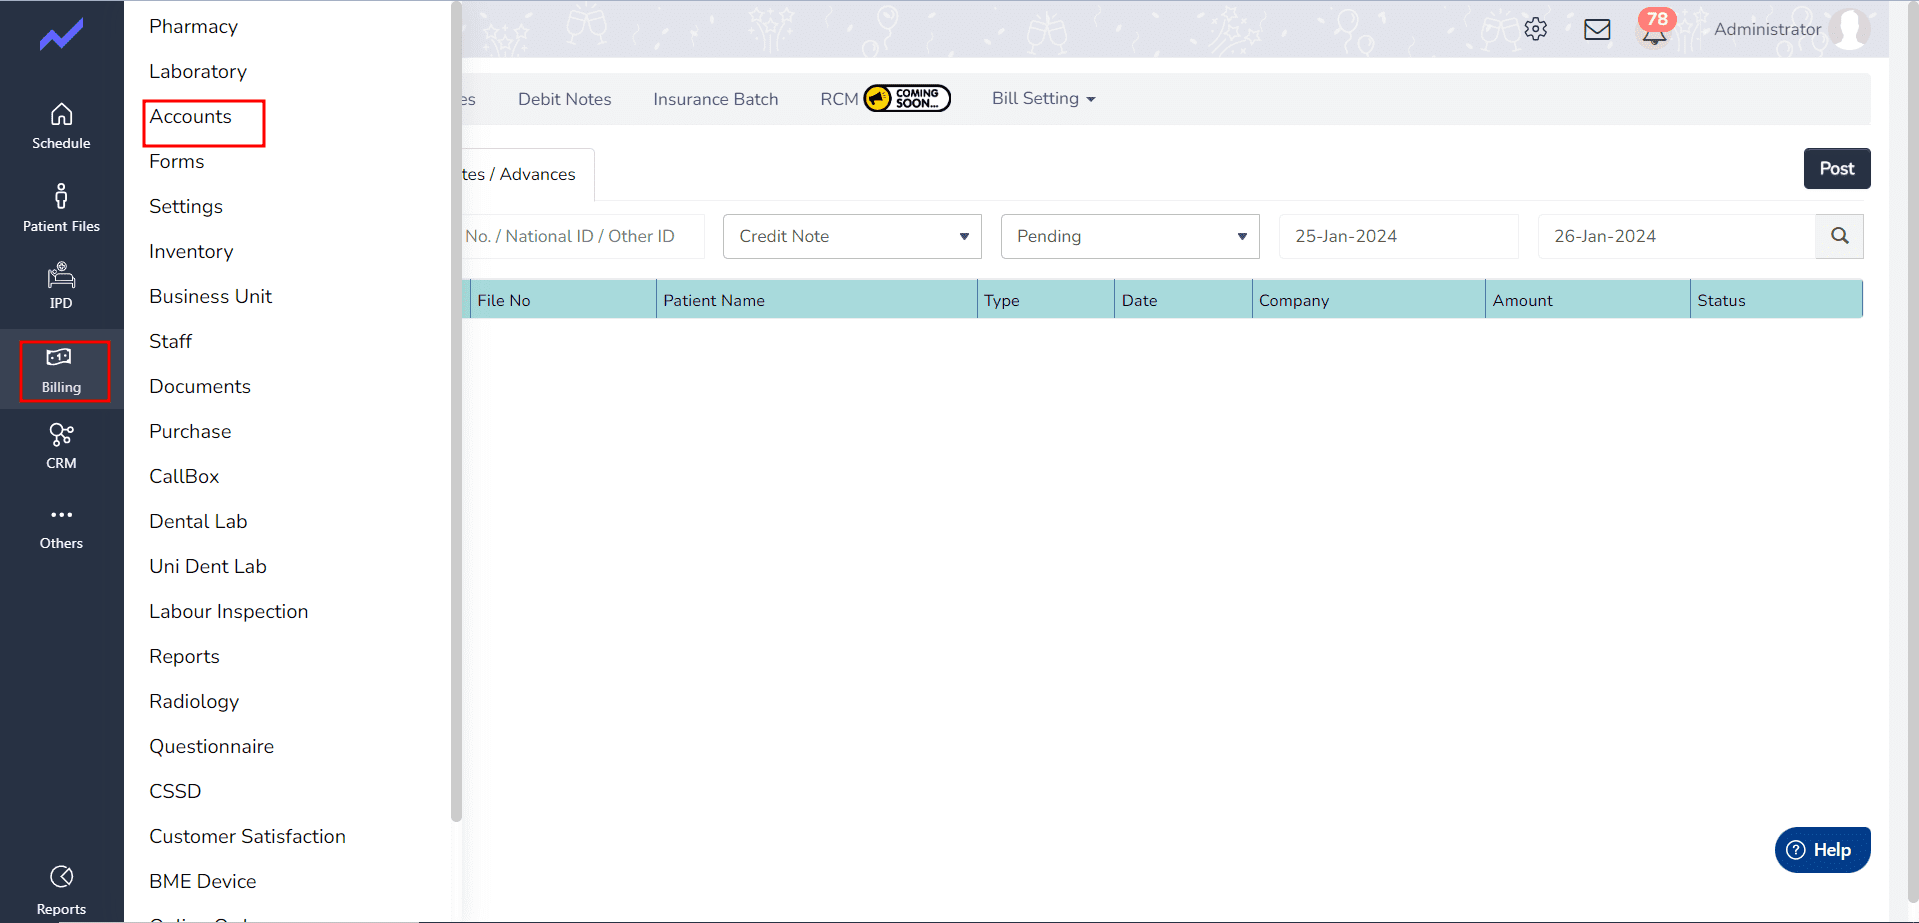
- Click on the Bill Setting => ERP Cashier Posting
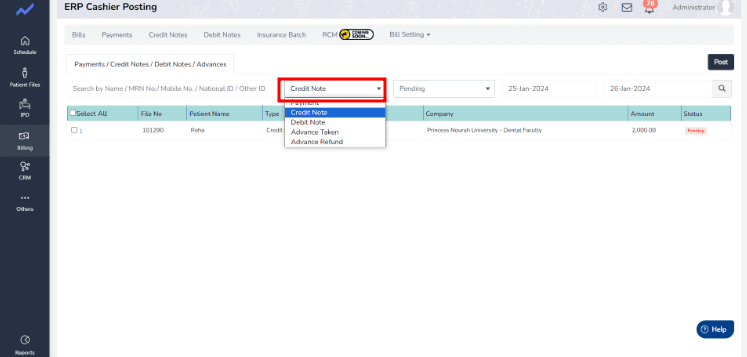
- Click on the “Actions” button and select “Credit Note” from the dropdown menu.
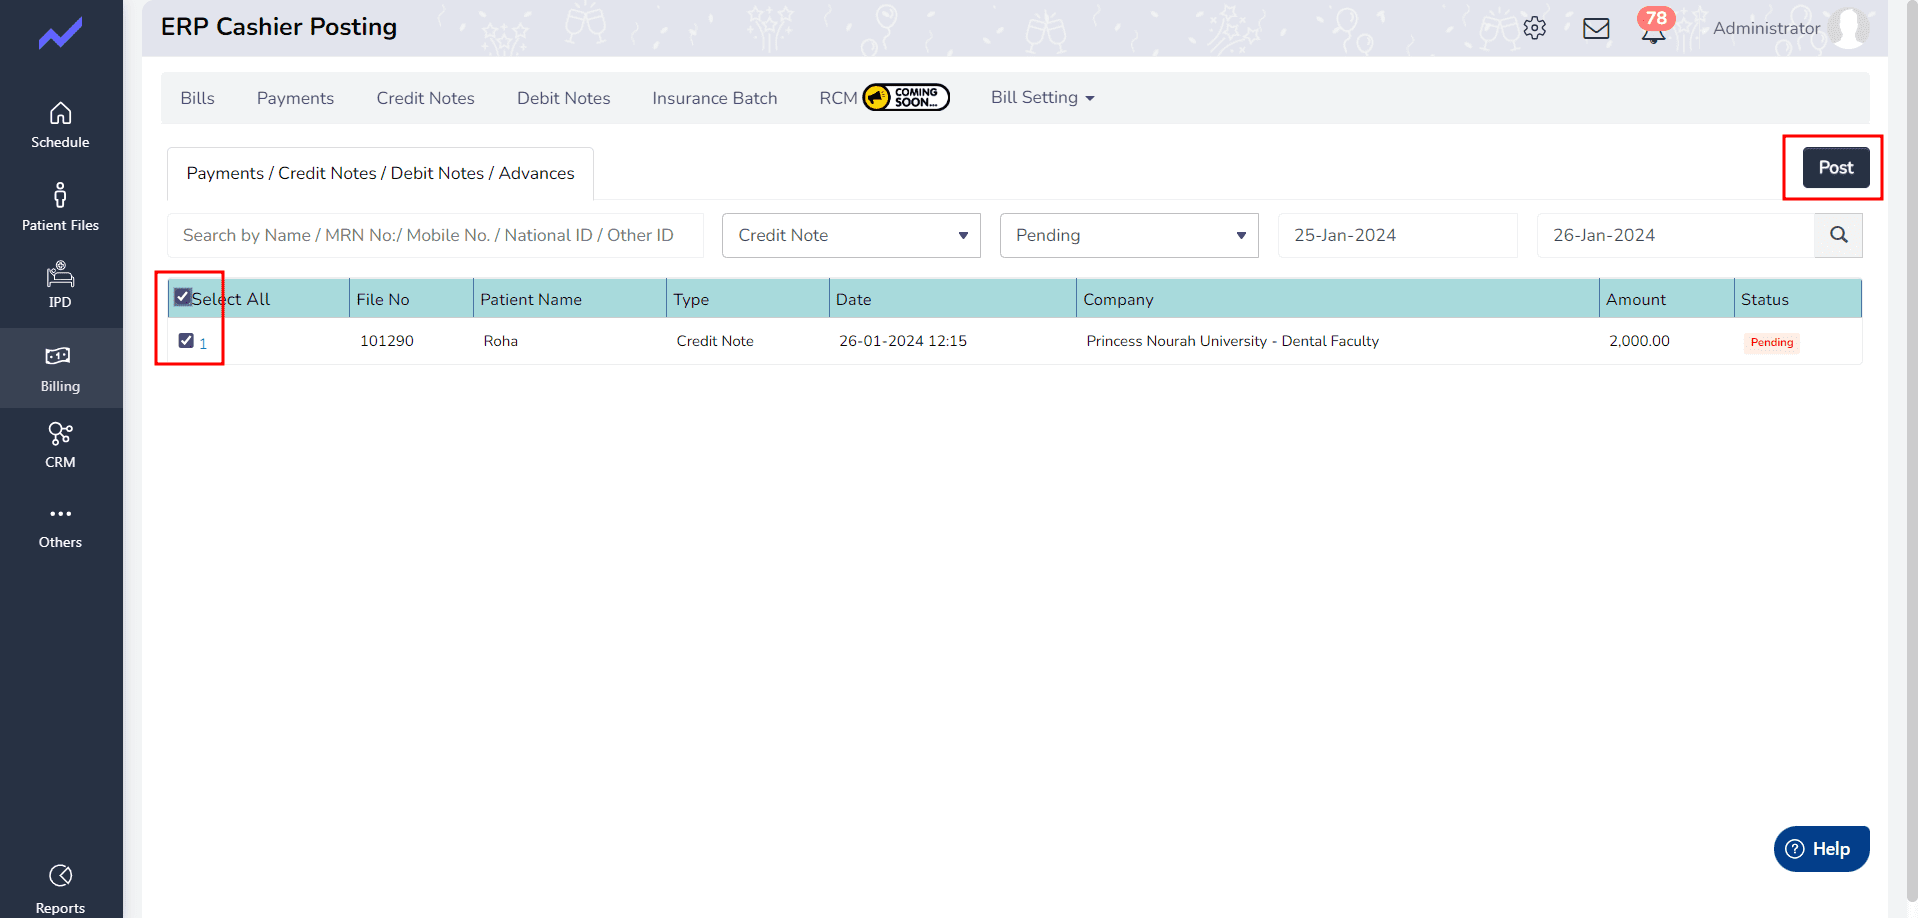
- Select the Credit note and click on the Post button.
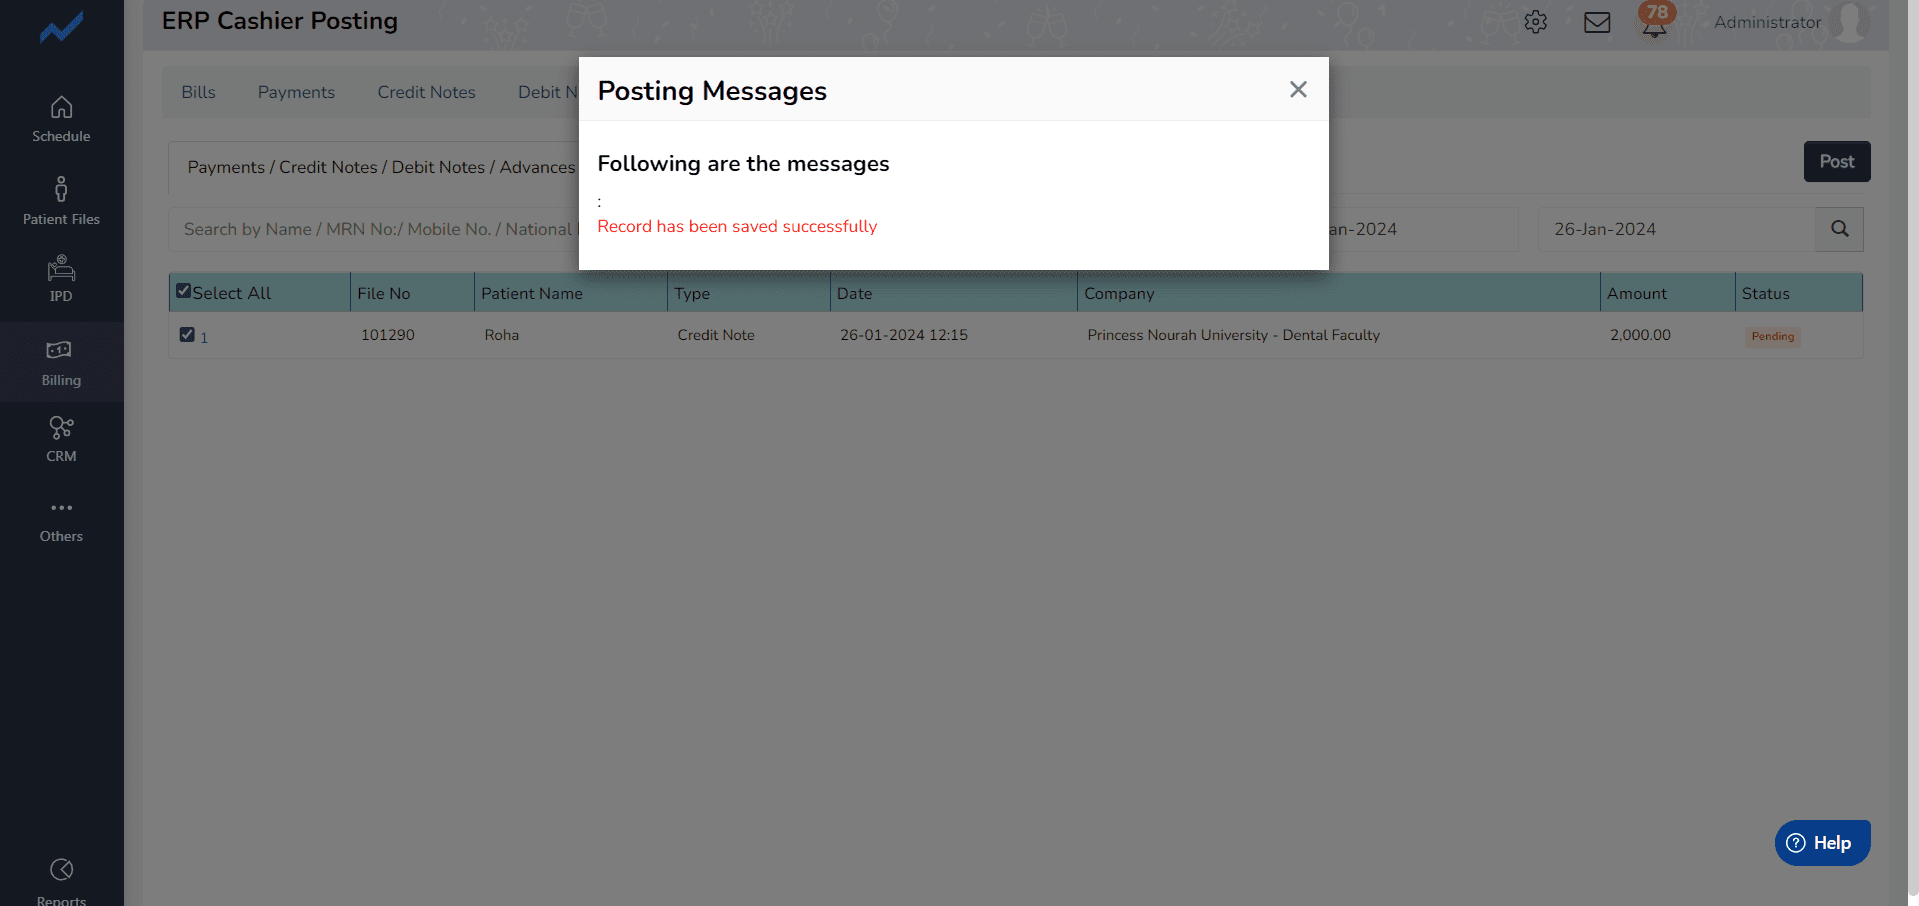
- When we click on post button system generates a Message.
- Now go to the Billing =>Accounts.
- In this screen click on the Status which you recently added
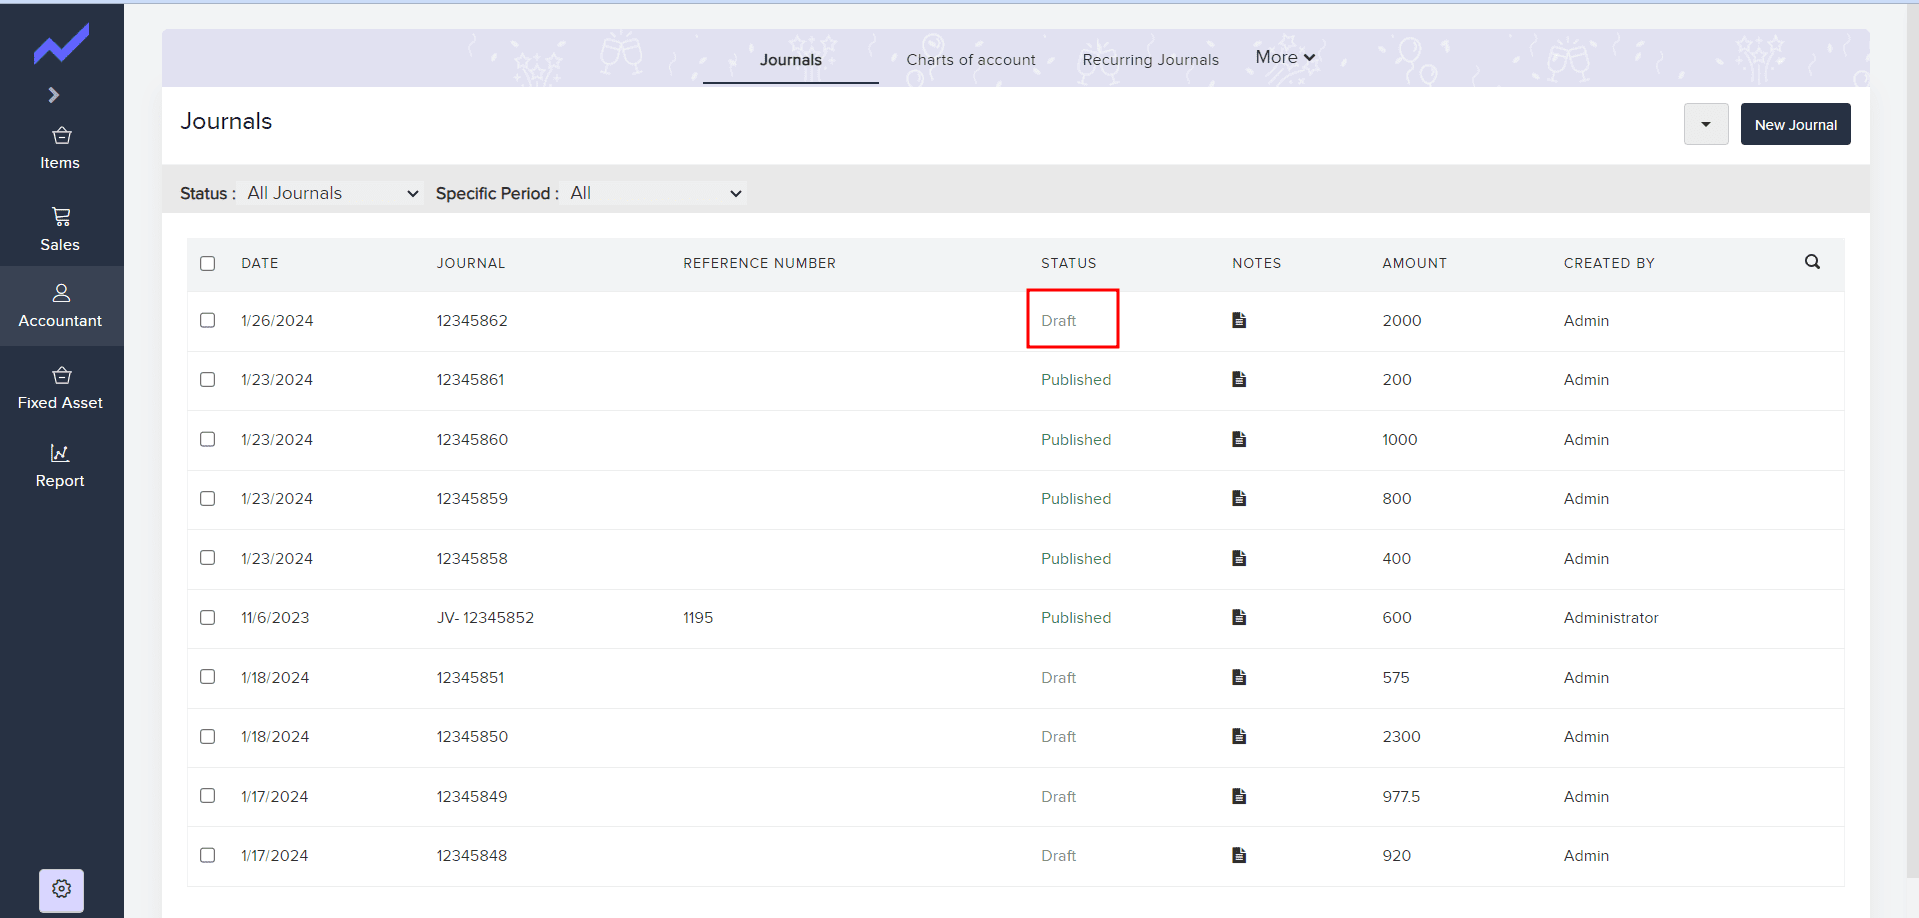
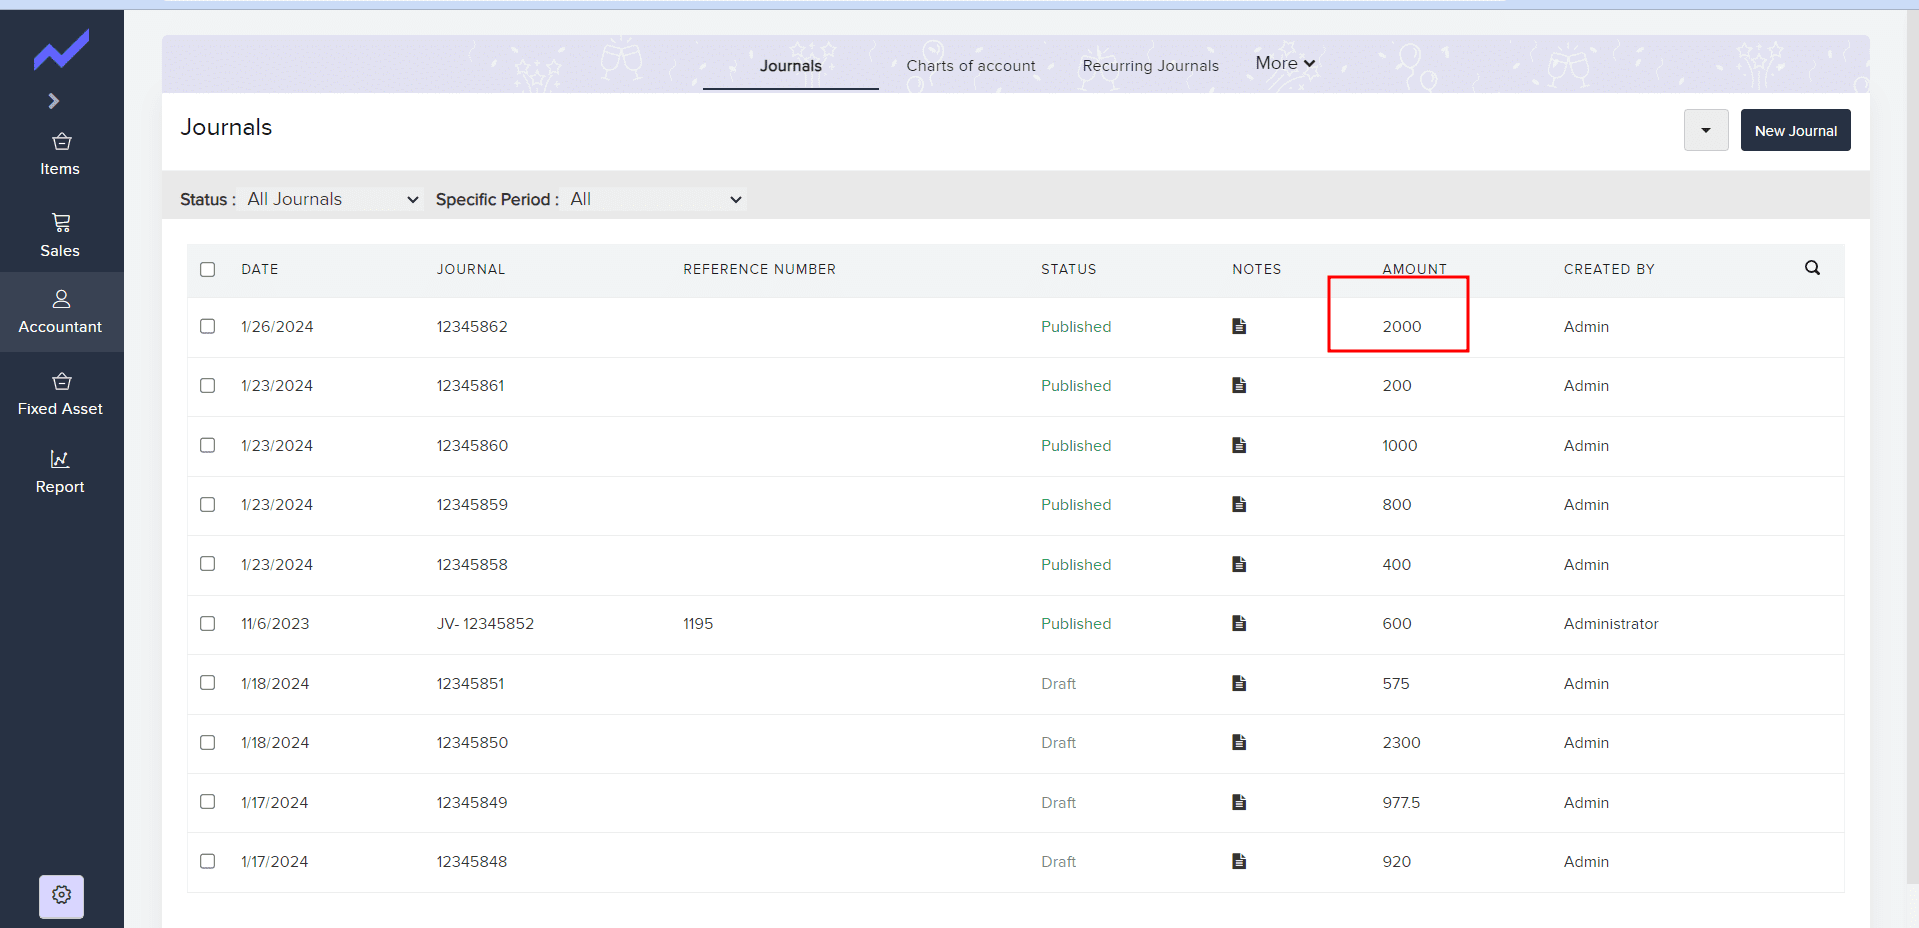
- The credit note will automatically adjust the balances of the accounts involved in the JV, ensuring that the correct amounts are reflected in your financial statements